Installing Oracle Applications (eBusiness Suite) Release 12 on Solaris
Let us consider we are installing Oracle eBusiness Suite Release 12 (12.1.1) on Sun Solaris 10 on SPARC 64 bit platform.
First of all following pre-requisites must be checked at the Operating System level.
Packages
SUNWarc SUNWbtool SUNWcsl SUNWhea SUNWi15cs SUNWi1cs SUNWi1of SUNWlibC SUNWlibm SUNWlibms SUNWsprot SUNWtoo SUNWuiu8 SUNWulcf SUNWxwfnt Patches
- 125100-04 or higher
- 120473-05 or higher
- 127111-02 or higher
- 137111-04 or higher
Kernel parameters in /etc/system
rlim_fd_max 65536
noexec_user_stack 1
semsys:seminfo_semmni 100
semsys:seminfo_semmsl 256
shmsys:shminfo_shmmax 4294967295
shmsys:shminfo_shmmni 100
ulimit Value SettingsVerify that the owner of the Oracle Application Server and Oracle Database server file systems have the following ‘ulimit’ values:
- time (seconds) = unlimited
- file (blocks) = unlimited
- data (kbytes) = unlimited
- stack (kbytes) = unlimited
- memory (kbytes) = unlimited
- coredump (blocks) = unlimited
- nofiles (descriptors) = 65536
Java requirements
JDK 6 (bundled with R12, no need to manually install)Operating system utilities
- ar
- ld
- make
- X Display Server
- ldd
- gcc
- g++
Next step is to create required users.
groupadd dba
useradd -g dba oradev
useradd -g dba appldev
passwd oradevNew Password:Re-enter new Password:passwd: password successfully changed for oradevpasswd appldevNew Password:Re-enter new Password:passwd: password successfully changed for appldev
Now let’s create required directories as root.
mkdir /u01
mkdir /u01/oracle
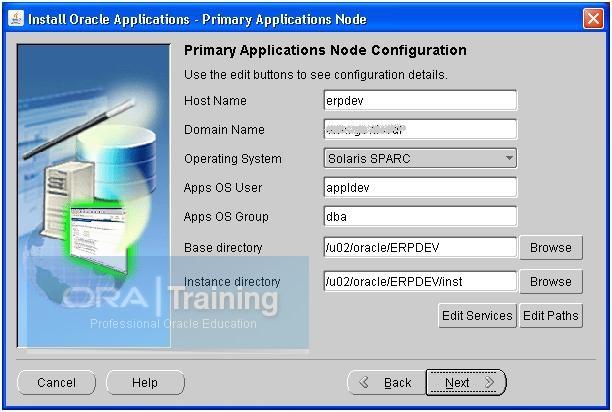
mkdir /u01/oracle/ERPDEV
mkdir /u01/oracle/ERPDEV/db
mkdir /u01/oracle/ERPDEV/apps
chown oradev:dba /u01
chown oradev:dba /u01/oracle
chown oradev:dba /u01/oracle/ERPDEV
chown oradev:dba /u01/oracle/ERPDEV/db
chown appldev:dba /u01/oracle/ERPDEV/apps
Create Staging area or else you can directly install from DVDs but you may need to switch DVDs during the installation.
Here we have created Staging directory as /u01/R12stage/
There are multiple ways for creating staging areas. The simplest method is to copy all DVD contents to Staging directory in following subfolders.
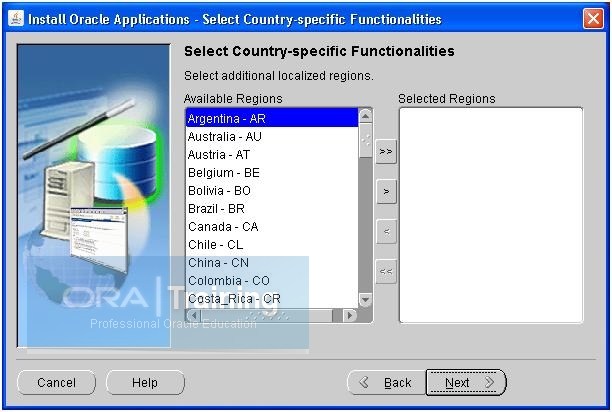
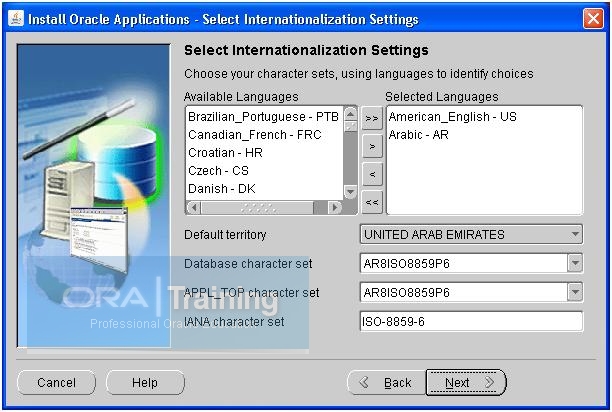
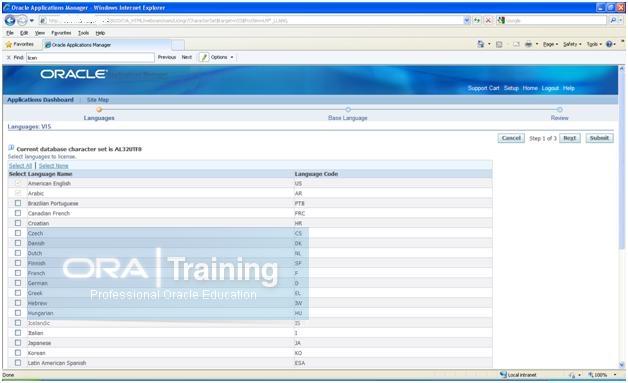
startCD, oraDB, oraAppDB, oraApps, oraAS, NLS-<Language> (if installing NLS)
Or else you can use adautostg.pl to create a staging area automatically.
ORATraining Tip: Execute the following to avoid unexpected errors during the installation since we are doing multiuser installation.
chmod 777 /tmp
ORATraining tip: Sometimes it has been noticed on some Solaris based installation that installation will throw following error.
/u01/R12stage/startCD/Disk1/rapidwiz/rapidwiz: whoami: not found
Execute the following before starting the installation to avoid the issue.
export PATH=$PATH:/usr/ucb/
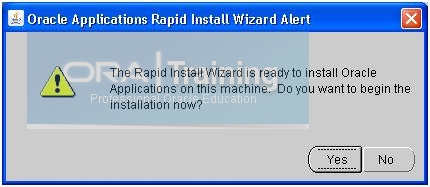
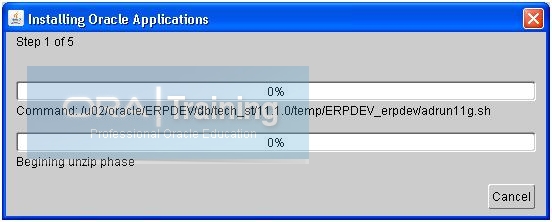
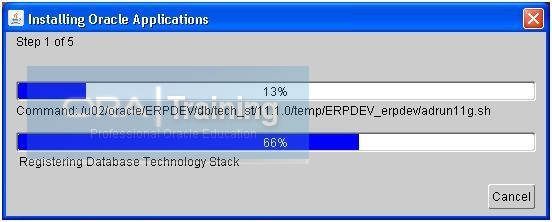
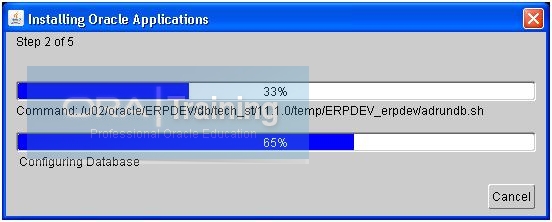
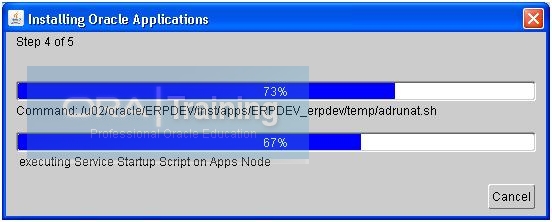
Starting the installation:
cd /u01/R12stage/startCD/Disk1/rapidwiz
./rapidwiz
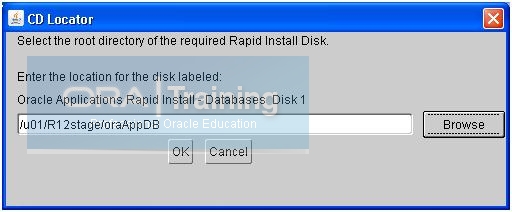
ORATraining tip: You can also execute directly with the path like “/u01/R12stage/startCD/Disk1/rapidwiz/rapidwiz/rapidwiz” to avoid selecting DVDs at the end of every component installation.
ORATraining Tip: Sometimes you may encounter following error after starting the installation.
/u01/R12stage/startCD/Disk1/rapidwiz/rapidwiz: /tmp/RapidInstall/bin/runWizard.sh: cannot execute
Execute the following to fix this if you encounter the same.
chmod 777 /u01/R12stage/startCD/Disk1/rapidwiz/bin
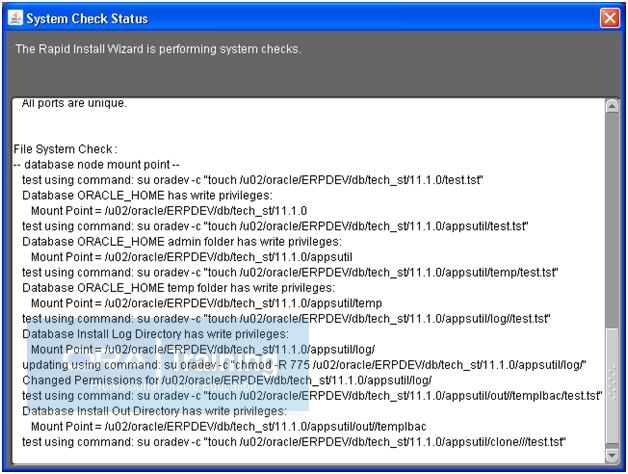
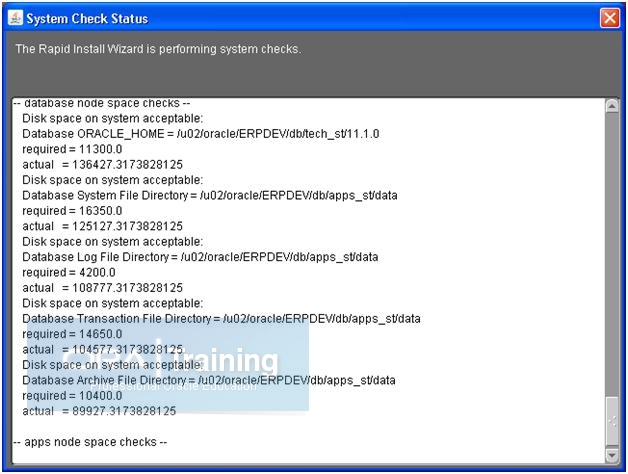
Welcome Screen:
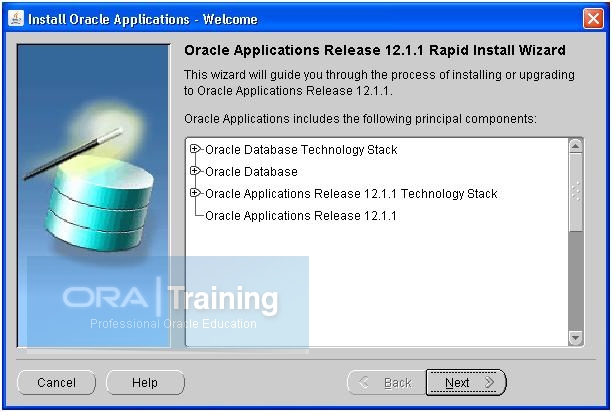
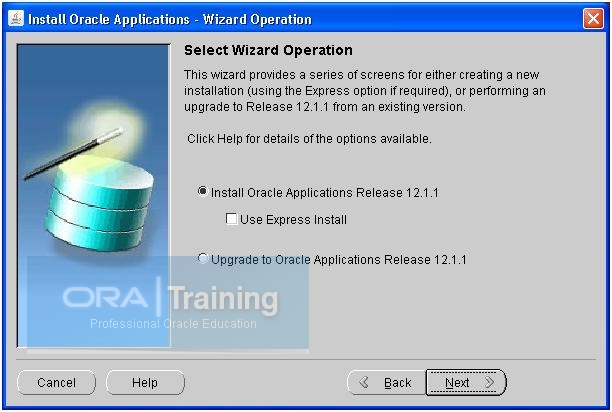
Do not change anything in this screen unless you are upgrading existing Oracle Applications release. Express release will go with many default parameters and skip certain steps but not recommended for an Apps DBA.
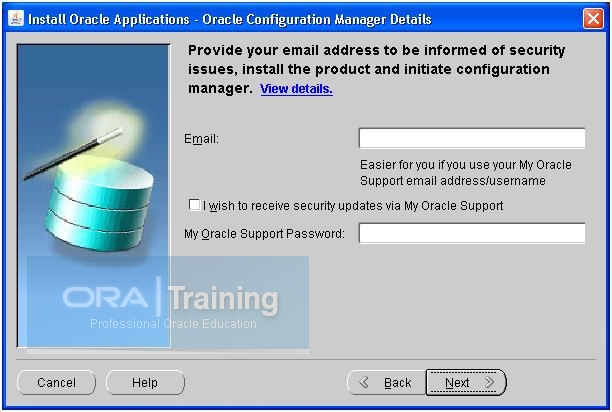
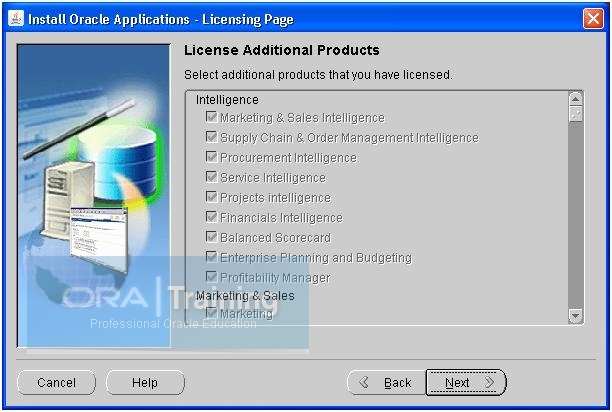
Keep these blank if installing on test machine. This can always be filled later. You will need a valid CSI number and associated email id for this.
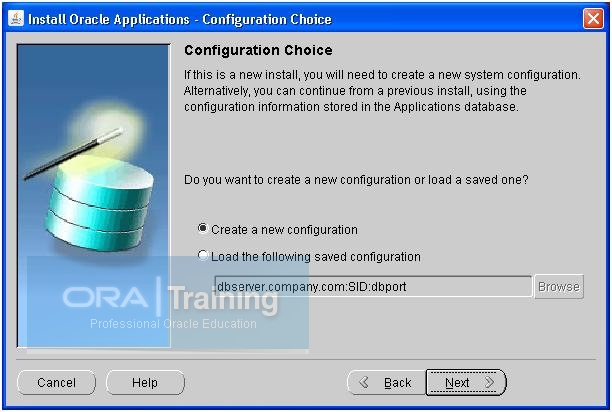
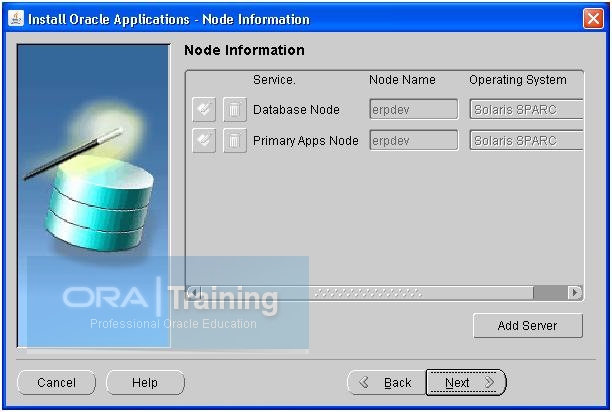
No not change anything in this screen unless you are restarting a failed installation or installing on secondary nodes in case of multinode installation.
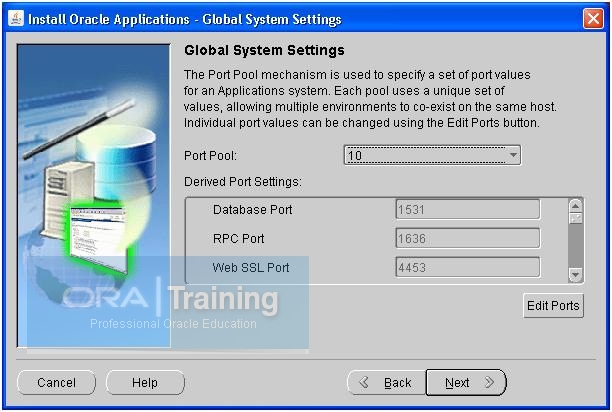
Select a port pool here. All default ports will be added by a number selected in port pool and those ports will be assigned accordingly. For example with port pool 10, default ports will change as follows.
Web Server port will become 8010 (8000 + 10)
Forms port will become 9010 (9000 + 10)
Reports port will become 7010 (7000 + 10)
and so on..


Recent Comments