Creating Oracle VirtualBox Virtual Machine with Oracle Linux 5
Previous: Oracle Fusion Applications Installation – Steps
Creating Oracle VirtualBox Virtual Machine with Oracle Linux
Before we begin first download the required software.
- Download and install Oracle VirtualBox Software from https://www.virtualbox.org/wiki/Downloads
- Download Oracle Linux from http://edelivery.oracle.com/linux

Select “Oracle Linux” and “x86 64 bit“. Click Go

Download Oracle Linux Release 5 Update 7
If you are installing on your Windows machine then download the software for Windows.
Important Note: We are using Linux 5 because somehow Oracle Linux 6 (update 2) is not working with VirtualBox for us as it was not able to launch GUI mode. The whole installation was going in text mode and later also it was not able to shift to GUI mode. The error is as follows.
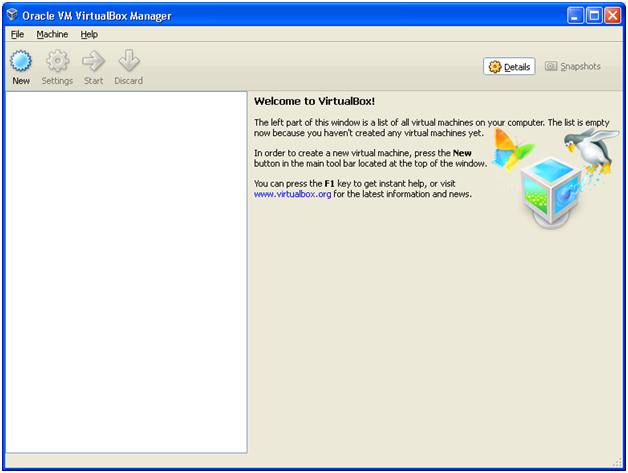
Click on New
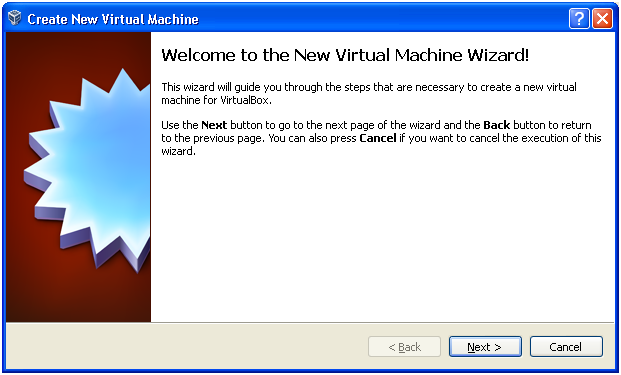
Click Next
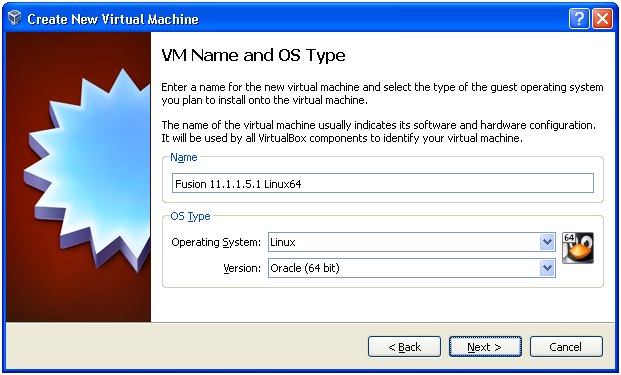
Provide any name for this VM and select Linux/Oracle (64 bit) for the OS Type. Click Next
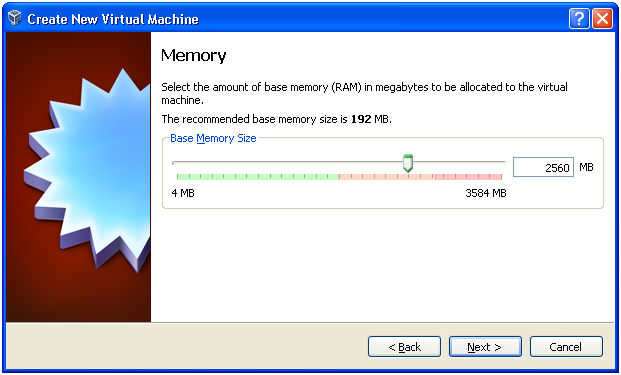
In Memory screen, select at least 3 GB memory. We have tested with 3 GB RAM and double swap till install phase. In order to start all services in the final stage it is recommended to keep 9-10GB. We had finished the final step by increasing to 10GB RAM and 12 GB swap file. Click Next.
Note: We will provide the JVM tuning tricks with copy of our config files to fit everything in our RAM setup.
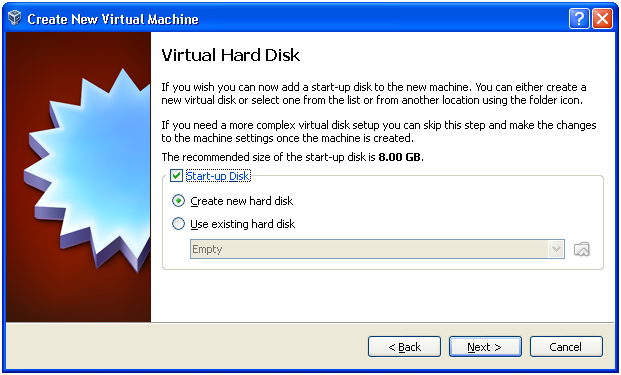
Select “Startup Disk” and “Create new hard disk“. Click Next
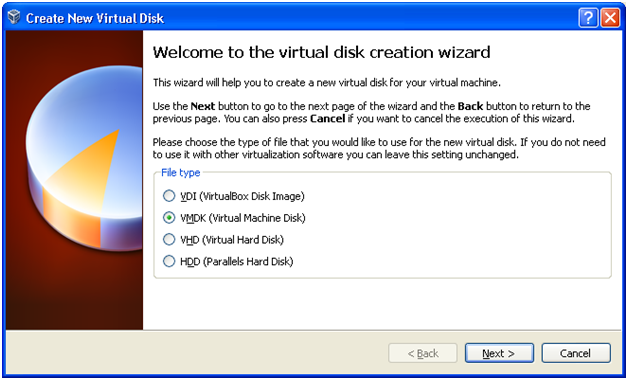
Since we want our VM Disks to be compatible with VMWare as well, we will use VMDK file type.
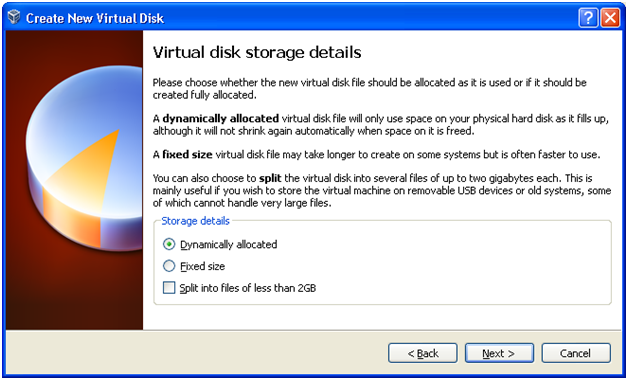
Next screen we will select “Dynamically allocated” storage. This will allow us to keep the VM disk size according to the actual usage. Click Next
Note: This of course makes VM a bit slower initially during the installation (compared to Fixed size) since in this case the VM needs to keep on increasing the disk size as we move with the installation. So we have to choose between the trade-offs.
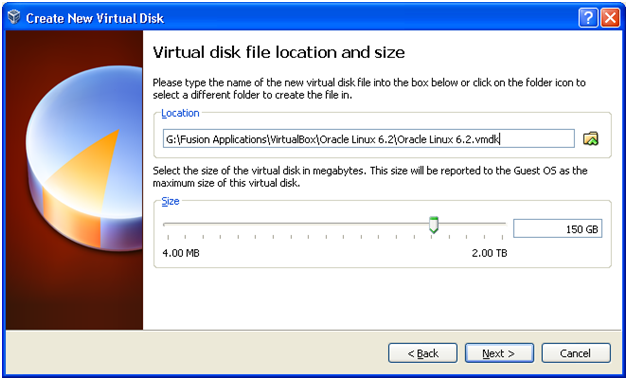
Provide a location with at least 300 GB available space. Select size as 300 GB. Click Next
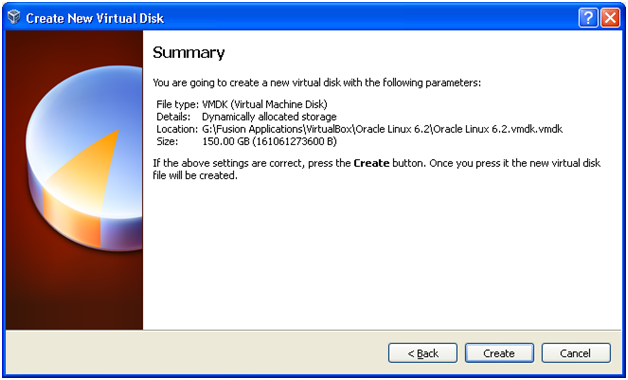
On Summary screen click on “Create” to create the Virtual Disk.
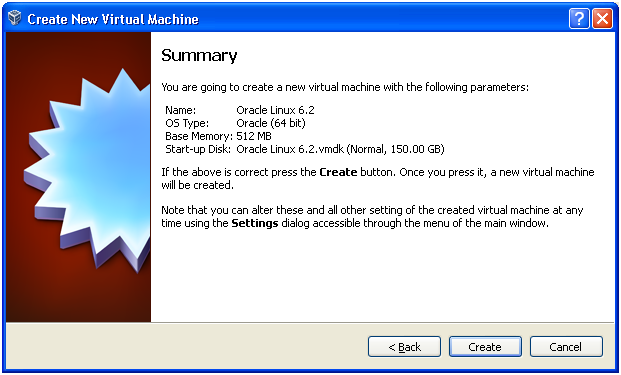
On next Summary screen click on “Create” to create the Virtual Machine.

Click on Settings
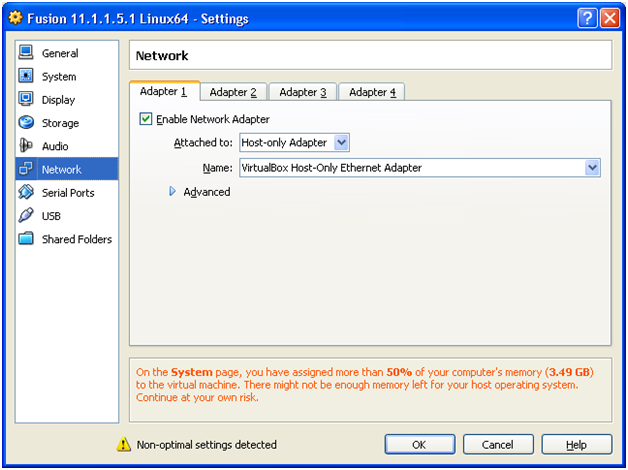
Click on Network. Select “Host-only Adapter“. We will explain this later while assigning IP in Linux. Click OK
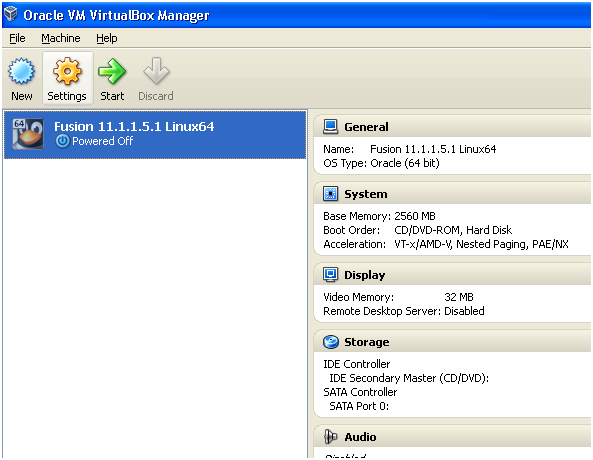
Make sure to have Operating System CD (Here Oracle Linux 5) in the CD drive. Click on Start
Note: You can optionally use Virtual CD drive software (for example Daemon tools-lite) to mount an ISO image to a virtual CD.

Click Next
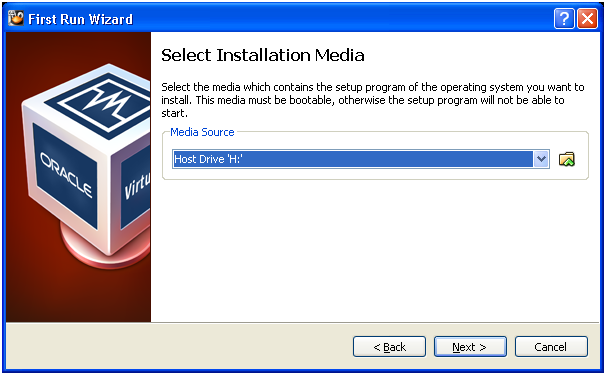
Select the drive / virtual drive containing OS installation CD/DVD. Click Next
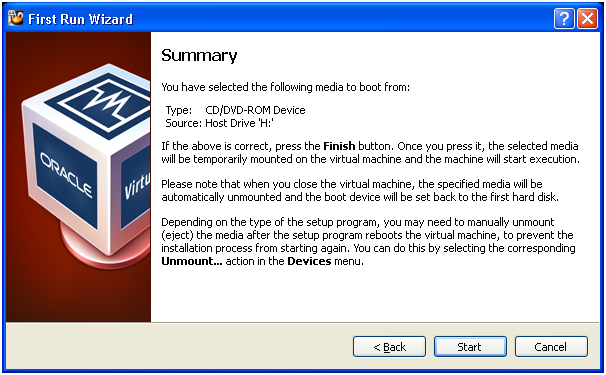
Click on Start to begin installation of Linux
In the next section we will coner Installing Linux on Physical or Virtual Machine (VMWare or VirtualBox) .
Note: This is a generic guide which can be used for installation on Physical or Virtual machine.
Installing Linux Operating System
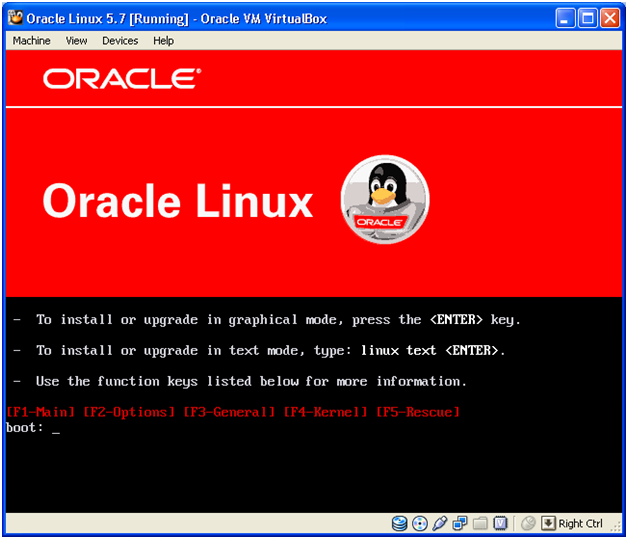
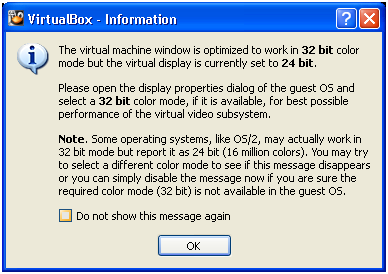
Press Enter to continue with Graphical mode installation
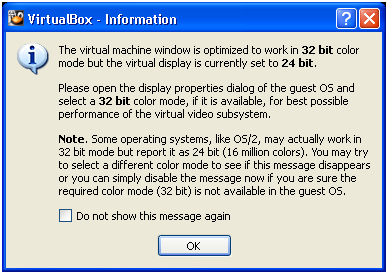
At this moment we can ignore this message if it appears since graphics is already available. Once we install Virtualbox Guest Additions (Explained later)
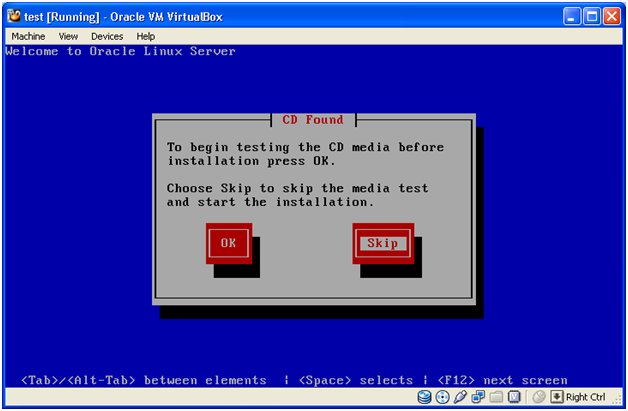
Use TAB to select between options. Select “Skip” and press Enter
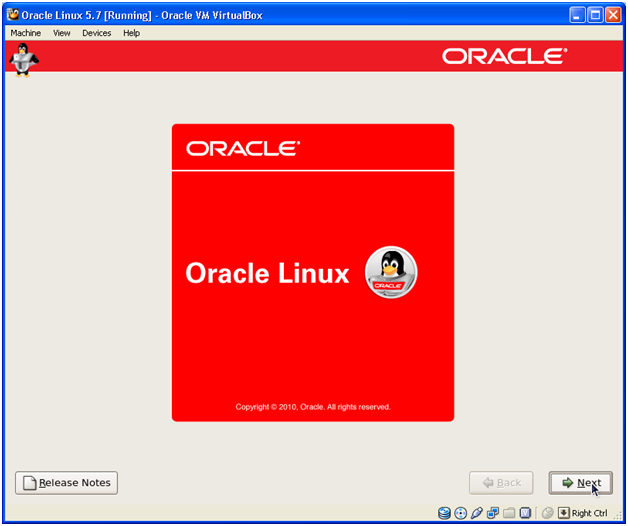
Click Next
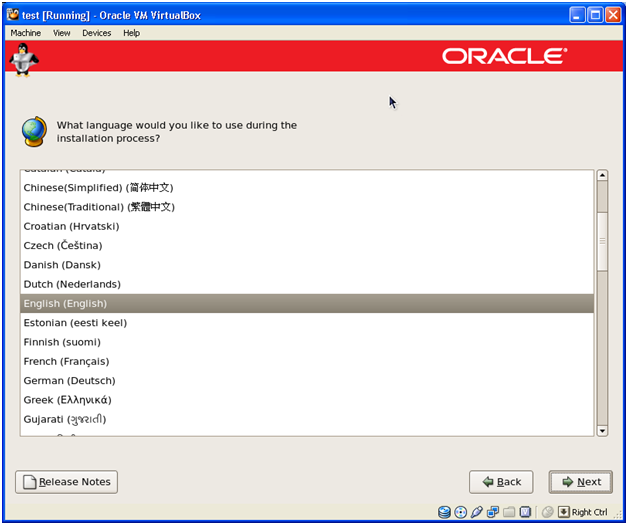
Keep default “English (English)” Click Next
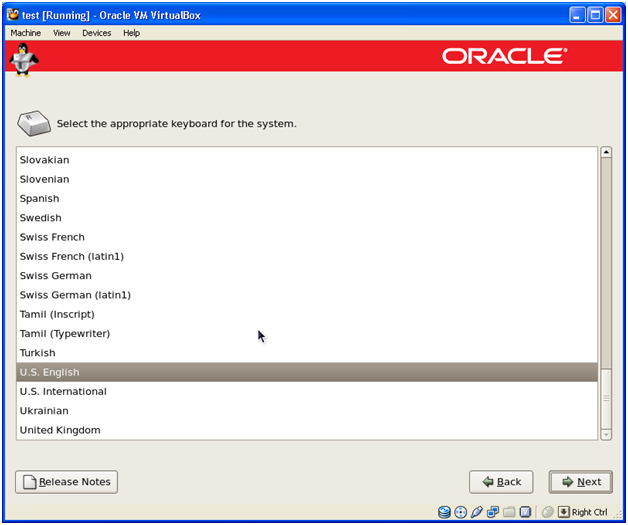
Keep default “US English” Click Next
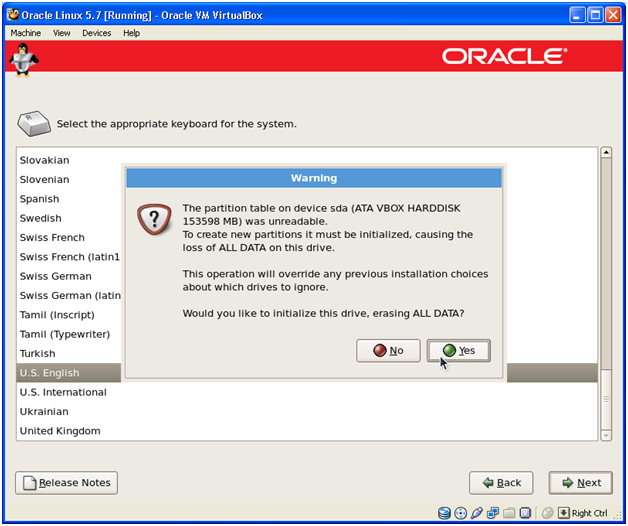
Since our disk is blank and not yet formatted to Linux File System, click “Yes” to erase all data.
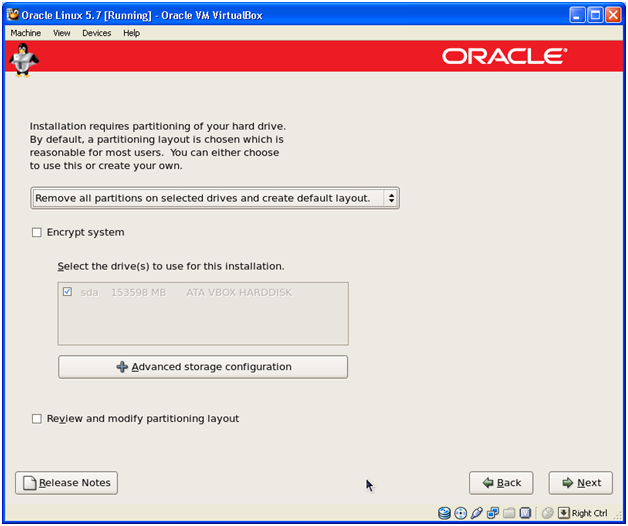
Select “Remove all partitions on selected drive and create default layout” and click Next
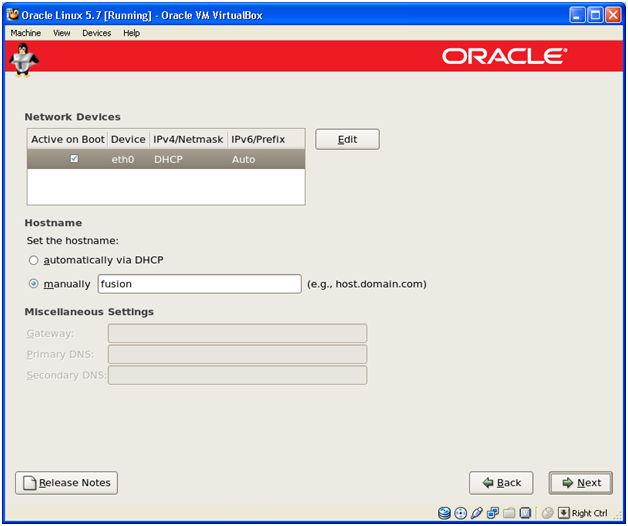
Manually assign host name. We are using “fusion” as our hostname. We will assign IP later.
Important note: We will use the hostname “fusion” throughout this installation. If you are planning to change the host name then make sure that you enter the new name everywhere during the installation wherever we have mentioned “fusion”
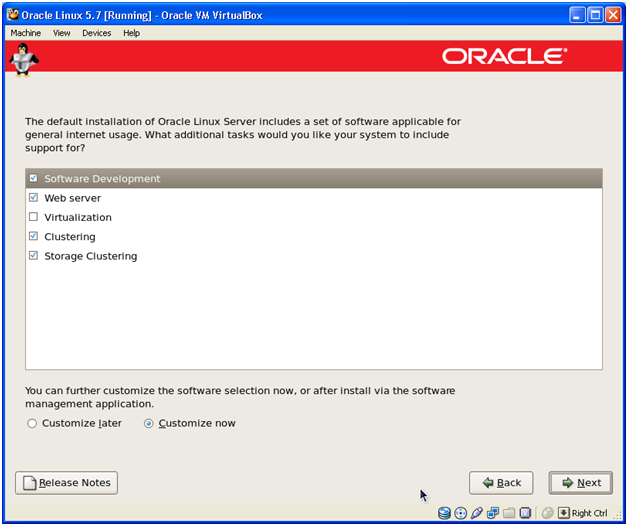
Select Customize now and click Next
Make sure to include following while selecting.
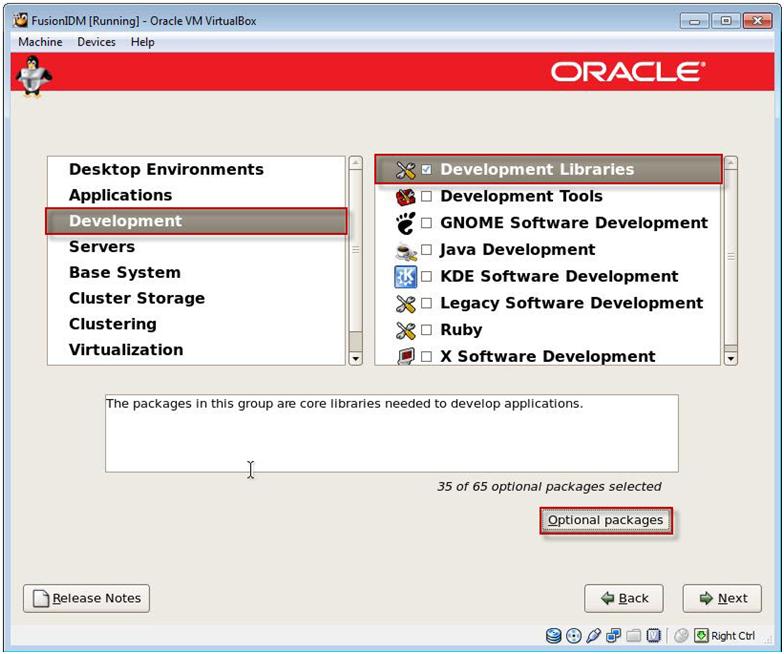
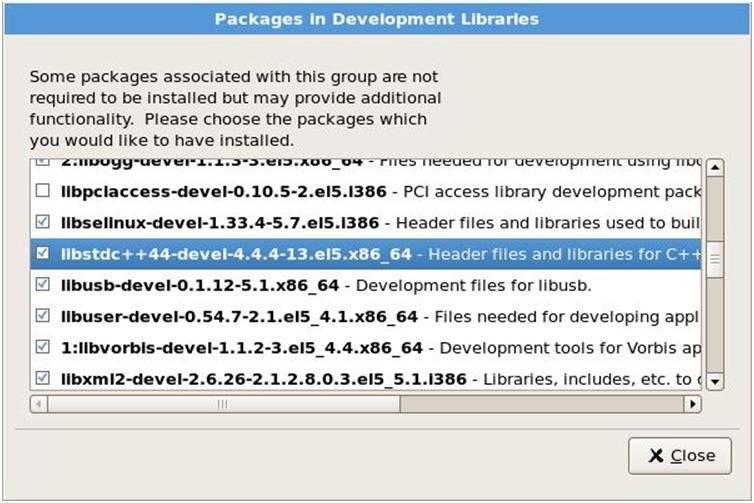
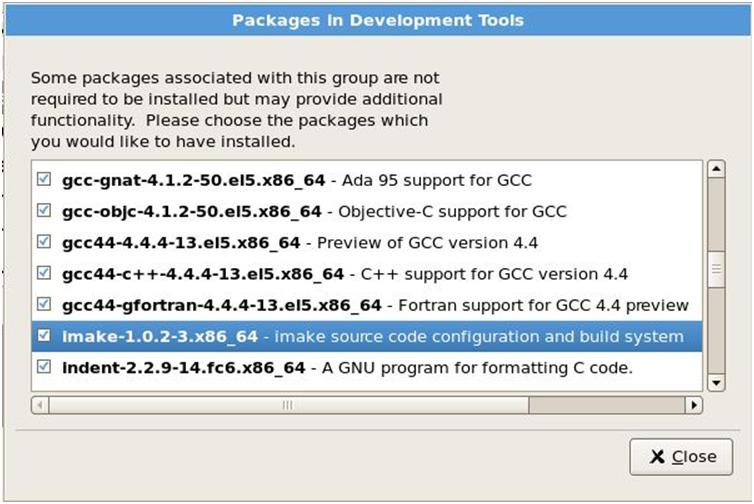
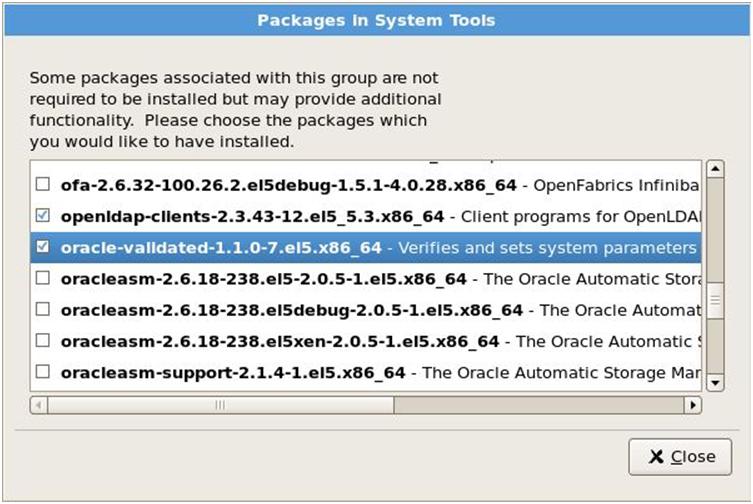
Now select Base System from the left pane and check System Tools from the right pane. Click on Optional packages. In the list of packages select oracle-validated package. This package will create a Linux user oracle and will create necessary Linux groups. This package will also set Linux kernel parameters needed for Oracle installations.

Click Next to finish the installation and reboot the OS.

After first boot, above welcome screen appears. Click Forward
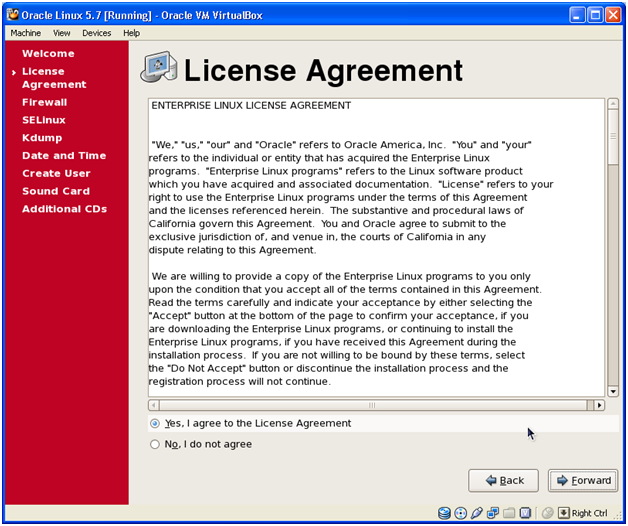
Select Yes and click Forward
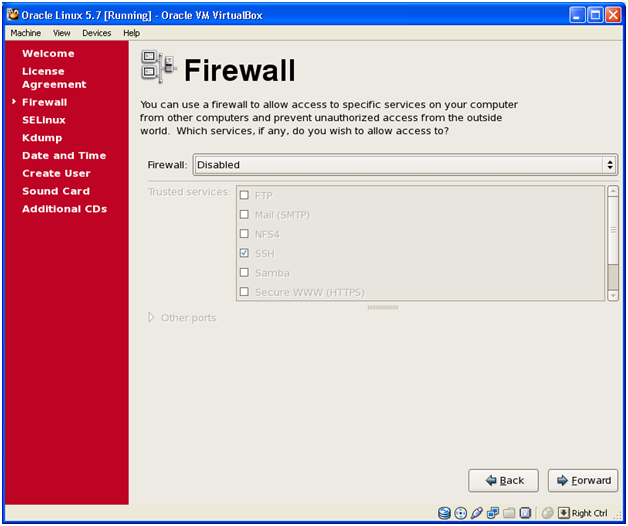
Select Disabled and click Forward
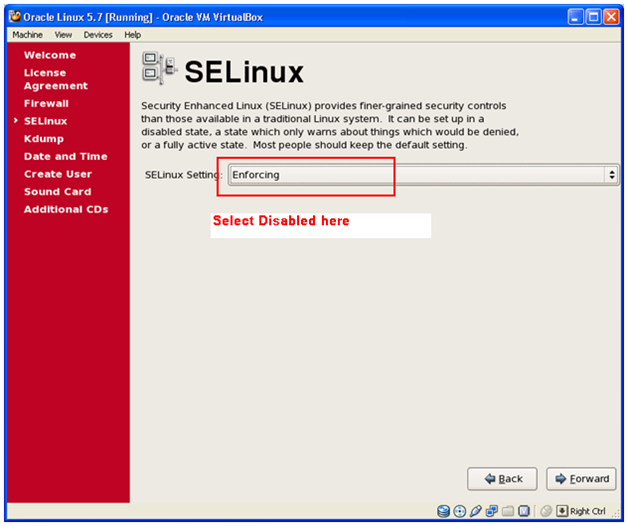
Select Disabled in this screen and click Forward.
Please note that if this is kept Enforcing then at one point the installation will fail to start the services.
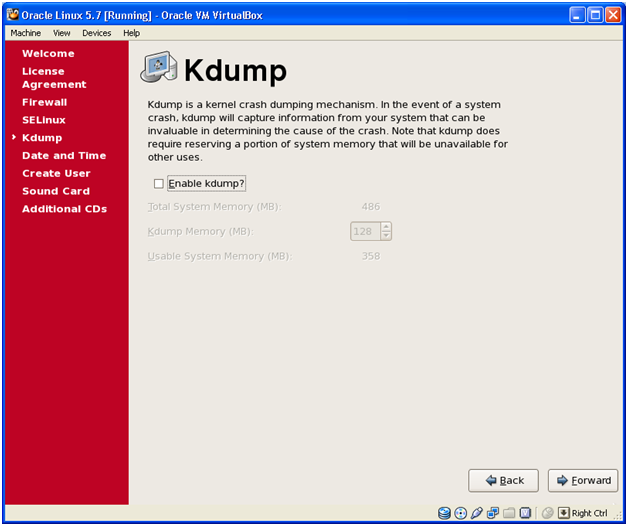
Click Forward
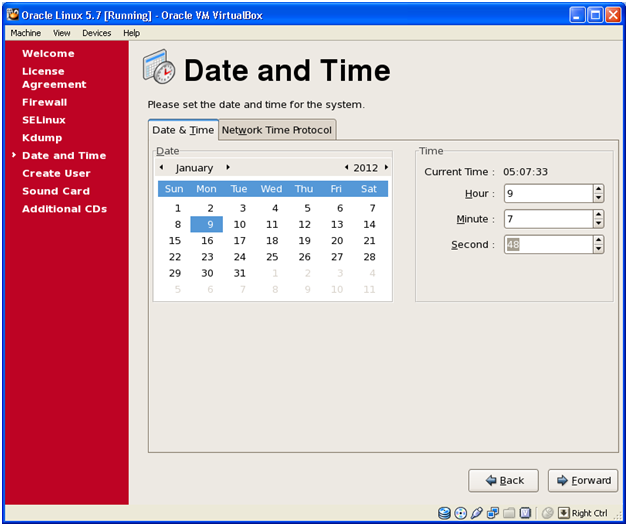
Select correct date and time and click Forward

We can skip this page since we will create users later if required. Just click Forward
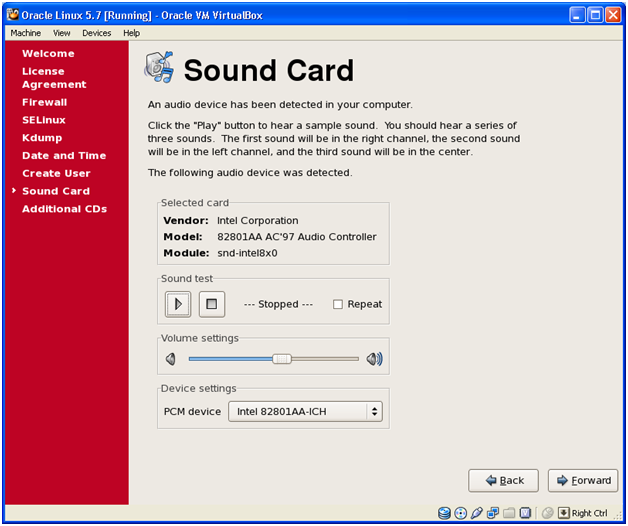
Click Forward
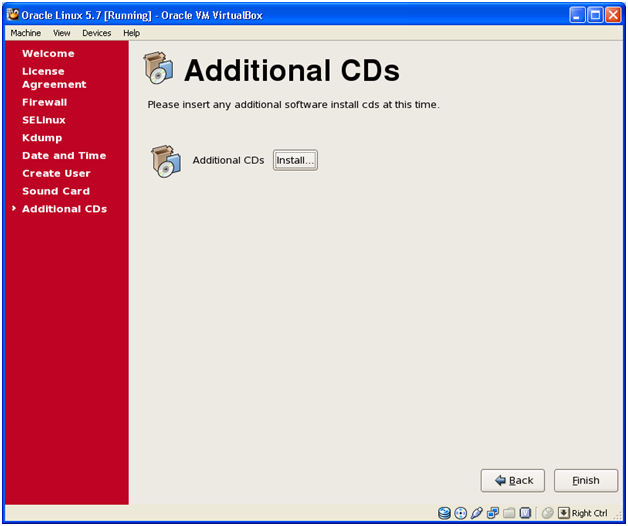
Click Finish. On the login screen, login as root
Now let us check what is the IP range for our VM network. Open command prompt on your host windows OS.
C:>ipconfig
Windows IP Configuration
Ethernet adapter VirtualBox Host-Only Network:
Connection-specific DNS Suffix . :
IP Address. . . . . . . . . . . . : 192.168.56.1
Subnet Mask . . . . . . . . . . . : 255.255.255.0
Default Gateway . . . . . . . . . :
In the ipconfig output look for VirtualBox Host-Only Network. We can see that the IP address is 192.168.56.1. This is our gateway for VM. Since the Subnet mask is 255.255.255.0, we can change the last octet and assign any IP in that range for our VM. Let us select 192.168.56.101 as our VM IP.
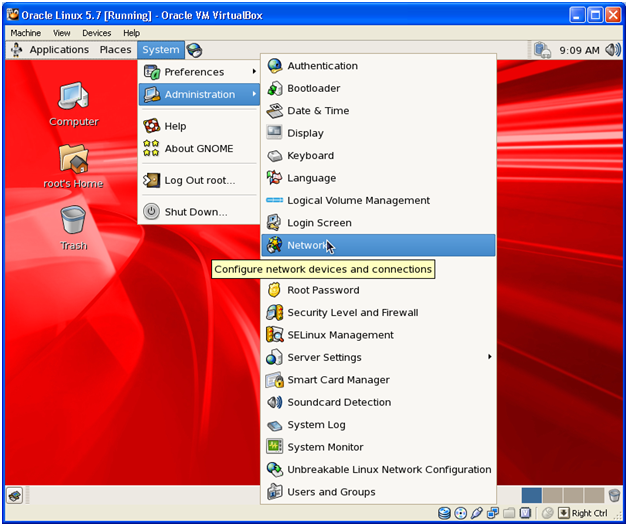
Click on System->Administration->Network

Click on Edit.

Enter manual IP address as follows.
IP: 192.168.56.101
Subnet mask: 255.255.255.0
Gateway: 192.168.56.1
Click on File->Save and click Activate. Now on shell prompt run following command as root to restart network services.
service network restart
Make an entry for this IP for the host in /etc/hosts file. Also comment out IPv6 entry (localhost6). Also create an additional alias fusion.localdomain (we will use this later)
[root@fusion ~]# cat /etc/hosts
# Do not remove the following line, or various programs
# that require network functionality will fail.
127.0.0.1 localhost.localdomain localhost
#::1 localhost6.localdomain6 localhost6
192.168.56.101 fusion fusion.localdomain
Now we must install Guest Additions to smoothly use the VM along with the host windows. We can have higher resolution and also easier mouse movements between VM and host Windows after this.
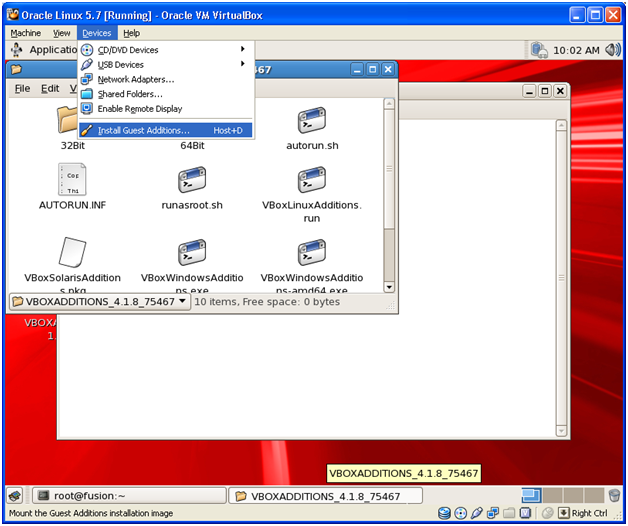
Click Devices-> Install Guest Additions in the VirtualBox menu. This will automatically mount a CD on the VM CD drive.
Then run following commands. Make sure you are logged in as root
cd /media/VBOXADDITIONS_4.1.8_75467
./VBoxLinuxAdditions.run
This will install the Guest Additions. Reboot the VM. Now we can change the resolution to higher value.
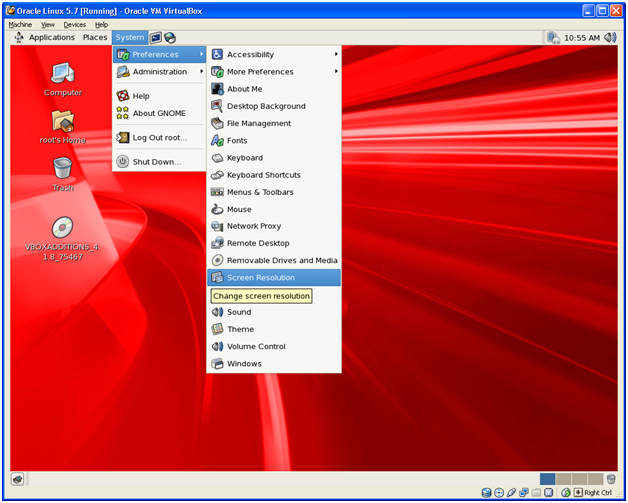
Click on System -> Preferences -> Screen Resolution
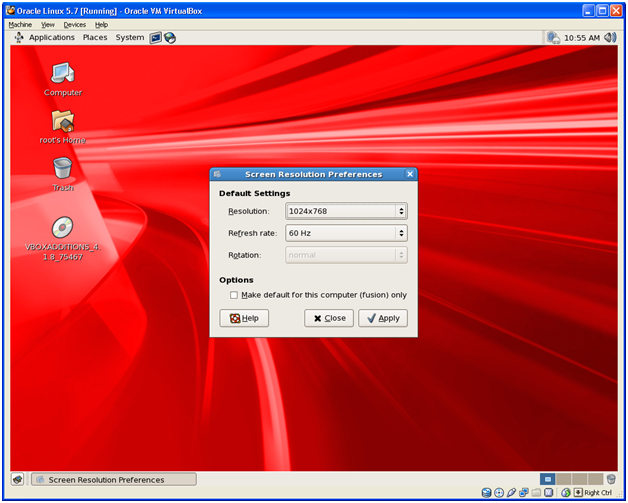
Change the resolution to 1024×768. Click Apply. On next reboot the system will show higher resolution.
Now we will mount the already created Stage directory/Provisioning Repository in the Linux VM.
In the VirtualBox window, click on Settings
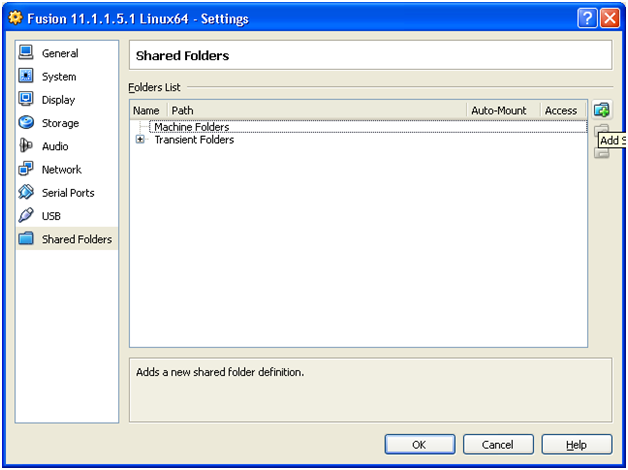
Click on Shared Folders -> Add shared folder
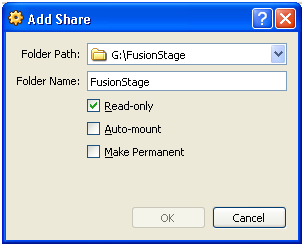
Browse for the directory where we staged the installation files. We will mount it as “Read-only” because we do not want to make any changes in the source folder.
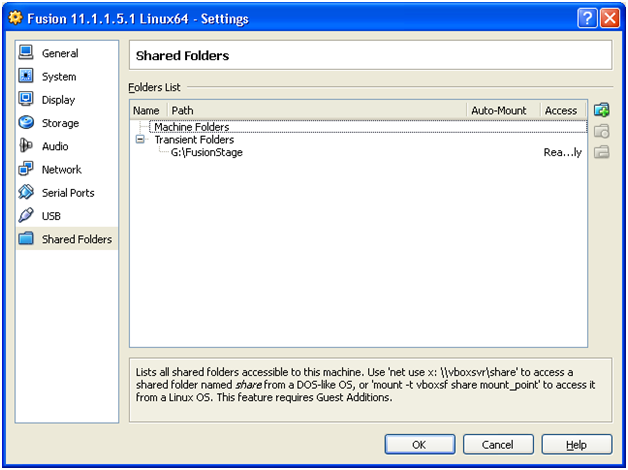
It will look as above. Click OK
Now we will mount it in the VM. Login as root and run following commands.
[root@fusion ~]# mkdir /mnt/fusion
[root@fusion ~]# chown oracle:dba /mnt/fusion/
[root@fusion ~]# mount -t vboxsf Stage /mnt/fusion/
[root@fusion ~]# ls -l /mnt/fusion/
drwxrwxrwx 1 root root 0 Sep 7 08:02 appspatches
drwxrwxrwx 1 root root 0 Jan 8 15:35 installers
drwxrwxrwx 1 root root 0 Sep 7 02:28 jdk6
Please note that since the installation involves graphical interface, you can either run it directly by opening a terminal window from the Virtual Machine GUI or we can use putty on windows to connect to the virtual machine. When you use putty from windows then you must use tools like XManager to view output on host.
Also please make sure that sufficient swap memory is available by using “free –m” command. It least double the amount of RAM should be available as swap space. If not manually add swap files.
For example, adding 4 GB swap space.
[root@fusion fusiondb]# dd if=/dev/zero of=/swapfile1 bs=1024 count=4194304
4194304+0 records in
4194304+0 records out
4294967296 bytes (4.3 GB) copied, 112.697 seconds, 38.1 MB/s
[root@fusion fusiondb]# mkswap /swapfile1
Setting up swapspace version 1, size = 4294963 kB
[root@fusion fusiondb]# swapon /swapfile1
[root@fusion fusiondb]# free -m
total used free shared buffers cached
Mem: 2506 2386 119 0 9 1871
-/+ buffers/cache: 505 2000
Swap: 5605 152 5452
Next: Installing Fusion Applications Provisioning Framework
Installing Oracle Fusion Applications – steps
- Installing Fusion Applications Provisioning Framework
- Installing Oracle 11g Database (Applications Transactional Database)
- Running Oracle Fusion Applications Repository Creation Utility (Applications RCU)
- Creating another database for Oracle Identity Management Infrastructure (optional)
- Running Repository Creation Utility (RCU) for Oracle Identity Management components
- Installing Oracle Identity and Access Management Components
- Configuring Oracle Identity and Access Management components
- Integrate Oracle Identity Manager (OIM) and Oracle Access Manager (OAM)
- Creating a New Provisioning Plan
- Provisioning an Applications Environment
I have downloaded oracle linux from oracle site and converted it in to iso file.
when im trying to boot getting eror
no bootable medium found system halted..
Hello Admin,
Your blog is THE best Blog, I follow your instruction for 11.1.3 and 11.1.5 for single node, where didn’t face much issues except those post configure issue, which are easily resolvable.
But when I follow your two node I face performance issue, everthing when smooth, but when I finished everything till create the response file (second last step) my virtual box acts like crazy average load is around 20-25 all the time, I shut down couple of times restarted the server, deleted /tmp files, did everything whatever I have knowledge, but load is not coming down.
I have assigned 31GB RAm and 30GB swap (because in my physical Machine I have 128 GB RAM).
and all the 31 GB is consumed and when I clear the server cache/pages then it free up 15GB but in 10-15 min it again eat up by some process.
It look like some thread is stuck which is eating up cpu and memory.
Can you please advice me what to do in this case?
Thanks
R K
Dear R K,
Usually high memory/CPU usage on IDM node is most likely due to the reconcilation jobs running in OIM. But since you have not yet started provisioning, that should not be the case. Did you try to see which processes are taking up more memory? Based on that we can troubleshoot. If possible I would try to connect remotely to your machine to troubleshoot but right now working with another user to set up Fusion VM for him. Meanwhile please check the high memory usage processes and post details here.
Best regards
Tushar
Hello Tusar,
Thanks a million for responding me back,
Actually I did change one configuration in all IDM servers.
Here is what I change,
vde.quota.max.conpersubject value change from 100 to 300.
Then my average load went down from 24 to 6-8 after restarting the server.
Then I start installing fusion application.
I am getting weird issue in Postconfigure phase. I will post on the other page.
Thanks
RK
Very nice blog. I am trying to install Fusion Apps in Oracle VM in Oracle Virtual box. I have 13.5 GB RAM. Do you think if I increase the swap size to 25GB, I can go ahead and install it. I just want to practice installation. I know I may not be able to bring servers. I will try HCM application.
thank you
Jyothi
Please wait while we update the next steps. All steps will be posted by tomorrow.
– ORATraining Admin