Installing 11g RAC on Linux VM: Install Oracle Database software and create RAC database
Previous:
You can start database installation from <stage>/database directory as follows. Make sure to use database owner user oradb.
[oradb@dbhost1 ~]$ cd /mnt/hgfs/setup/database/
[oradb@dbhost1 database]$ ./runInstaller
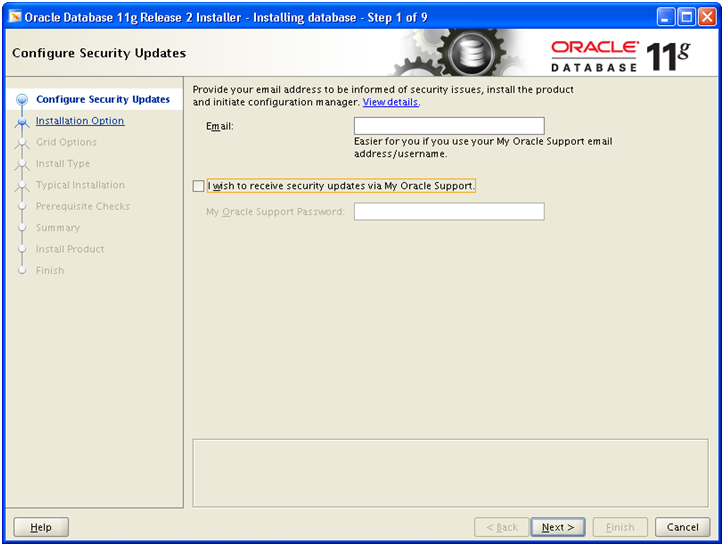
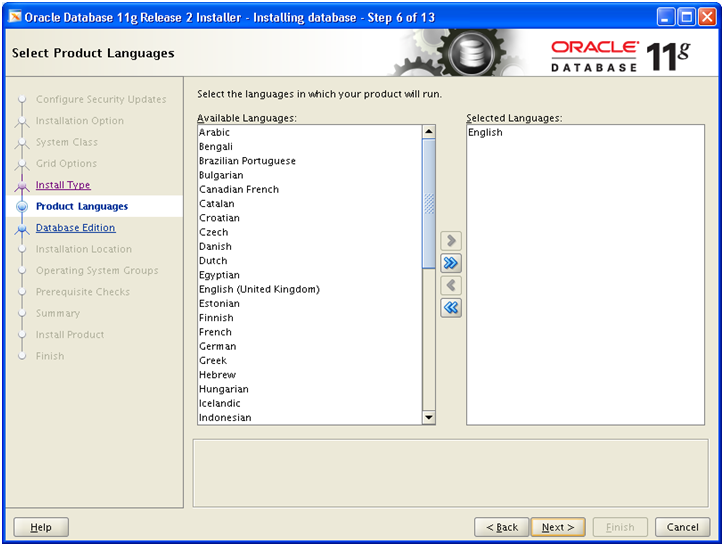
Deselect the checkbox and click Next
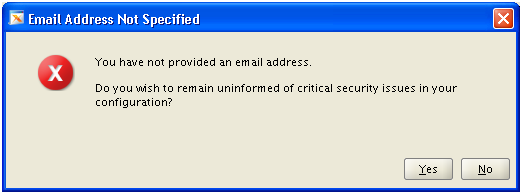
Click Yes
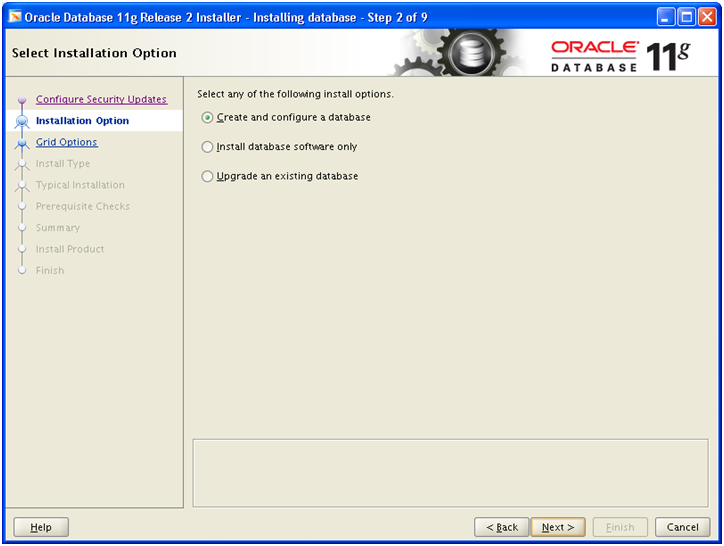
Select “Create and configure a database”. We can also install database software and later create database using DBCA. But here we will choose to create database as well. Click Next
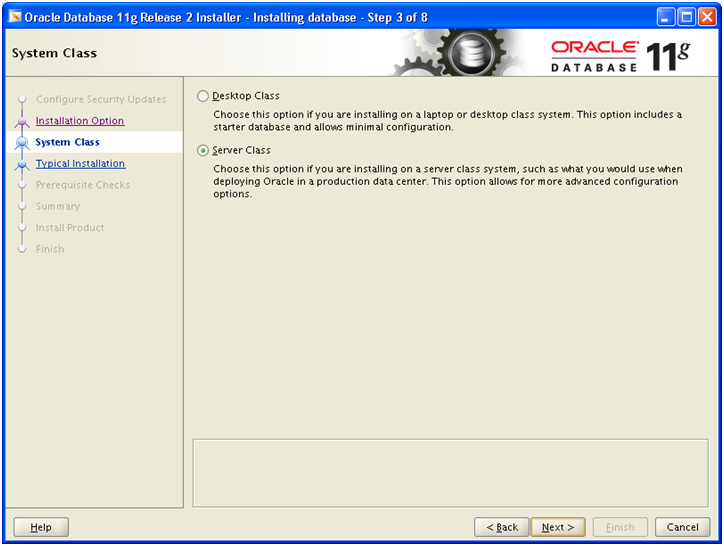
Select Server Class and click Next
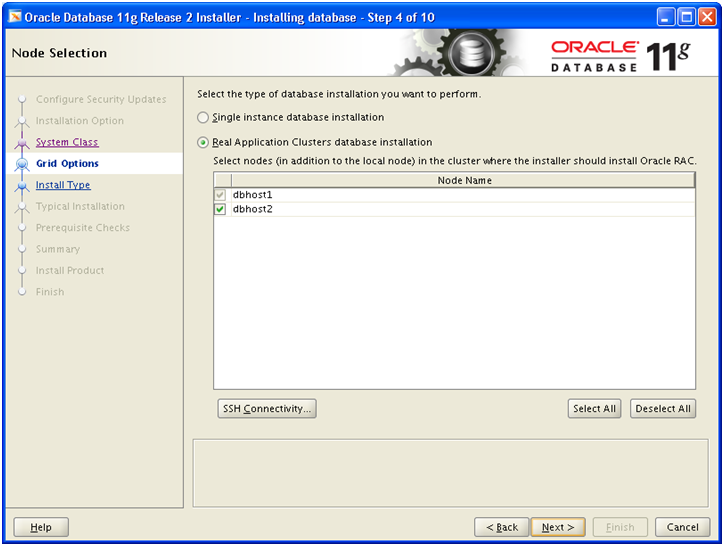
Since it detects presence of clusterware, it will prompt you to select RAC database installation. Select RAC and also select all nodes. Click Next
Note: If this screen does not come then do not proceed, since it may not have detected cluster services running. You must get this screen for proper installation of RAC database.
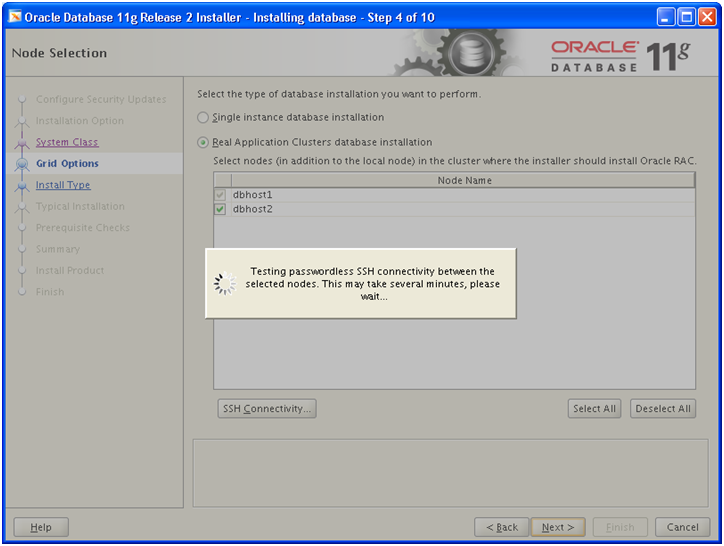
It will test passwordless connectivity for oradb user on both nodes.
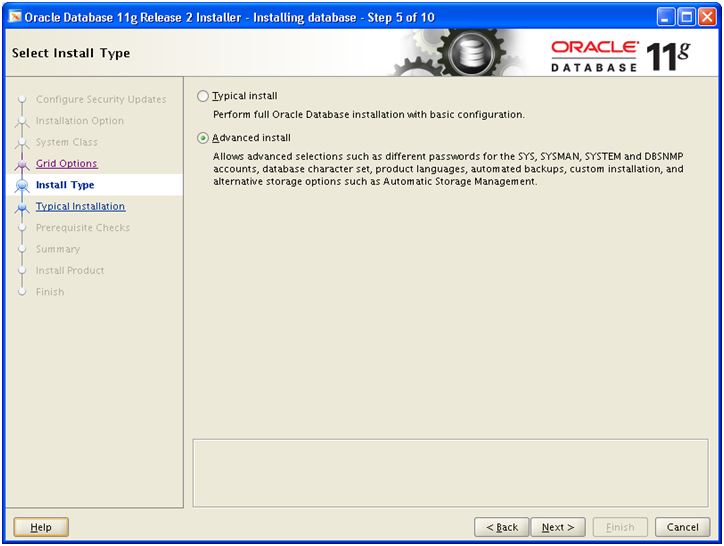
Select “Advanced install” and click Next
Click Next
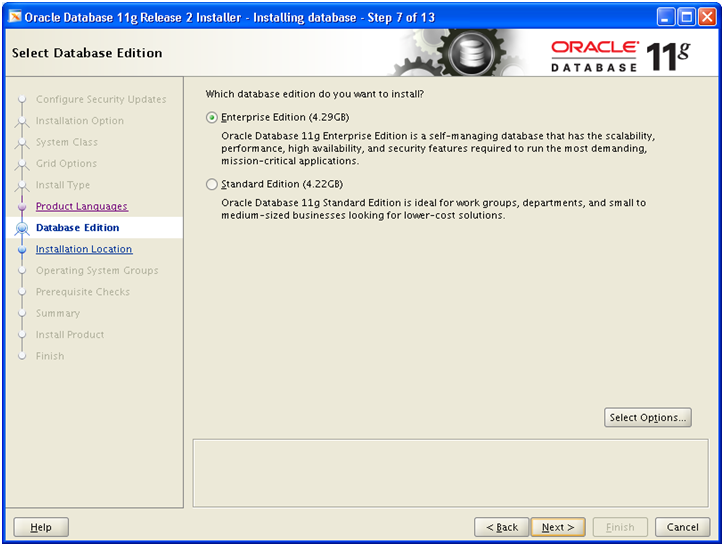
Select Enterprise Edition. Click on Select Options.
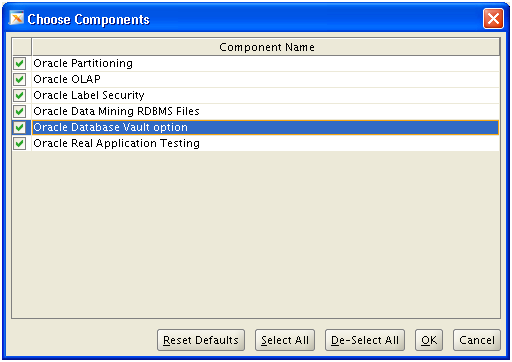
Select whichever options you need. In production systems be careful to select only those options which you have licensed.
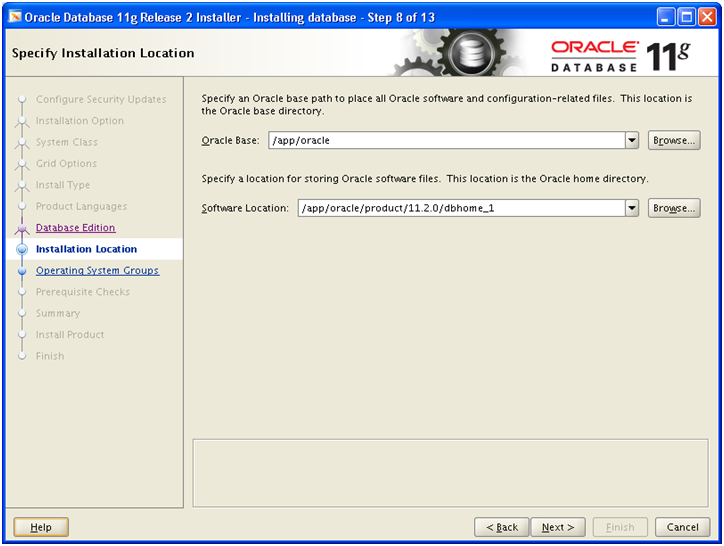
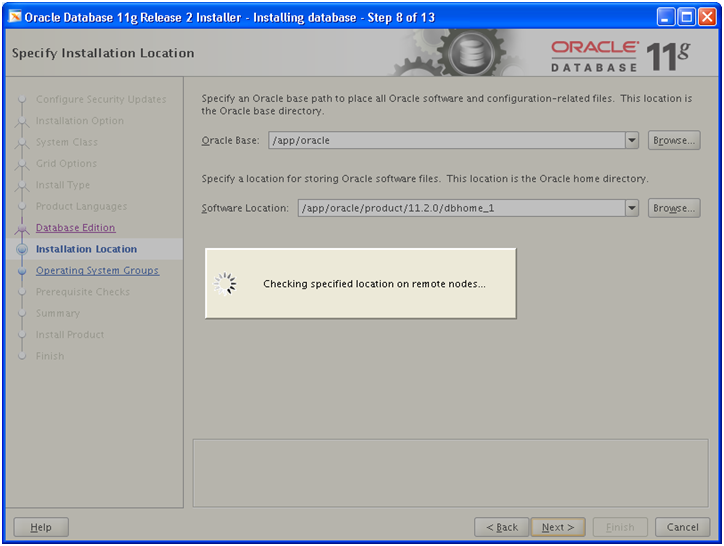
Select Software Location as /app/oracle/product/11.2.0/dbhome_1
This will be your ORACLE_HOME. Click Next
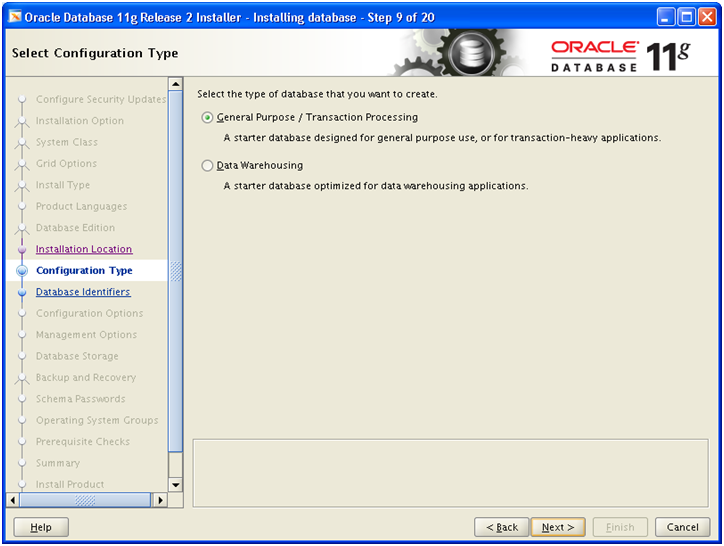
Select “General Purpose / Transactional Processing”. Click Next
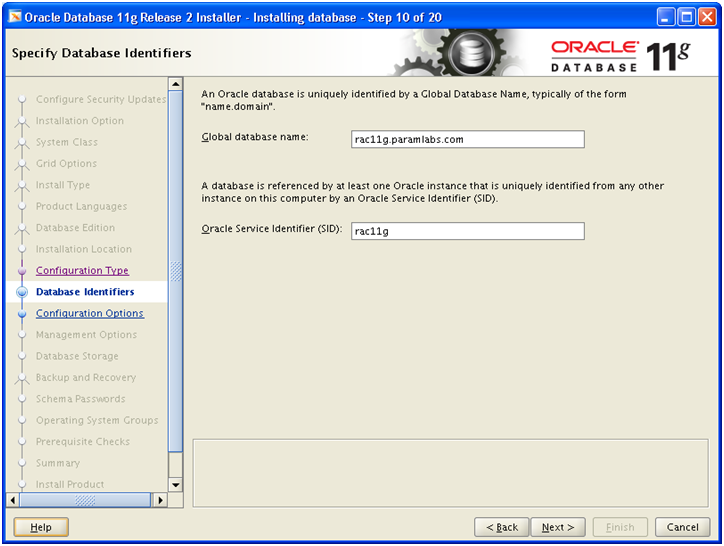
Select appropriate name for your database. Click Next
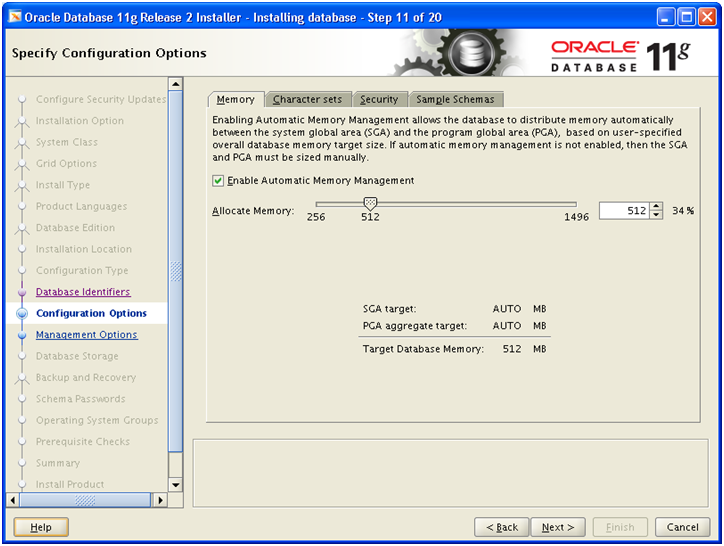
Select “Enable Automatic Memory Management” and the amount of memory to be allocated. Click on second tab “Character sets”.
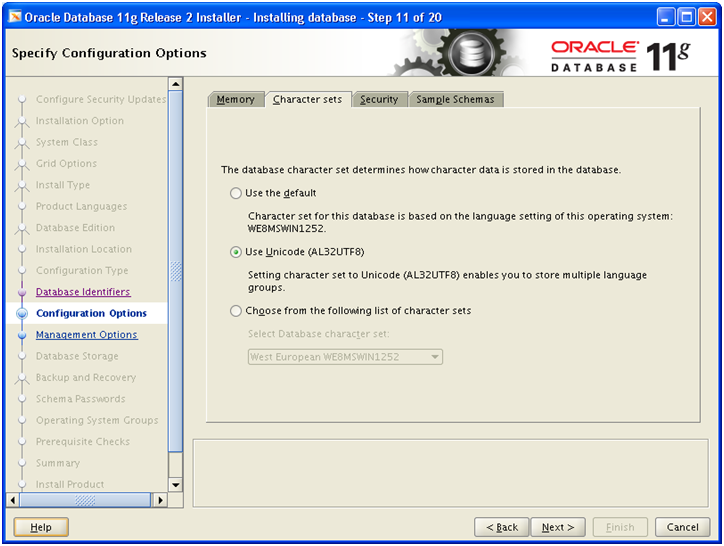
Select Unicode. This is best option if you are planning to use non-English characters in future since it supports all Unicode characters. Click Next
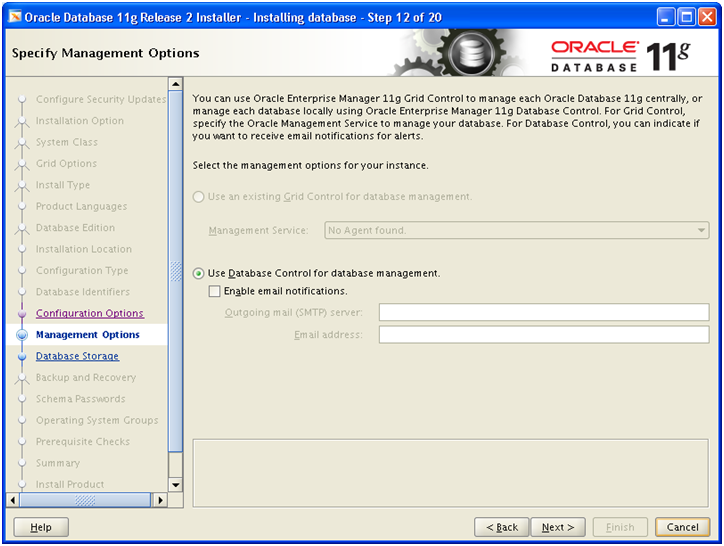
Click Next
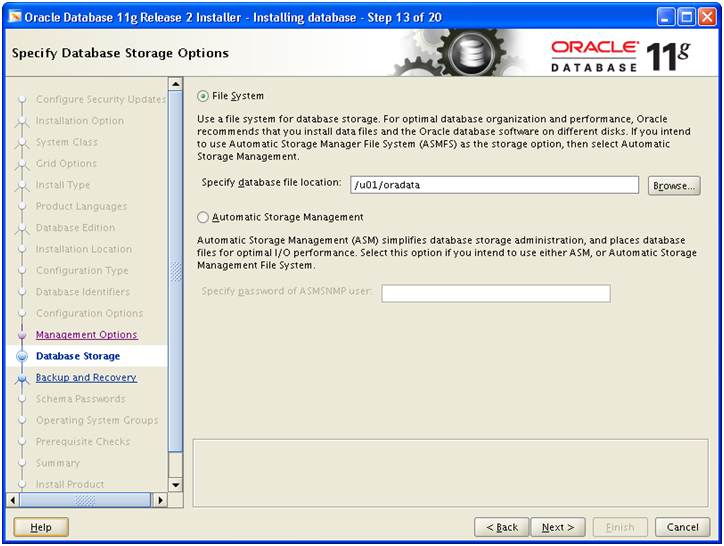
Select File System and specify location as /u01/oradata
Click Next
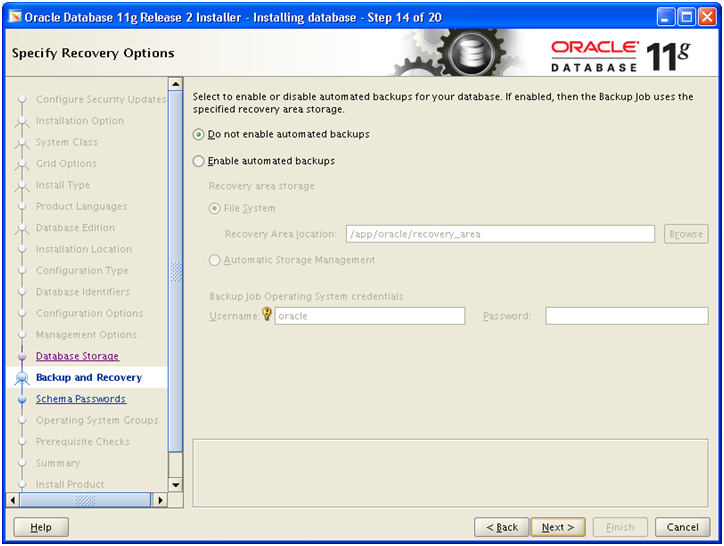
Since this is demo database, select “Do not enable automated backups”. Click Next
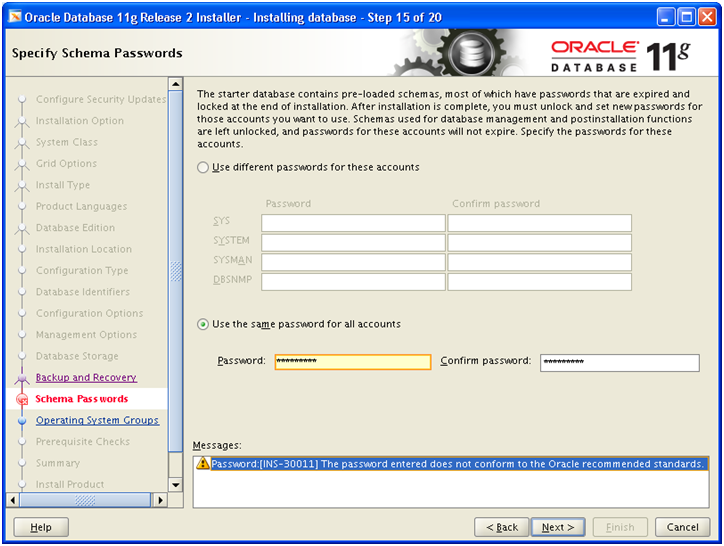
For Demo database you can choose same password for all accounts. Click Next
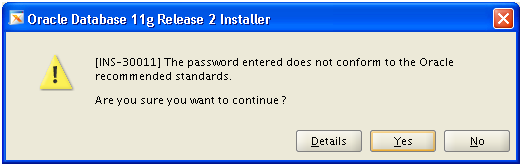
Click Yes if you want to keep simple password.
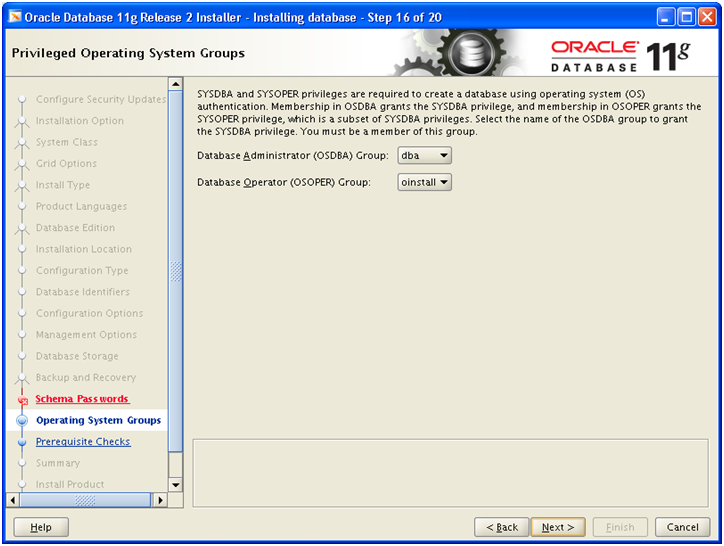
Select dba and oinstall respectively. Click Next
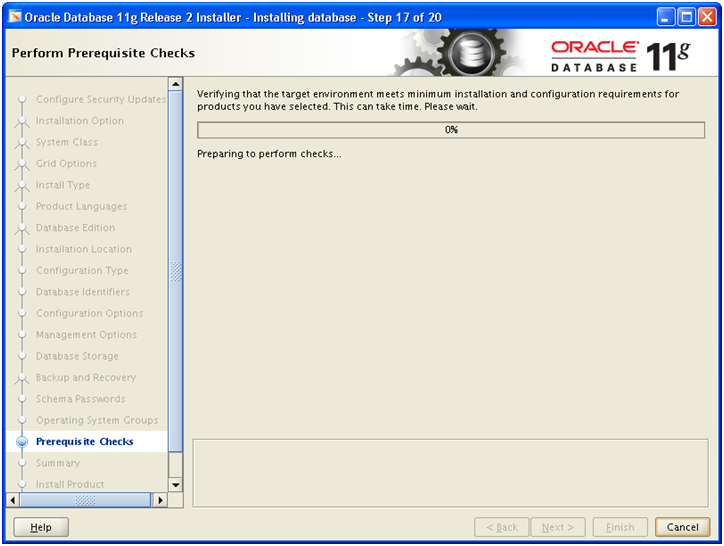
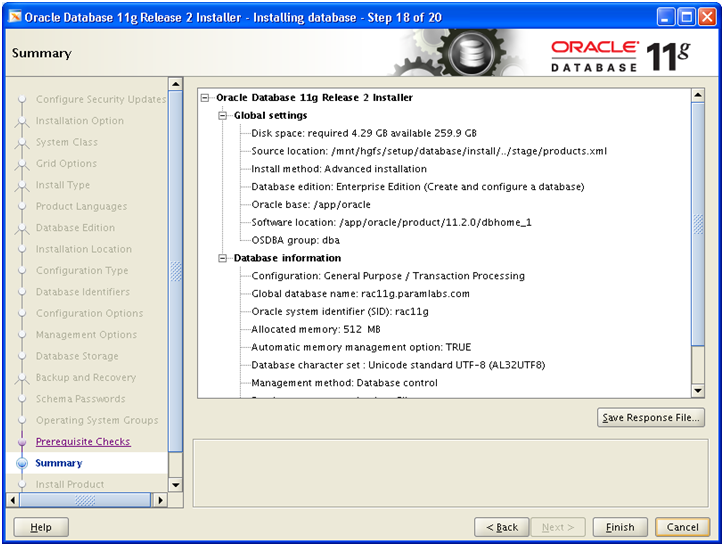
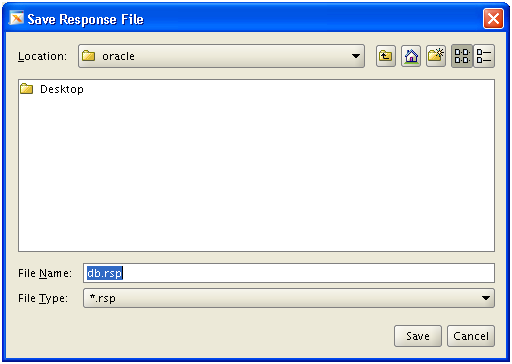
Review the summary and save response file if required. Click Finish once response file is saved.
[oracle@dbhost1 database]$ You can find the log of this install session at:
/app/oraInventory/logs/installActions<timestamp>.log

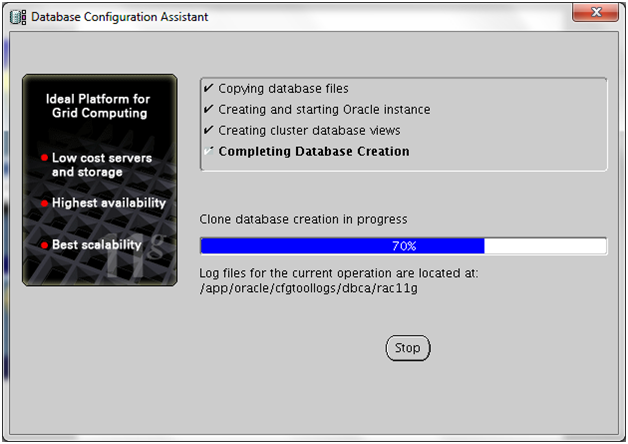
Next it will create the database as we had selected to create database as well. Please make sure that /app/oracle/cfgtoollogs directory has write permission for group members. If not, please execute following to avoid log file write errors.
chmod g+w /app/oracle/cfgtoollogs/
Once this completes, it will prompt you to run $ORACLE_HOME/root.sh file on both nodes. I have missed to take that last part screenshot so not including in this post. This script will run multiple scripts within it which change a few permissions, ownership and add entry for database in /etc/oratab file
Once installation is finished, you can make sure that the database is running on both nodes using following command.
[oradb@dbhost1 ~]$ srvctl status database -d rac11g
Instance rac11g1 is running on node dbhost1
Instance rac11g2 is running on node dbhost2
Also you can login to the database and check.
[oradb@dbhost1 ~]$ sqlplus / as sysdba
SQL*Plus: Release 11.2.0.1.0 Production on **
Copyright (c) 1982, 2009, Oracle. All rights reserved.
Connected to:
Oracle Database 11g Enterprise Edition Release 11.2.0.1.0 – 64bit Production
With the Partitioning, Real Application Clusters, OLAP, Data Mining
and Real Application Testing options
SQL> select inst_id, instance_name, status from gv$instance;
INST_ID INSTANCE_NAME STATUS
———- —————- ————
1 rac11g1 OPEN
2 rac11g2 OPEN
Shutdown/Startup steps for 11gR2 RAC on VMs
1. Shutdown steps
Since all cluster resources including database, listeners etc can be controlled by Oracle Clusterware Control script (crsctl), we can directly shutdown all services using this crsctl or crs_stop script.
oracle@dbhost1 ~]# /app/oracle/11.2.0/grid/bin/crs_stop –all
if you want to only shutdown database or listener, use following commands.
oracle@dbhost1 ~]# /app/oracle/11.2.0/grid/bin/srvctl stop listener
oracle@dbhost1 ~]# /app/oracle/11.2.0/grid/bin/srvctl stop database –d rac11g
2. Startup steps
You can startup all cluster resources including database and listener using crsctl or crs_start script.
Before this, make sure that you have booted Node 1 first and then Node 2. Give it some time to bring up clusterware related services so that they both can communicate to the CRS daemon.
Run following command to verify cluster is up.
root@dbhost2 ~]# /app/11.2.0/grid/bin/srvctl status nodeapps
VIP dbhost1-vip is enabled
VIP dbhost1-vip is running on node: dbhost1
VIP dbhost2-vip is enabled
VIP dbhost2-vip is running on node: dbhost2
Network is enabled
Network is running on node: dbhost1
Network is running on node: dbhost2
GSD is disabled
GSD is not running on node: dbhost1
GSD is not running on node: dbhost2
ONS is enabled
ONS daemon is running on node: dbhost1
ONS daemon is running on node: dbhost2
eONS is enabled
eONS daemon is running on node: dbhost1
eONS daemon is running on node: dbhost2
if everything is fine the use following commands to startup cluster resources including database and listener.
oracle@dbhost1 ~]# /app/11.2.0/grid/bin/crs_start -all
if you want to only start database or listener, use following commands.
oracle@dbhost1 ~]# /app/11.2.0/grid/bin/srvctl start listener
oracle@dbhost1 ~]# /app/11.2.0/grid/bin/srvctl start database -d rac11g
This concludes the installation of Oracle 11gR2 RAC (11.2.0.1) on 2 VM nodes. You should upgrade this to 11.2.0.3 to leverage best functionalities and bug fixes in 11gR2. I will cover this in another post.
If your installation had failed during database creation/configuration part, no need to restart the installation. You can manually create database using Database Configuration Assistant (DBCA). This will automatically detect presence of Oracle clusterware and register database into RAC.
Thanks for reading this article and feel free to ask any questions or help others who have questions in the comments section.
Happy Learning !
Tushar
1. Create Virtual Machine and install 64 bit Linux (generic step from previous post, not specific to this guide)
2. Add additional virtual Ethernet card and perform prerequisites in Linux
3. Copy/clone this virtual machine to create second node and modify host details
4. Setup shared file system and other pre-requisites
Thnks for sharing all steps with screen shots.
my linux box reboots during creation of db:
[CloneRmanRestoreStep.generateRestoreScript:731] tablespace name:=USERS
Dear Tusha,
I have done all the above steps to install the RAC 11gr2 and it is successfully completed.
But when i execute the the command “srvctl status database -d rac11g” to check the database status, i get “-bash: srvctl: command not found”.
Need solution.
Rgds,
Shahid
Hi,
You need to set ORACLE_HOME and PATH variable with $ORACLE_HOME/bin in the path and source the profile. This will help shell find the srvctl command
Regards
Tushar