Oracle Fusion Applications Installation: Run Repository Creation Utility (RCU) for Oracle Identity Management components
Previous: Run Oracle Fusion Applications Repository Creation Utility (Applications RCU)
Important Note: Please note that we are not creating a separate database here for Oracle Identity Management components, though it is recommended but not mandatory to have a separate database for this. But since we are doing single node installation for Fusion Middleware and database node, we have to manage memory properly and hence we are not creating separate database instance.
We will create these schemas in our Fusion Database (fusiondb) itself since the schema names are distinct compared to Fusion Application schemas. We will save a lot of Memory for our Virtual Machine.
In order to run RCU for Identity Management on same database, we must set the open_cursors parameter to 800.
Open a new database session and set following values.
SQL> show parameter open_cursors
NAME TYPE VALUE
———————————— ———– ——————————
open_cursors integer 500
SQL> alter system set open_cursors=800 scope=both sid=’*’;
System altered.
SQL> show parameter open_cursors
NAME TYPE VALUE
———————————— ———– ——————————
open_cursors integer 800
As we mentioned in the previous post, RCU for Oracle Identity Management components is only available for Linux and Windows platforms and the Fusion Application setup ships with Linux only RCU for Identity Management components.
If you want to run from Widnows (if your FA installation is on Windows, Solaris, HP-UX or AIX) then the RCU file can be downloaded from oracle website. The name on edelivery is V29675-01.zip while the name on technetwork download site is ofm_rcu_win_11.1.1.6.0_disk1_1of1.zip or any newer file (if available) which includes Repository Creation Utility for 11.1.1.6.0 Fusion Middleware Components.
[fusion@fmwhost fmw_rcu]$ mkdir /app/fusion/provisioning/fmw_rcu
[fusion@fmwhost fmw_rcu]$ cd /app/fusion/provisioning/fmw_rcu
[fusion@fmwhost fmw_rcu]$ unzip /mnt/hgfs/setup/installers/fmw_rcu/linux/rcuHome.zip
Launch Repository Creation Utility for Oracle Identity Management from<Framework_location>/fmw_rcu/bin location
Launch the utility using ./rcu command
[fusion@fmwhost fmw_rcu]$ cd /app/fusion/provisioning/fmw_rcu/bin
[fusion@fmwhost bin]$ ./rcu &
Click Next
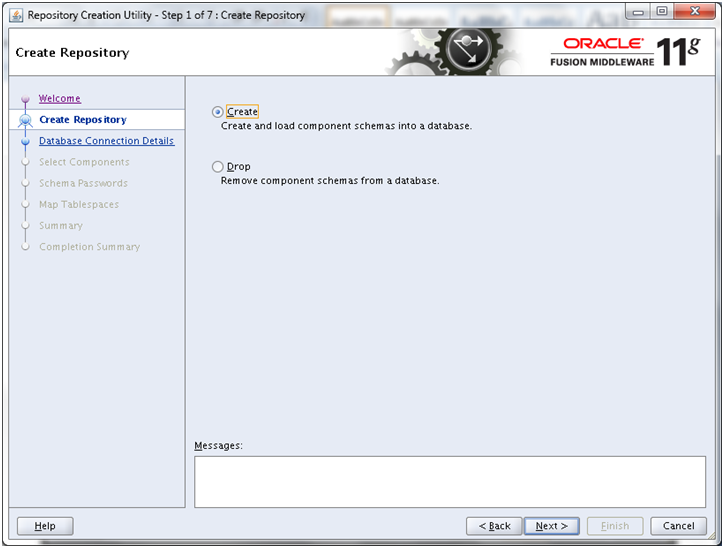
Select Create and click Next
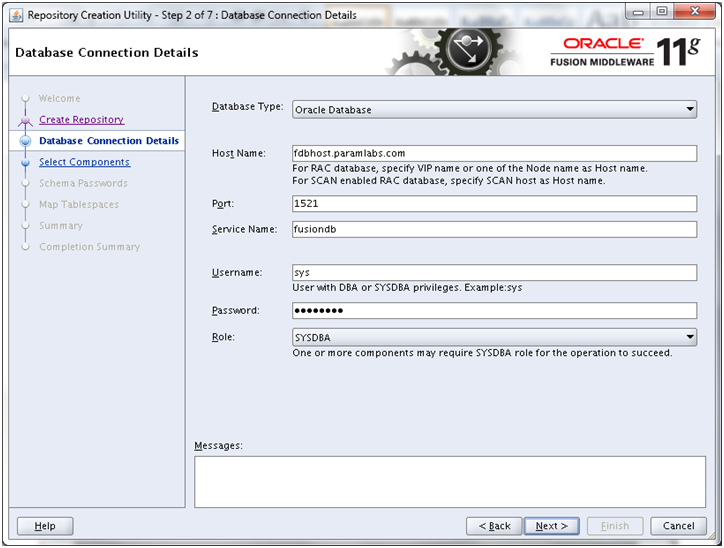
Enter details of our existing database and click Next
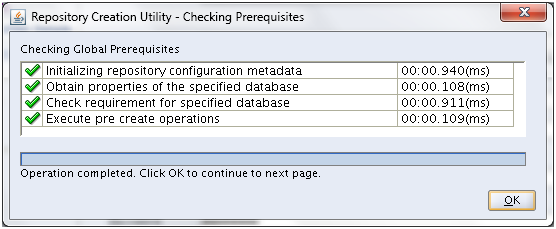
Once prerequisites check completes, click OK
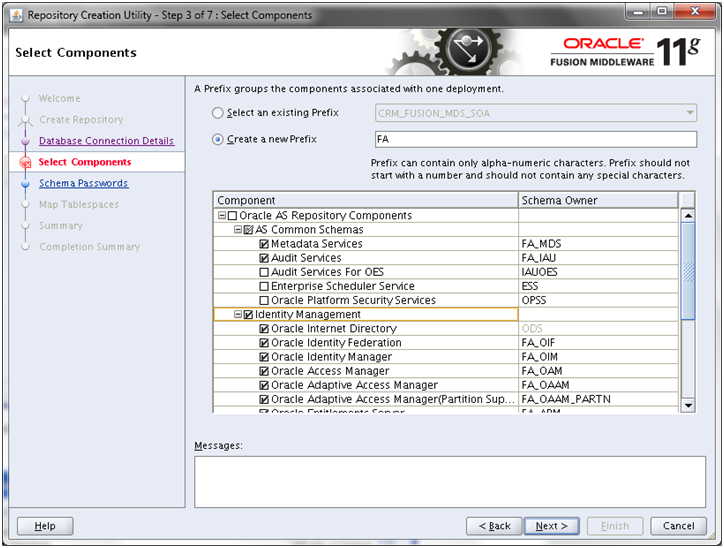
Mention any prefix for Identity Management related schemas. The default value is DEV while we have changed it to FA. As per fusion applications documentations, they have given example as EDG or ISA. You can use whichever you want but please make a note of this since at many places you will need to mention the schema name.
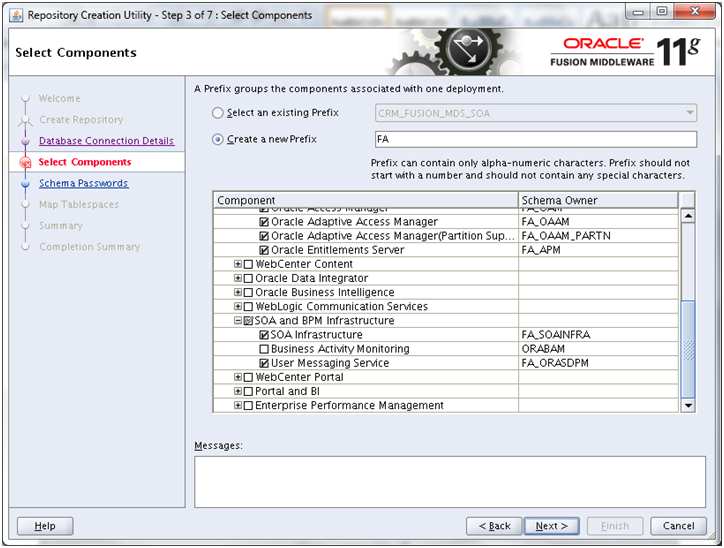
Select all “Identity Management” components and click Next
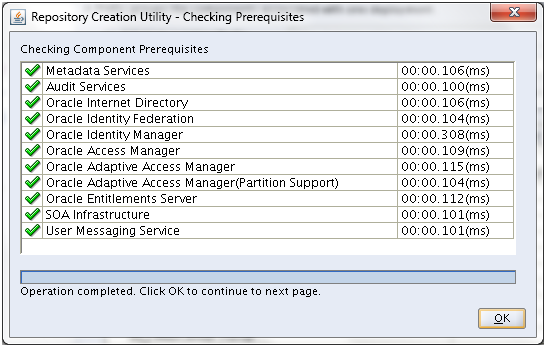
Once prerequisites check is completed, click OK
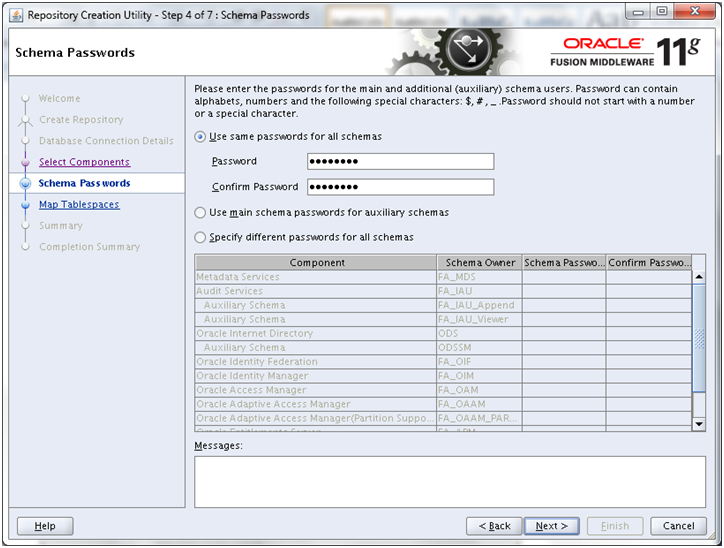
We have specified single password for all users i.e. Oracle123. Click Next
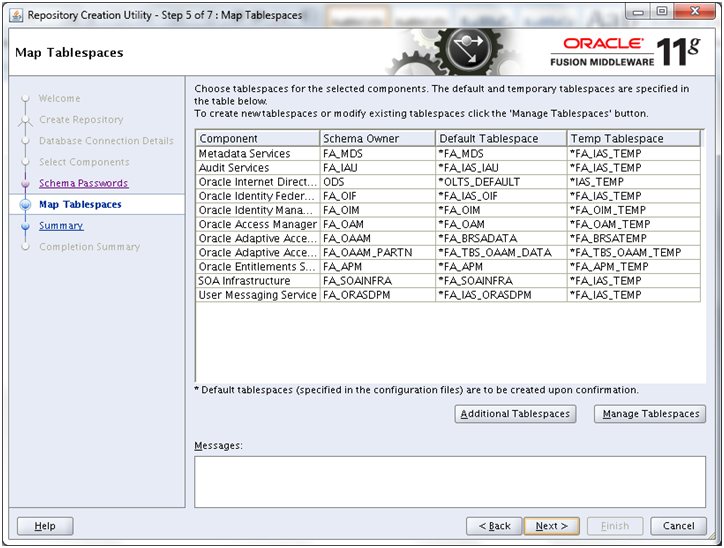
Review the information and click Next
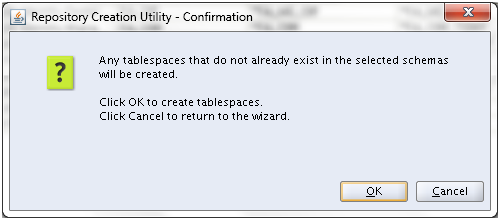
Click OK to create the tablespaces.
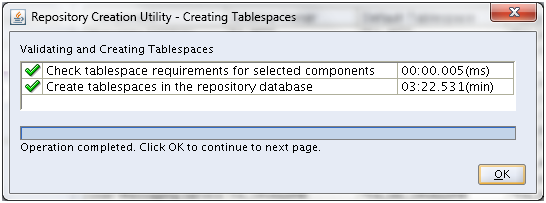
Once tablespaces creation is complete, click OK
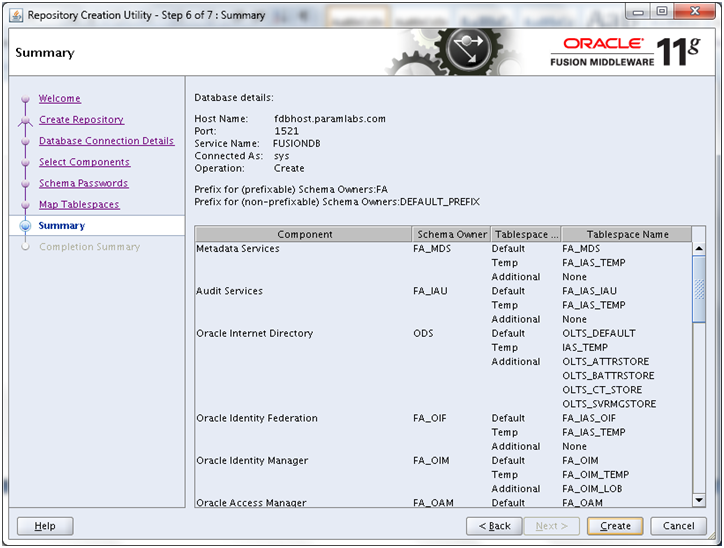
Click Create to create users and start import.
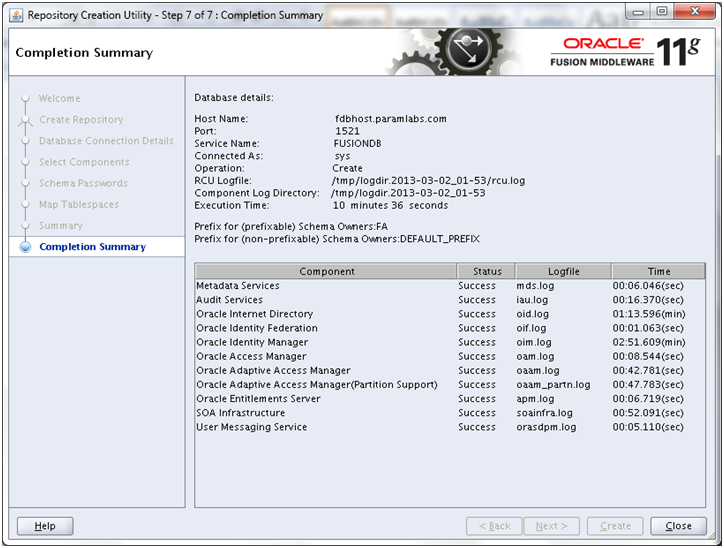
Once import completes, above script appears. Click Close to finish RCU.
Make sure that there are no invalid objects after the import.
SQL> select owner, count(1) from dba_objects where status=’INVALID’ group by owner;
OWNER COUNT(1)
—————————— ———-
FA_OIM 3
FA_SOAINFRA 2
Since we can see some invalids, we can compile them.
SQL> @?/rdbms/admin/utlrp
SQL> select owner, count(1) from dba_objects where status=’INVALID’ group by owner;
no rows selected
Next: Install Oracle Identity and Access Management Components
Installing Oracle Fusion Applications – steps
- Install Fusion Applications Provisioning Framework
- Install Oracle 11g Database (Applications Transactional Database)
- Run Oracle Fusion Applications Repository Creation Utility (Applications RCU)
- Create another database for Oracle Identity Management Infrastructure (optional)
- Run Repository Creation Utility (RCU) for Oracle Identity Management components
- Install Oracle Identity and Access Management Components
- Apply mandatory Patches
- Configure Oracle Identity and Access Management components
- Integrate Oracle Identity Manager (OIM) and Oracle Access Manager (OAM)
- Install provisioning framework on Node 2
- Create new Response File
- Provision an Applications Environment (Editing in progress, this link currently points to 11.1.5 counterpart)
Recent Comments