Oracle Fusion Applications Installation: Create new Response File
Previous: Integrate Oracle Identity Manager (OIM) and Oracle Access Manager (OAM)
This step has to be done on node 2 (Fusion Applications Node). Make sure you are having /etc/hosts or DNS entry for node 1 in node 2 and vice versa and you can reach both servers from each other.
Since Provisioning Wizard comes as part of Provisioning framework, you must Install Fusion Applications Provisioning Framework on node 2 as well. Follow this link for steps of the same.
Install Fusion Applications Provisioning Framework
Once this is done, in order to create a new fusion applications Response File we should launch the provisioning wizard again from <framework_location>/bin
<framework_location> is same what we mentioned in previous post. i.e. /app/fusion/provisioning
Note: The step which was earlier called “Provisioning Plan” is now called “Response File” since last couple of releases.
Unzip the JDK from stage directory.
[fusion@fahost ~]$ cd /app/fusion/
[fusion@fahost ~]$ unzip /mnt/hgfs/setup/installers/jdk/jdk6.zip
[fusion@fahost ~]$ export JAVA_HOME=/app/fusion/jdk6
[fusion@fahost ~]$ cd /app/fusion/provisioning/bin
[fusion@fahost bin]$ ./provisioningWizard.sh &
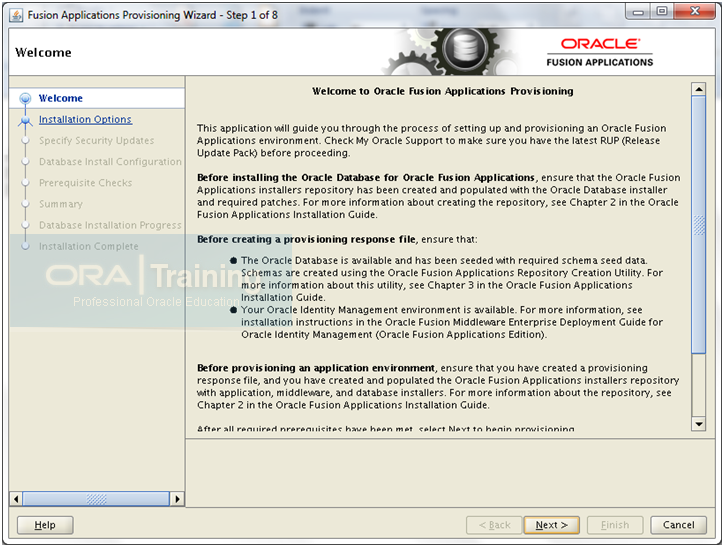
Click Next
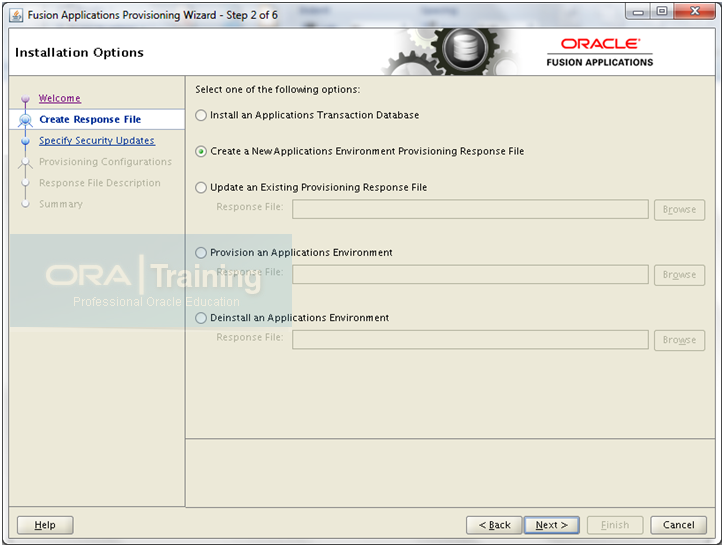
Select “Create a New Applications Environment Provisioning Response File” and click Next
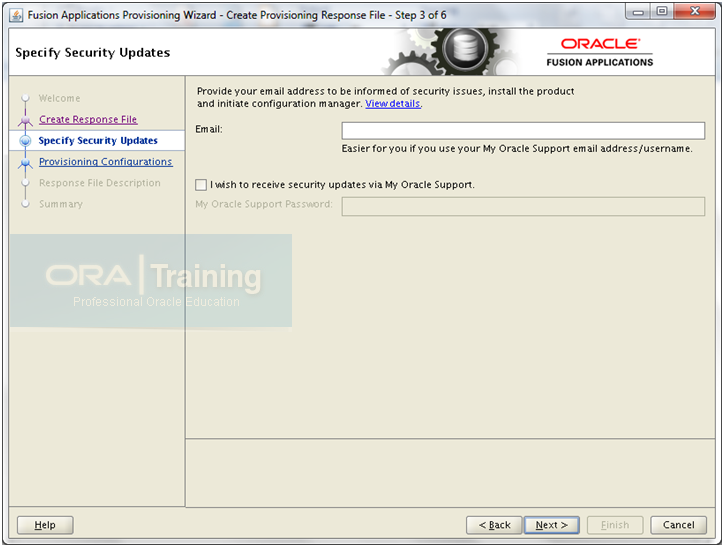
Deselect the checkbox and click Next
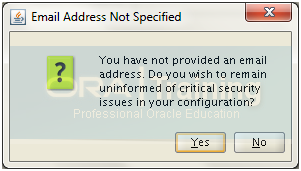
Click Yes
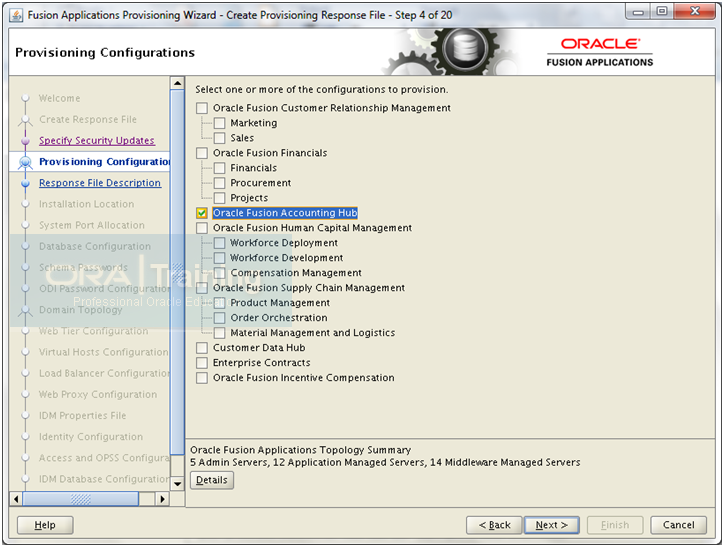
We are installing Oracle Fusion Accounting Hub here. You can select the product which you want to configure. Please note that just like eBusiness Suite, here also it will configure other modules regardless which module you have selected due to the dependencies between modules.
You can see how many Admin and managed servers will be created for this configuration in the below panel.
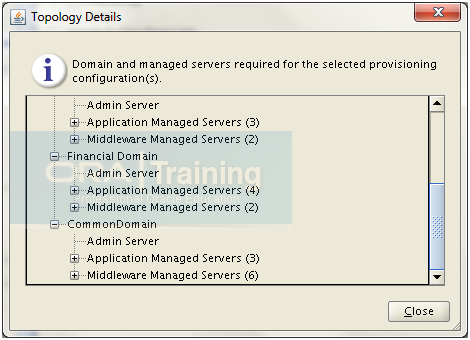
Click on details to see how many Domains, Admin and managed servers will be created with this selected configuration.
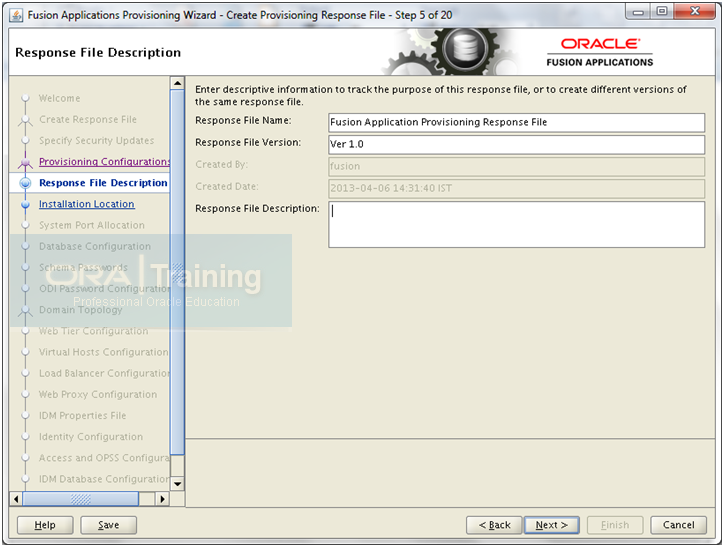
Enter desired values here and click Next
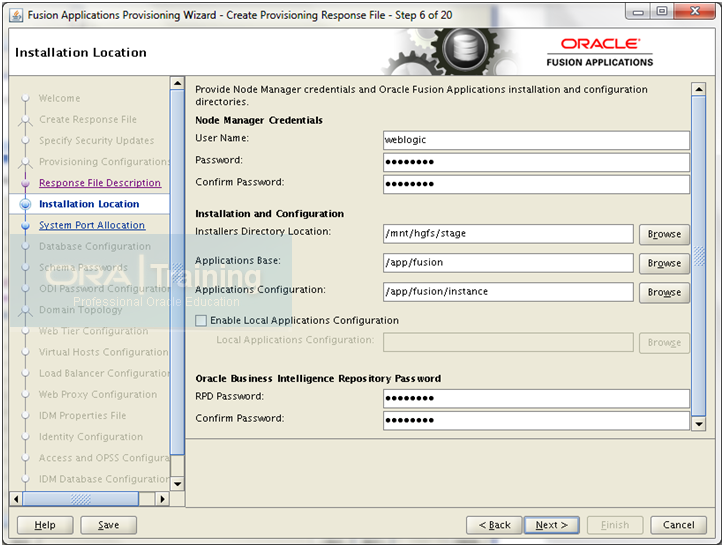
Enter following values.
User Name: weblogic
Installers Directory Location: <Repository_location> (for our case /stage or /mnt/hgfs/stage)
Applications Base: /app/fusion
Applications Configuration: /app/fusion/instance
RDP Password: <Enter the same password as earlier here>
Note: You would see a change in this screen. We don’t specify the idmDomainConfig.param file here in this screen as we used to do till 11.1.4 release. There is a dedicated screen for this later.
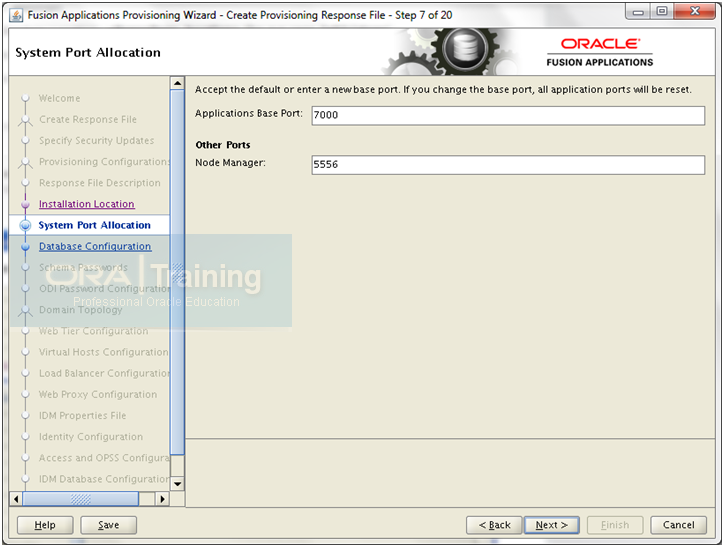
The default Base port is 7000 and since now we have 2 nodes installation, there will not be any conflict with IDM node which also has few overlapping ports. Remaining are automatically selected based on what value you give as base port.
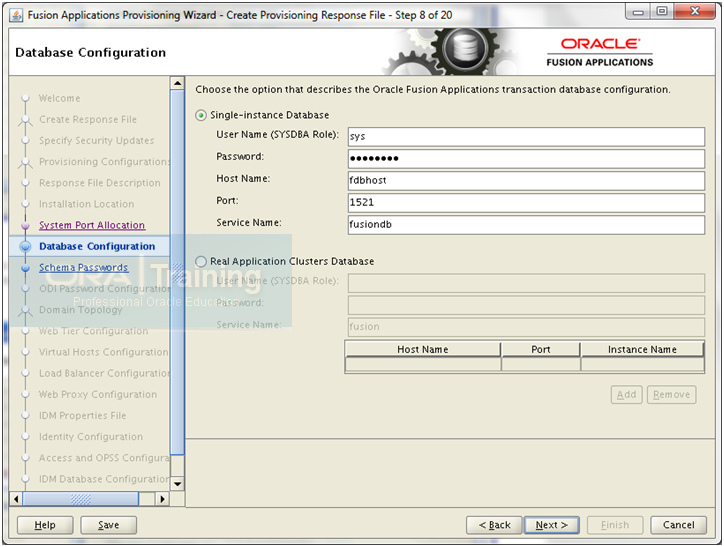
Enter the database details here and click Next
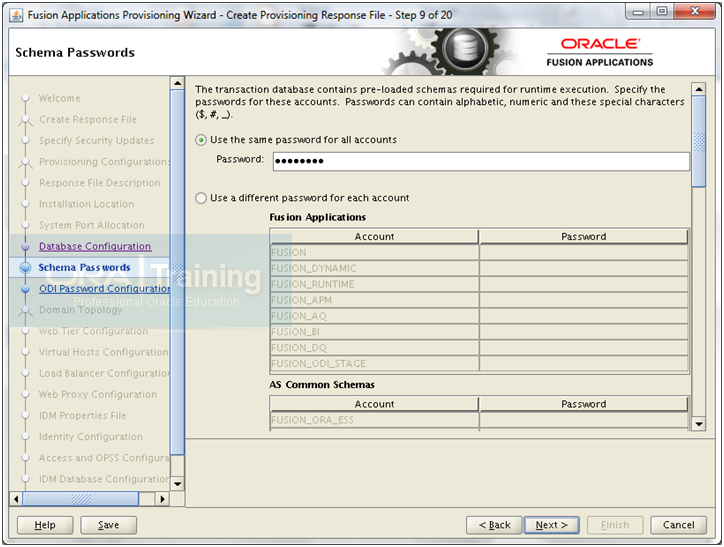
Enter same password for all accounts and click Next
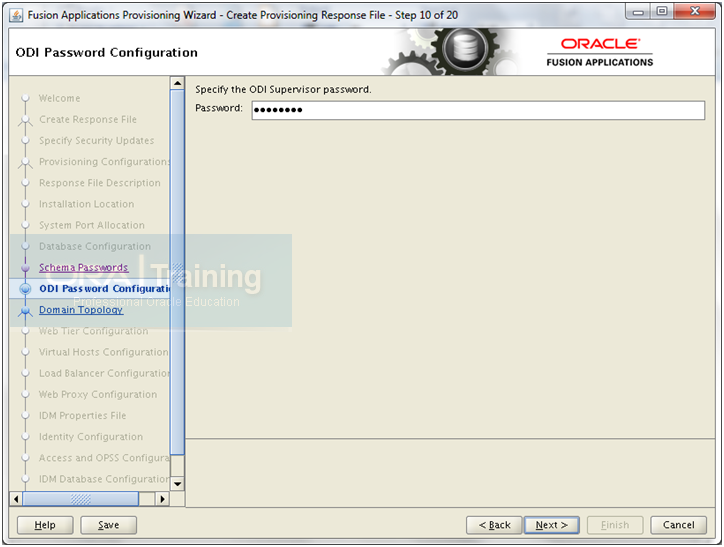
Enter password here and click Next. Must have one uppercase and number in the password. Click Next
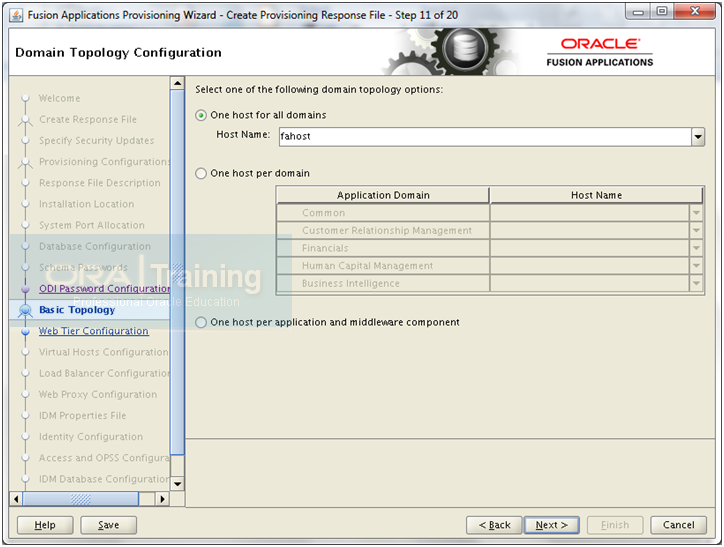
Since we are doing single node installation, enter our host name here. Click Next
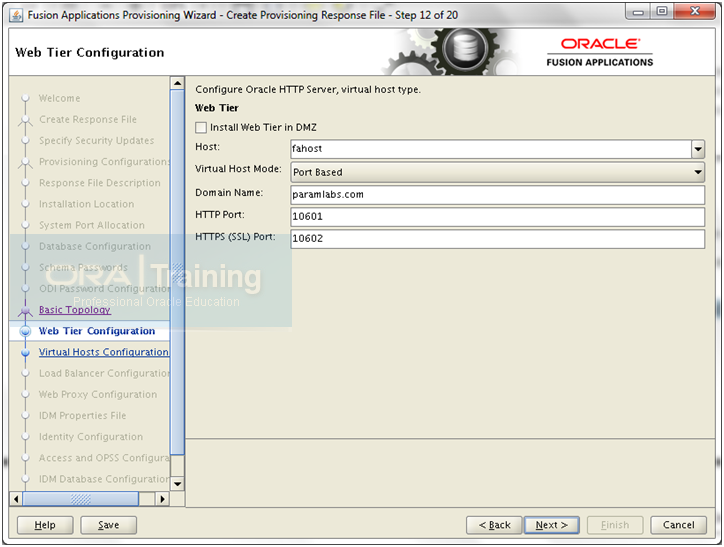
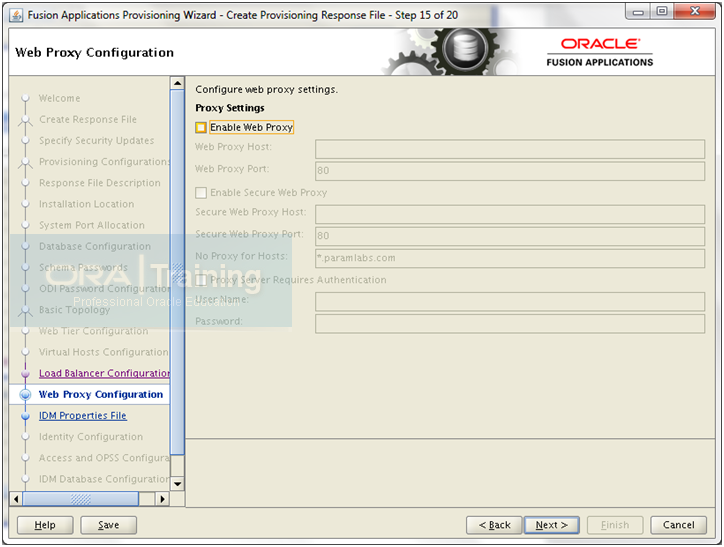
We are not publishing any URLs outside so don’t select DMZ. Enter values as follows.
DMZ : Unchecked
Host: <hostname>
Virtual Host mode: Port based
Domain name: Full domain name
HTTP Port and HTTPS ports: Don’t change
Click Next
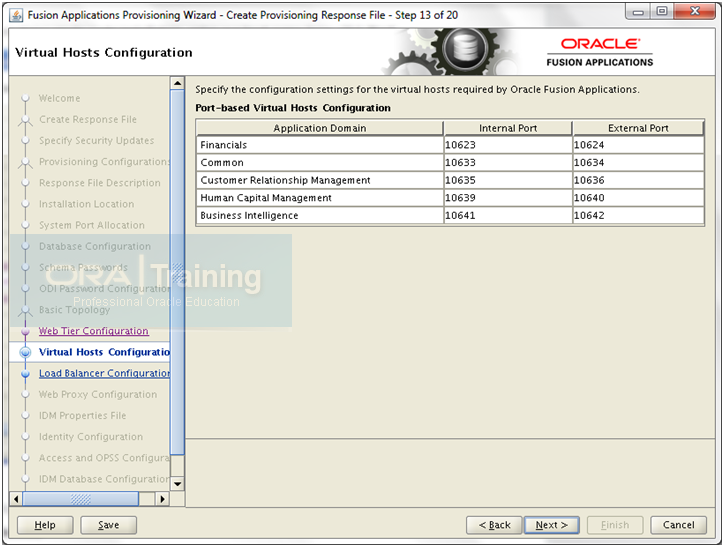
Review the information and click Next
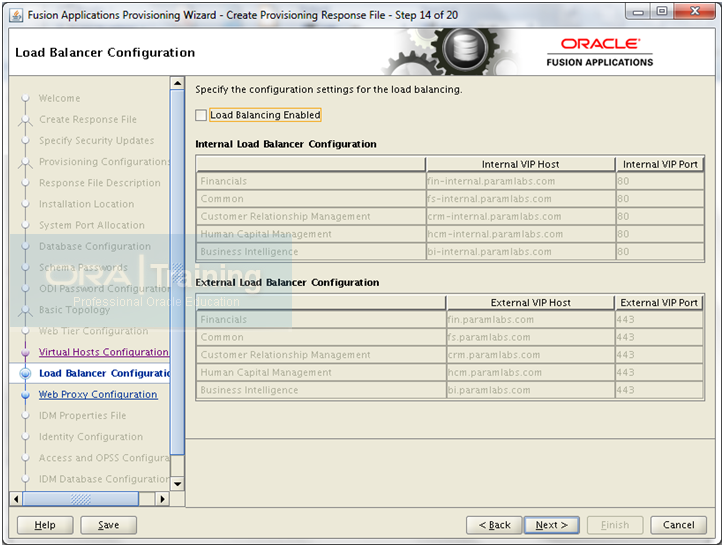
Click Next
Click Next
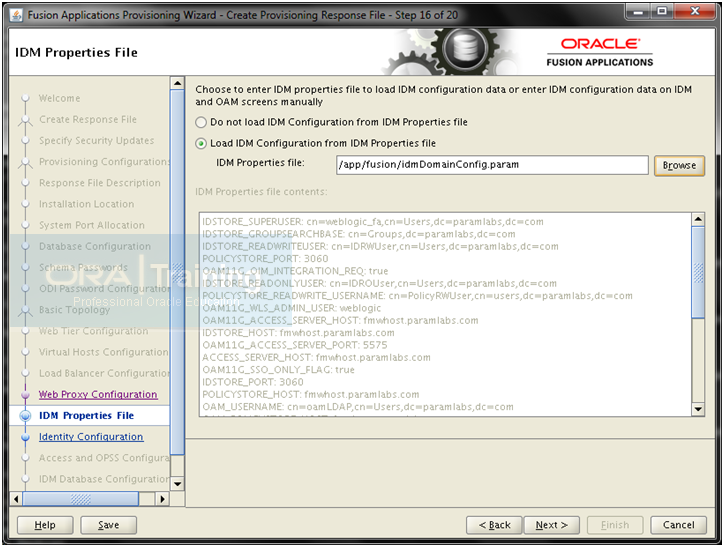
This is new screen since 11.1.5. Here you can browse for the idmDomainConfig.param file as generated in previous steps.
Make sure that you have copied the idmDomainConfig.param file from node 1 (IDM node) from $IAM_HOME/idmtools/bin/ idmDomainConfig.param to any location on this node 2. You can FTP this file in ascii mode since it contains text values.
[root@fahost ~]# ls –ltr /app/fusion/idmDomainConfig.param
-rw-r—– 1 fusion dba 1231 Apr 6 04:43 /app/fusion/idmDomainConfig.param
Most of the values will be populated from the idmDomainConfig.param file.
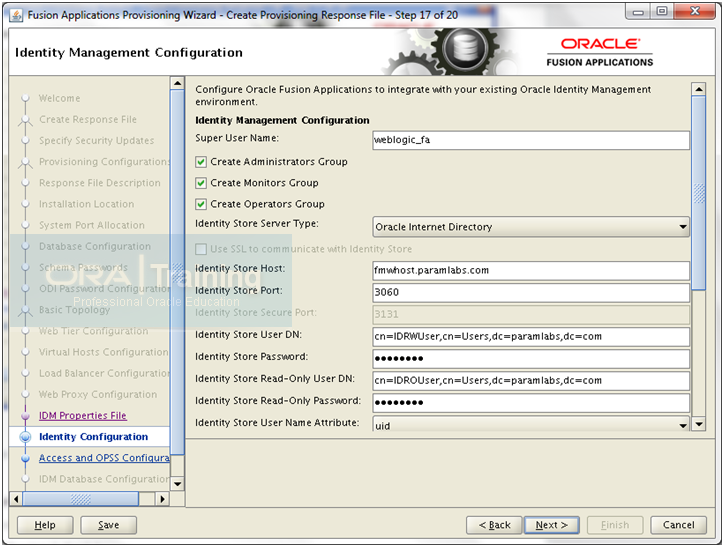
Enter remaining values as follows.
Super User name: weblogic_fa
Check all following 3 check boxes.
Enter all passwords.
OIM Administrator User name: weblogic_idm
OIM Managed Server Port: 14000
HTTP endpoint URL: http://<hostname>:7777
Click Next
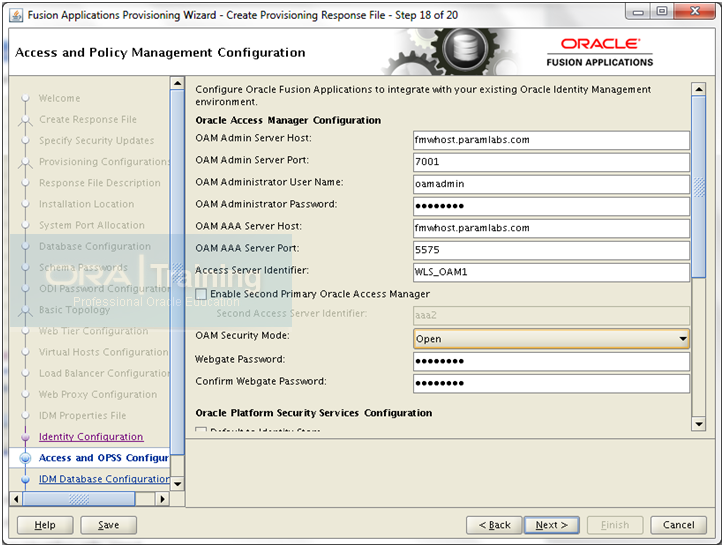
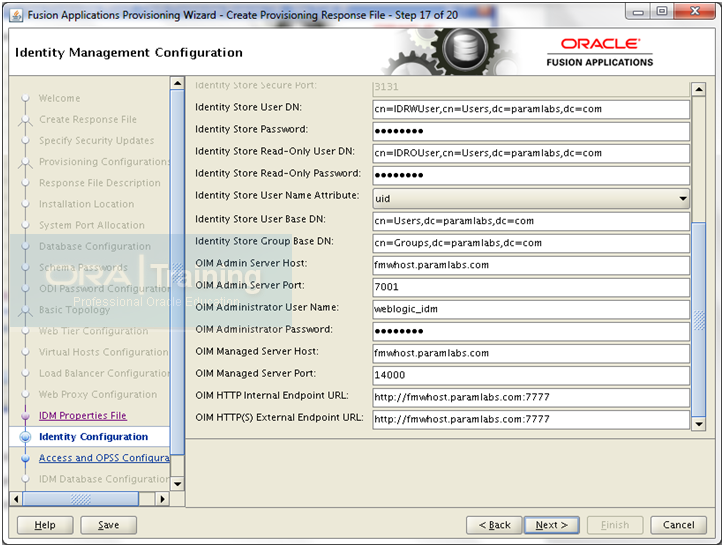
Again here most values will be populated.
OAM Administrator User Name: oamadmin
AAA Server Port: 5575
Access Server Identifier: WLS_OAM1
Due to a known bug, Set to Simple, enter password and again change to Open. Click Next
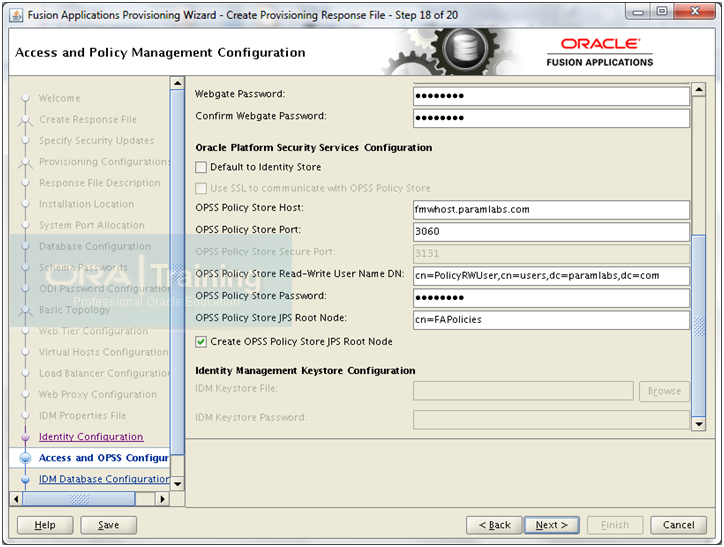
OPSS Policy store JPS Root Node: cn=FAPolicies
Make sure to select “Create OPSS Policy Store JPS Root Node”
Click Next
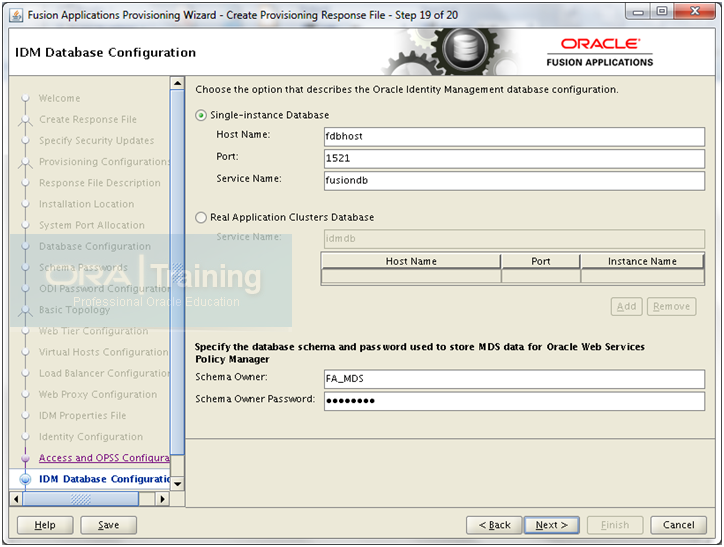
Enter database details and for schema owner, enter the same value as created during RCU. In our case prefix was FA so value is FA_MDS. Enter password and click Next
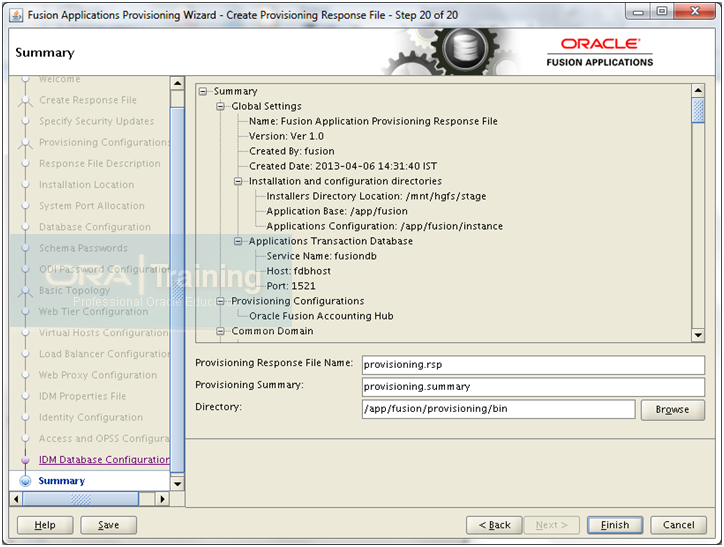
Review the summary and click Finish to create the response file and provisioning summary files.
Keep a backup of the Response file if you want.
[fusion@fahost bin]$ cp -pr provisioning.rsp provisioning.rsp.bak
[fusion@fahost bin]$ cp -pr provisioning.summary provisioning.summary.bak
Hi Guys,
I need help please. I am trying to use provisioningWizard.shbut it gives me below error and comes out. I have set JAVA_HOME correctly already.
/fusion/home1/provisioning/bin$ *** Checking java and fusion repository setting…
*** Error: Fusion Repository is not set in the plan or the override.
Thanks,
-Sunil
Dear Sunil,
If you have set your Fusion Repository on a external mount point then make sure that the mount point is available. You can also manually check if your fusion repository (parent stage directory for installers) exists and is correctly mentioned in your response file.
Thanks
Tushar
FYI.
Problem has been solved after resetting password through WLS.
Remo.
Hi Remo,
I’m facing same issue with ODI, could you let me know what step you did to solve it
“resetting password through WLS”
Hi Tushar,
According to your screenshot when running RCU Oracle Data Integrator is not selected. I supposed that this is ODI. Could this be the cause of the error?
Regards,
Remo
Hi Tushar,
When creating Applications Response File I got at step ODI Password Configuration:
Specify the ODI Supervisor password:
Password:
Error validating screen “ODI Password Configuration”
Incorrect ODI Supervisor password.
Strange I entered the correct password and still getting this error.
Could you provide details how to reset the ODI Supervisor password?
Thanks!
Regards,
Remo