Oracle Fusion Applications Installation: Install Oracle Identity and Access Management Components
Previous: Run Repository Creation Utility (RCU) for Oracle Identity Management components
JDK installation
Installation of JDK is very simple. Just unzip the jdk6.zip file located at <repository_location>/installers/jdk to any location where we want to extract the JDK files.
We will extract the files at /app/fusion and it will create /app/fusion/jdk6 directory. So we can set JAVA_HOME to /app/fusion/jdk6
bash-3.2$ cd /app/fusion
bash-3.2$ unzip /u02/stage/installers/jdk/jdk6.zip
Install Web tier 11.1.1.6.0 (HTTP server 2.0)
Start runInstaller script from <REPOSITORY_LOCATION>/installers/Webiter/Disk1
(Please note that we do not need to upgrade it as we did in earlier installation since this is already at the required version level)
-bash-3.2$ cd /u02/stage/installers/webtier/Disk1/
-bash-3.2$ ./runInstaller
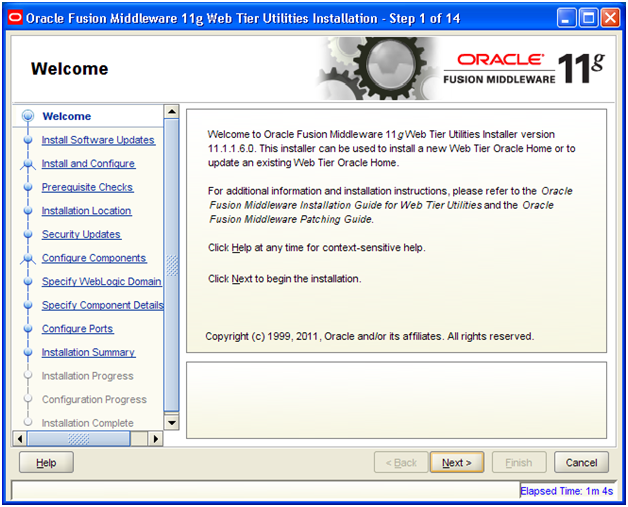
Click Next
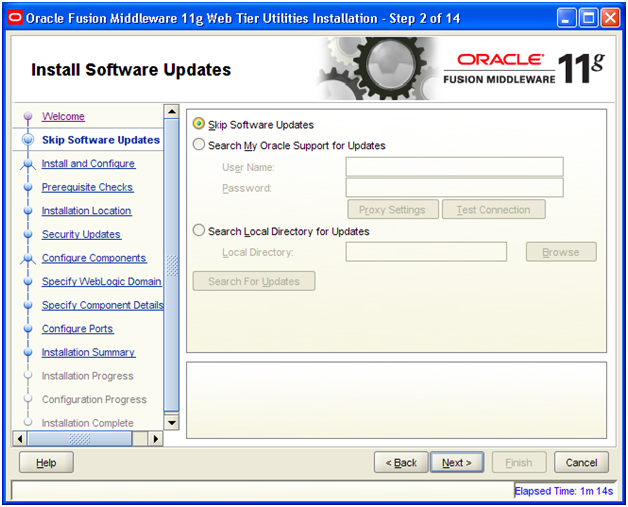
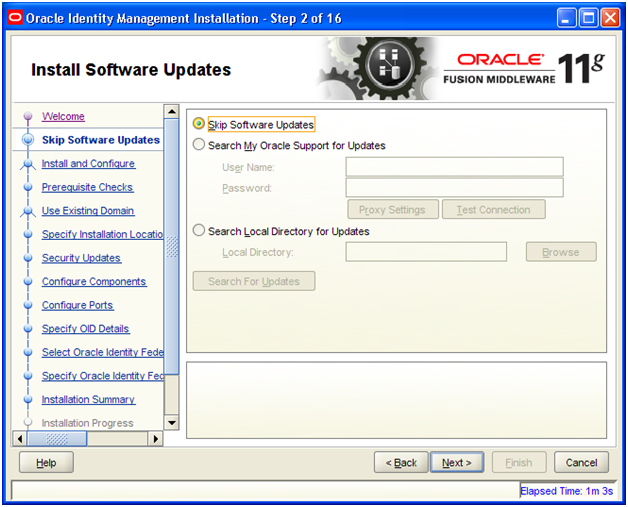
“Skip Software Updates” and click Next
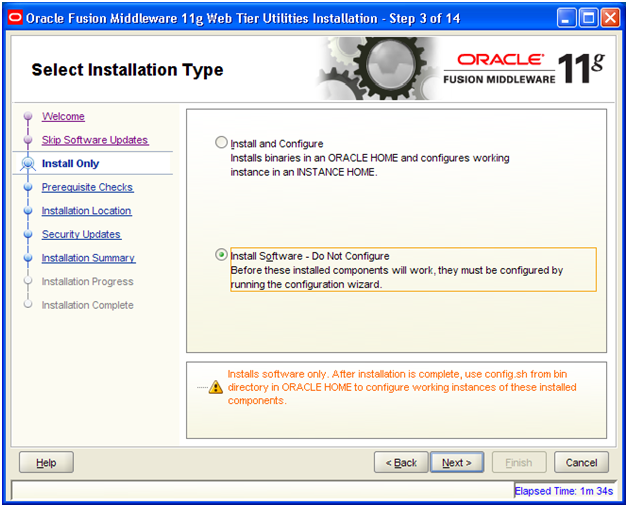
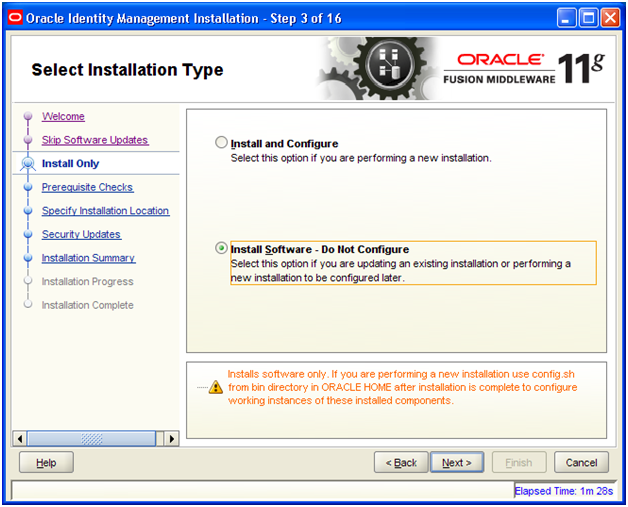
Select “Install Software – Do Not Configure” and click Next
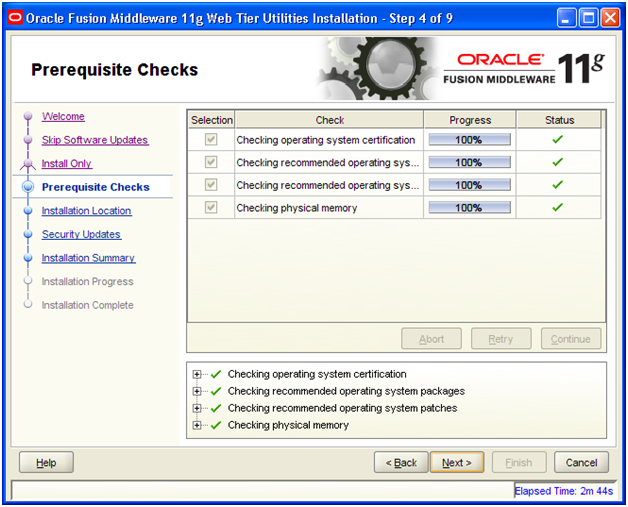
Once Prerequisites check completes, click Next
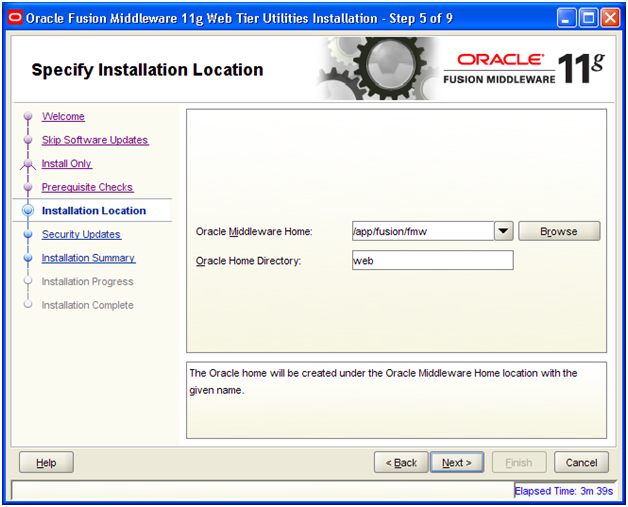
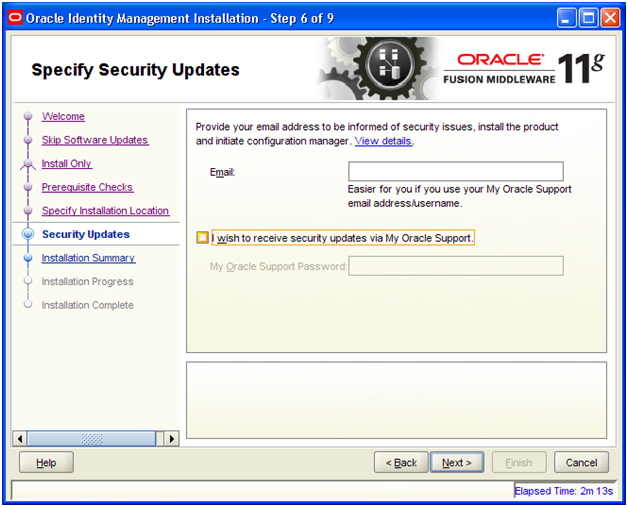
Enter following values and click Next
Oracle Middleware Home: /app/fusion/fmw
Oracle Home Directory: web
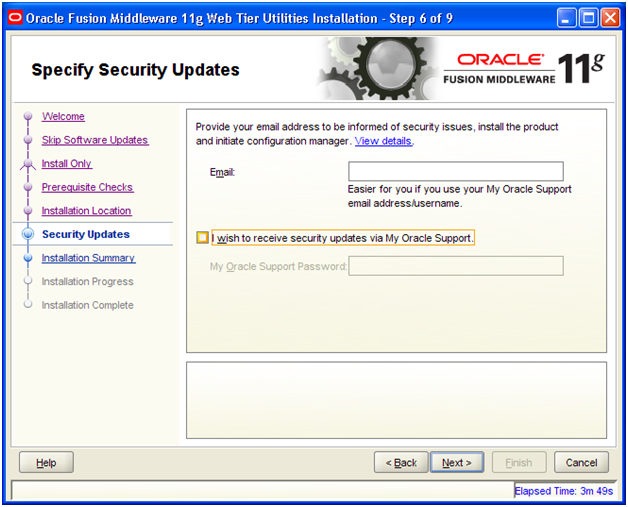
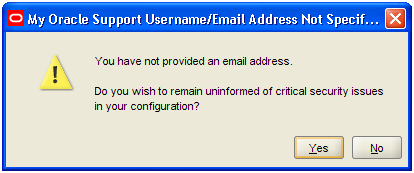
Deselect the checkbox and click Next

Click Yes
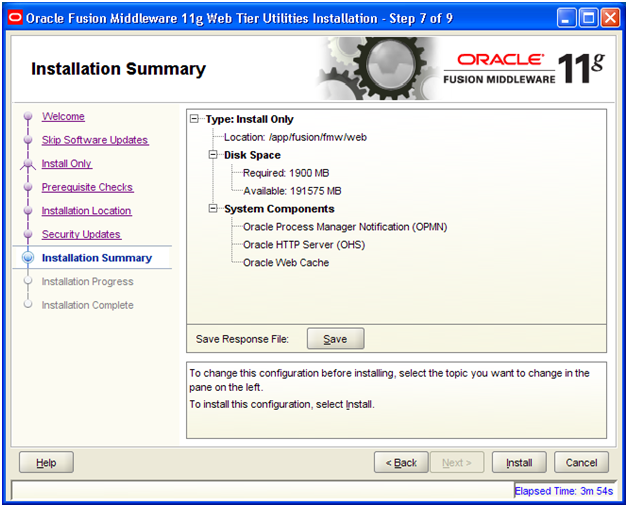
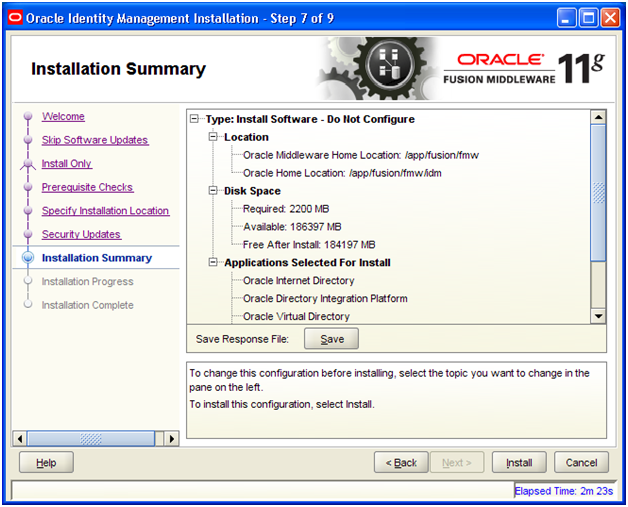
Review Summary and click Install
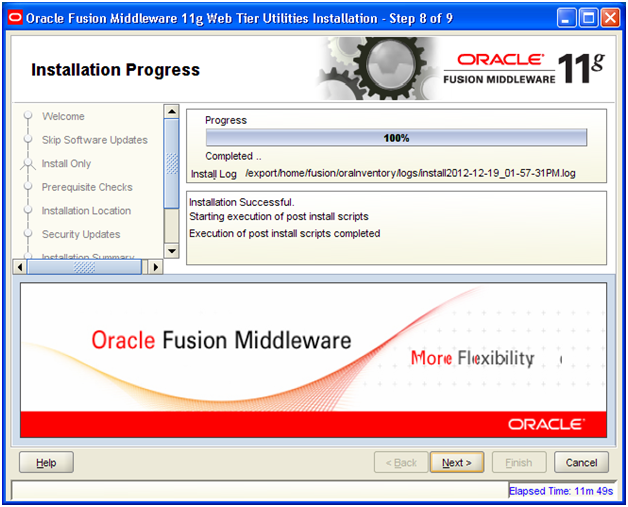
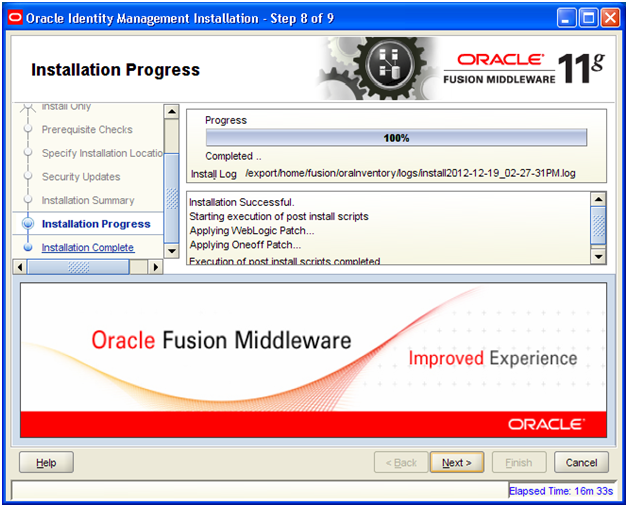
Once installation completes, click Next
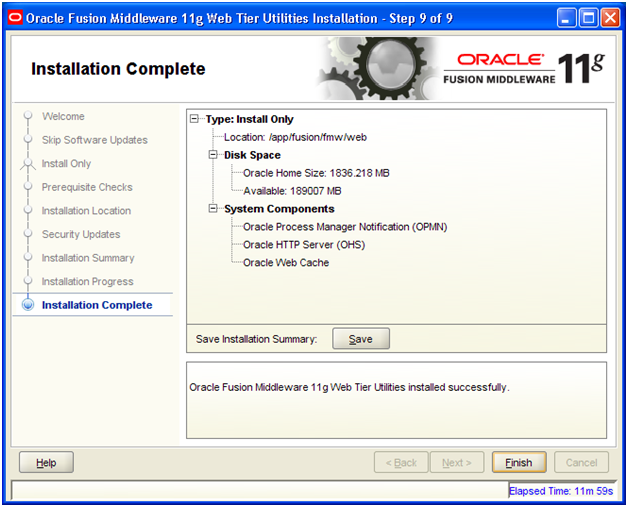
Review and click Finish
Install Weblogic Server
Start Weblogic Server installation from <REPOSITORY_LOCATION>/installers/weblogic direcotry
-bash-3.2$ cd /u02/stage/installers/weblogic
-bash-3.2$ java -d64 -jar wls_generic.jar
(Please note that we need to provide -d64 flag since we are installing on 64bit Solaris OS)

Click Next

Provide location of Middleware Home directory “/app/fusion/fmw” and click Next
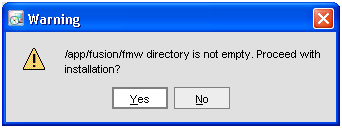
Click Yes
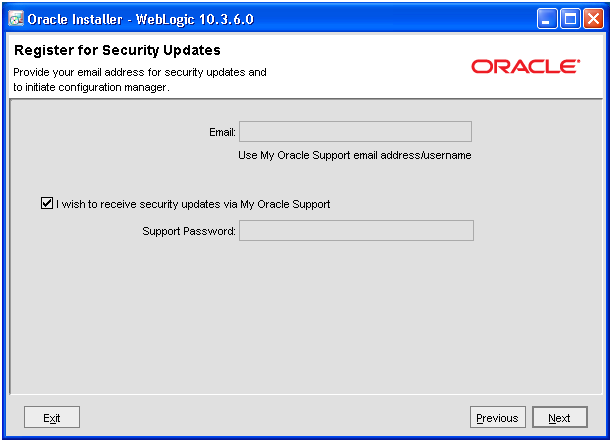
Deselect the checkbox and click Next
Due to a bug in Solaris installation of Weblogic, following screen will keep on coming despite you click Yes. (only for Solaris installation)
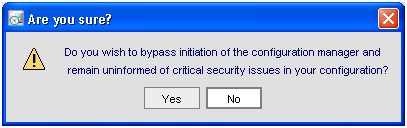
If click Next and following will appear.
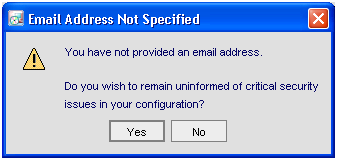

So click No now
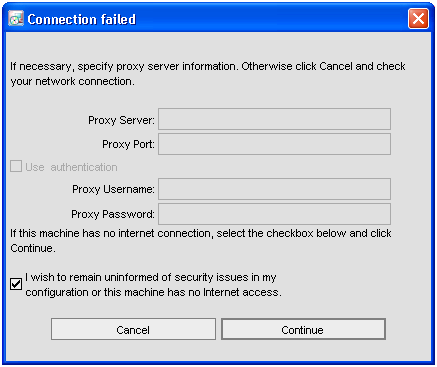
Deselect the checkbox here and click continue J
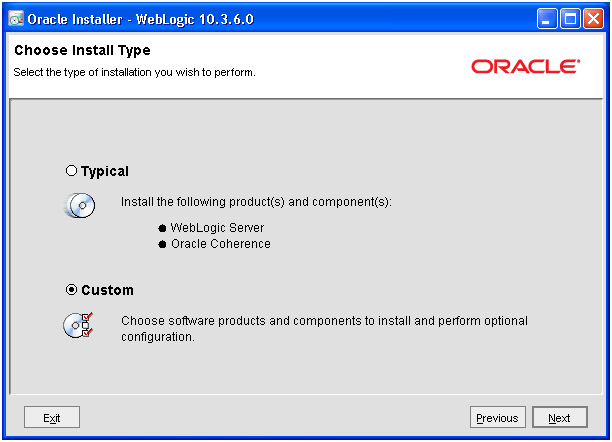
Select Custom and click Next
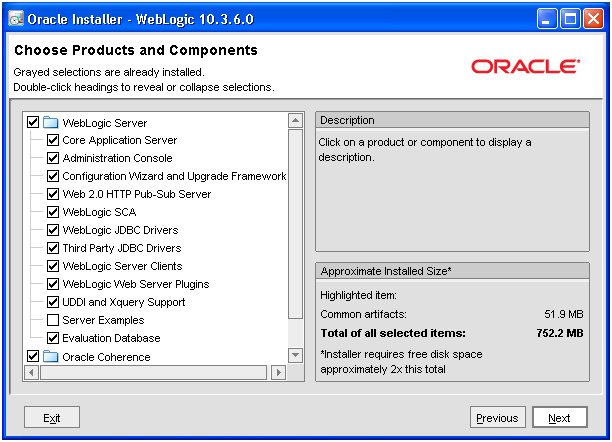
Click Next
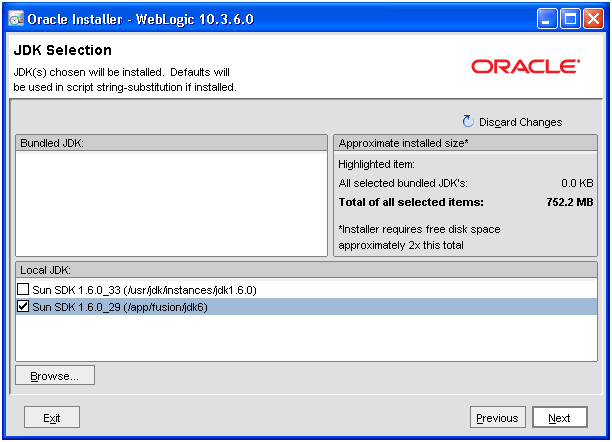
Browse for our SDK from /app/fusion/jdk6 and select that. Click Next
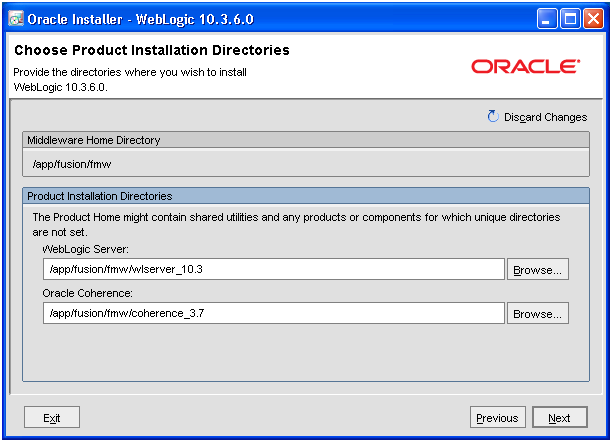
Make sure the values are as above and click Next
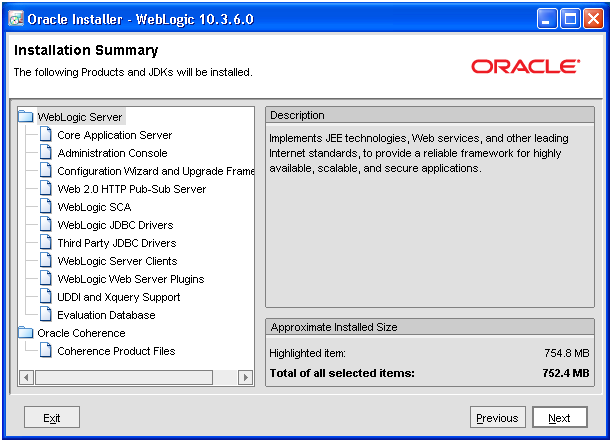
Review the summary and click Next
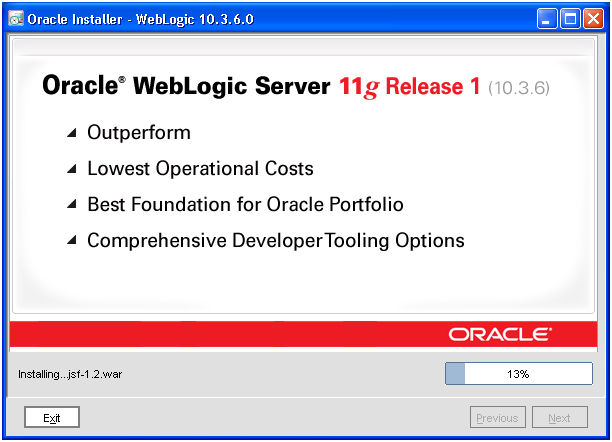
This starts the weblogic installation
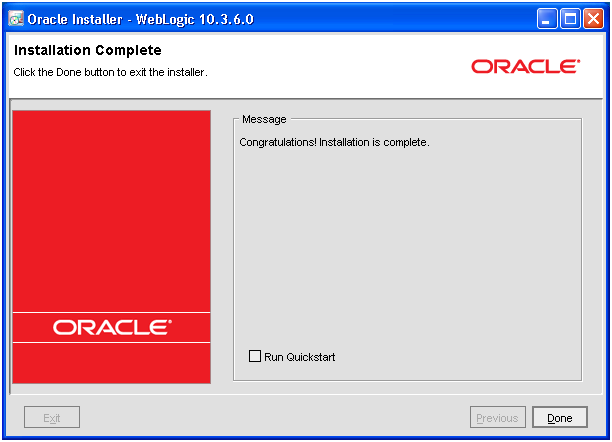
Deselect Quickstart and click Done
Install Oracle Identity Management 11.1.1.6.0
We need to first unzip the installation files from <repository_location>/installers/idm directory.
-bash-3.2$ cd /app/fusion/provisioning
-bash-3.2$ unzip /app/stage/installers/idm/idm.zip
-bash-3.2$ cd /app/fusion/provisioning/idm/Disk1
-bash-3.2$ ./runInstaller
(Please note that we don’t need to upgrade this as well like last installation since it is already at the required version level.)
Start the installation by executing runInstaller from <provisioning_repository>/idm/Disk1
-bash-3.2$ cd /app/fusion/provisioning/idm/Disk1
-bash-3.2$ ./runInstaller

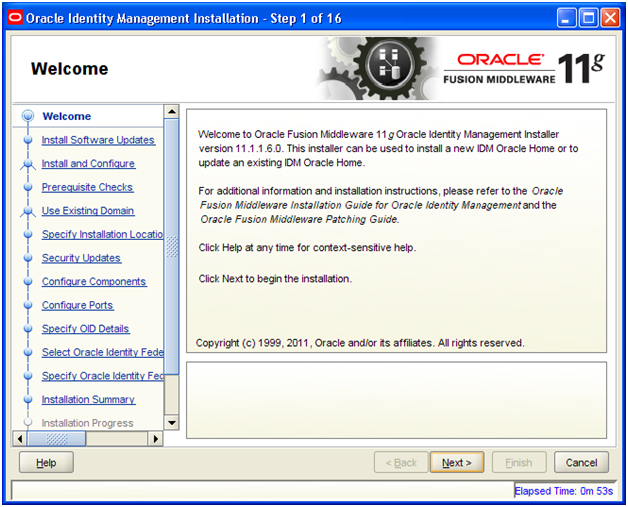
Click Next
Select “Skip software upgrade” and click Next
Select “Install Software – Do Not Configure” and click Next
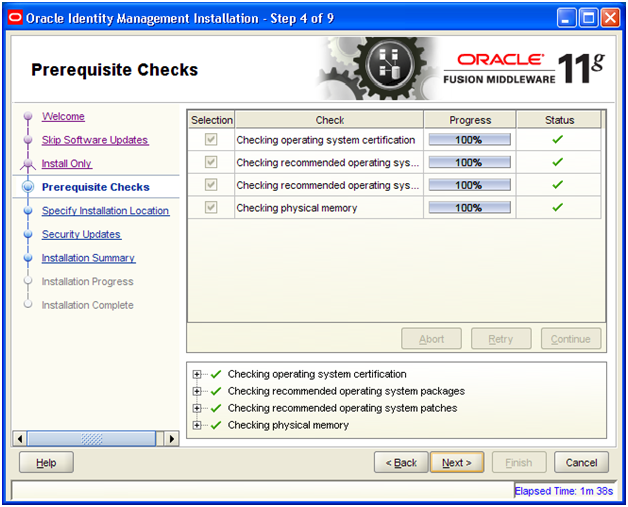
Once prerequisites check completes, click Next
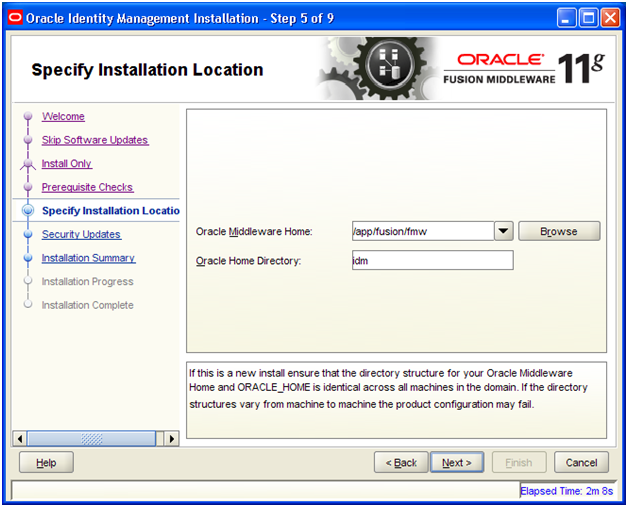
Select value “/app/fusion/fmw” as Middleware home and “idm” as Home directory. Click Next
Deselect the checkbox and click Next
Click Yes
Review the Summary and click Install
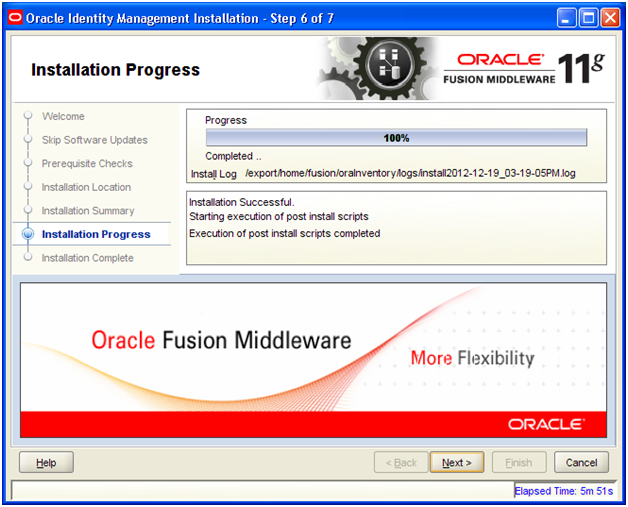
Once installation completes, click Next
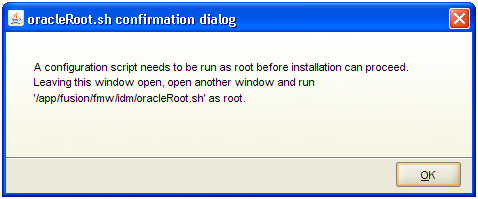
The above dialog box will appear. Open another window and execute following as root.
root@ad002aph01 # /app/fusion/fmw/idm/oracleRoot.sh
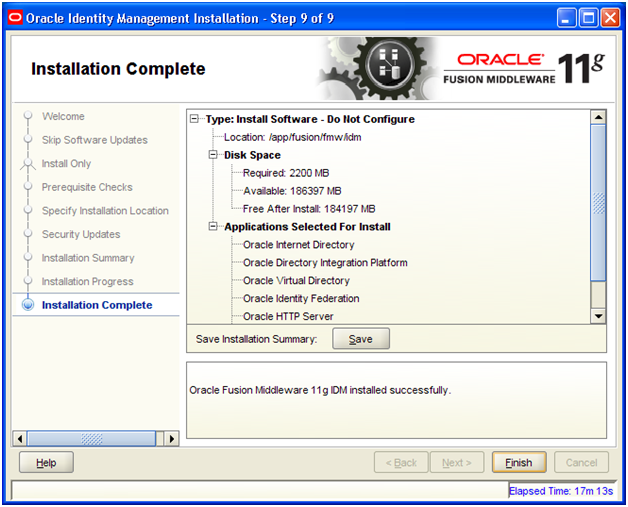
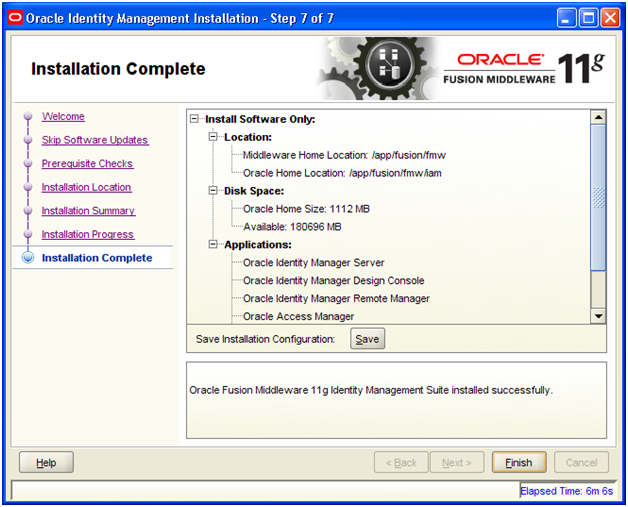
Review the summary and click Finish
Install SOA suite 11.1.1.6.0
Start the installation by executing runInstaller from <repository_location>/installers/soa/Disk1
-bash-3.2$ cd /u02/stage/installers/soa/Disk1/
-bash-3.2$ ./runInstaller
…
Please specify JRE/JDK location ( Ex. /home/jre ), <location>/bin/java should exist :/app/fusion/jdk6
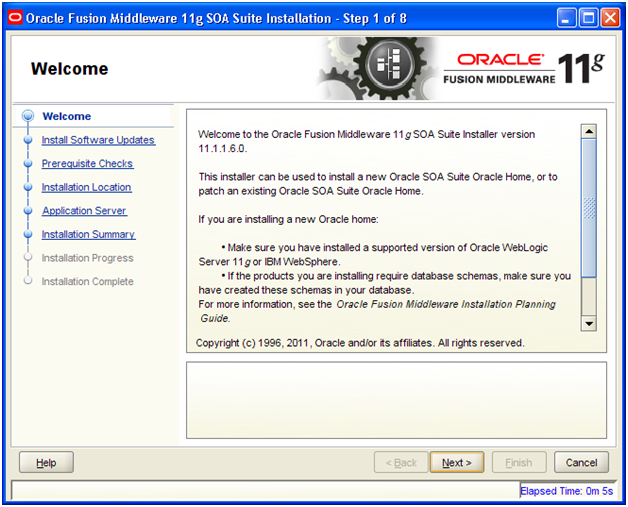
Click Next
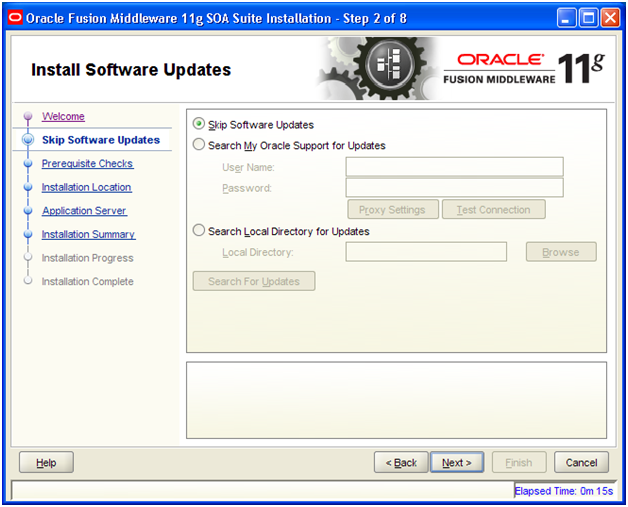
Select “Skip software update” and click Next
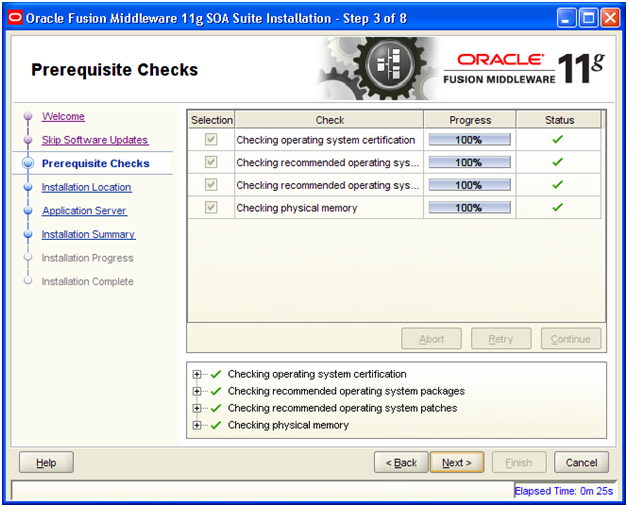
Once prerequisites check completes, click Next
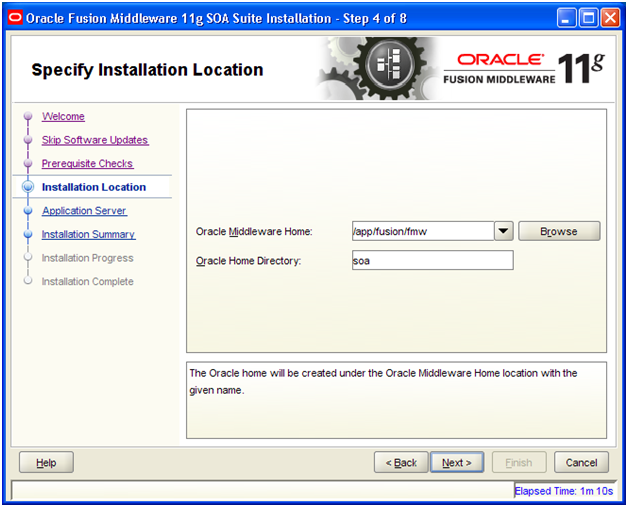
Select “/app/fusion/fmw” as Middleware home and “soa” as Home Directory. Click Next
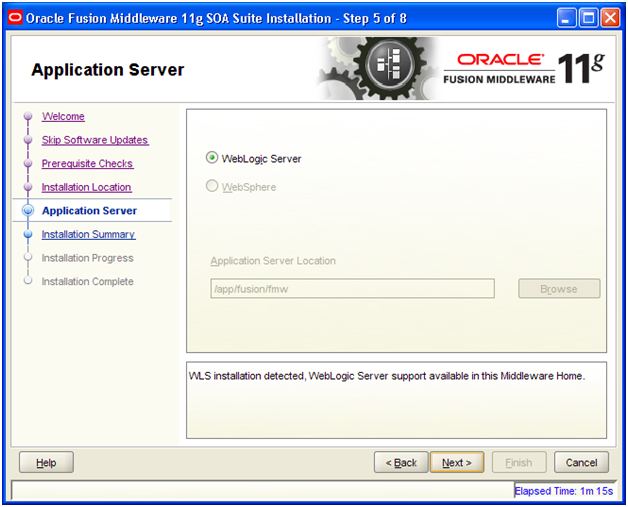
Weblogic Server will be detected. Click Next
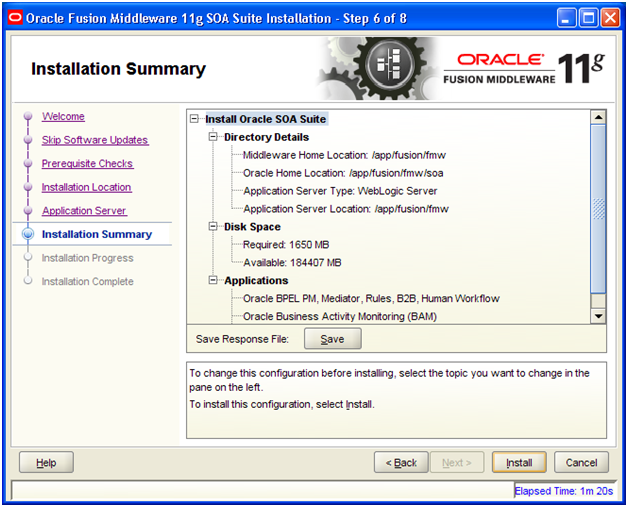
Review the summary and click Install
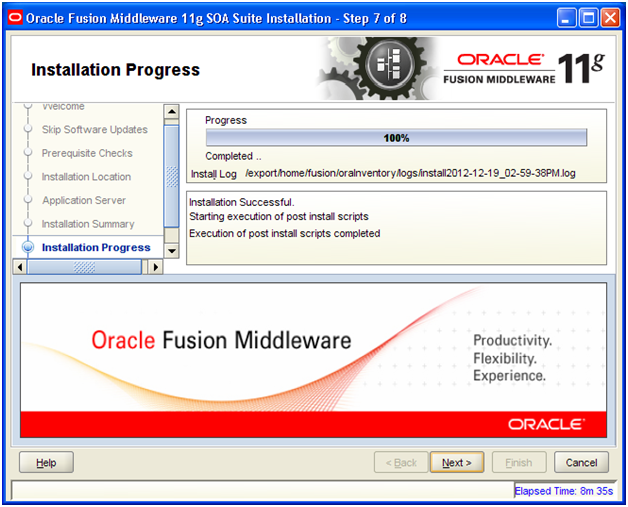
Once completed, click Next
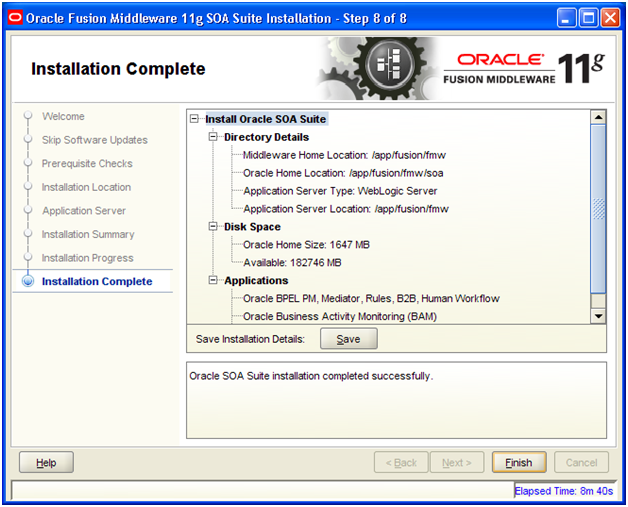
Review the summary and click Finish
Install Identity and Access Management
We need to first unzip the installation files from <repository_location>/installers/oam directory.
-bash-3.2$ mkdir /app/fusion/oam
-bash-3.2$ cd /app/fusion/oam/
-bash-3.2$ unzip ‘/u02/stage/installers/oam/iamsuite*.zip’
Start the installation by executing runInstaller from <provisioning_repository>/oam/iamsuite/Disk1
-bash-3.2$ cd /app/fusion/oam/iamsuite/Disk1/
-bash-3.2$ ./runInstaller
Please specify JRE/JDK location ( Ex. /home/jre ), <location>/bin/java should exist :/app/fusion/jdk6
Click Next
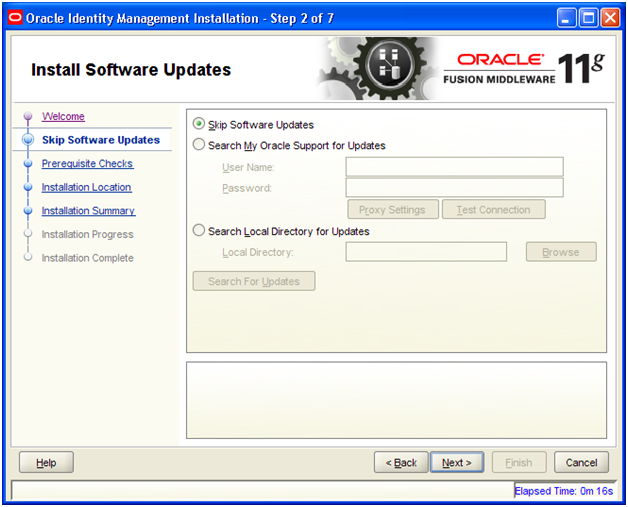
Select “Skip software update” and click Next
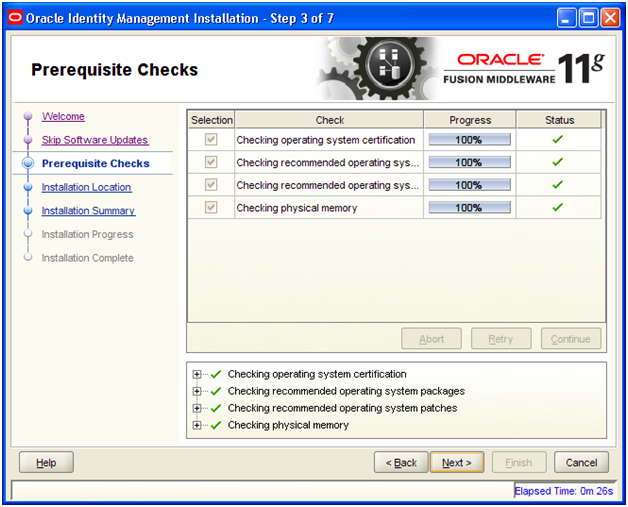
Once prerequisites check finishes, click Next
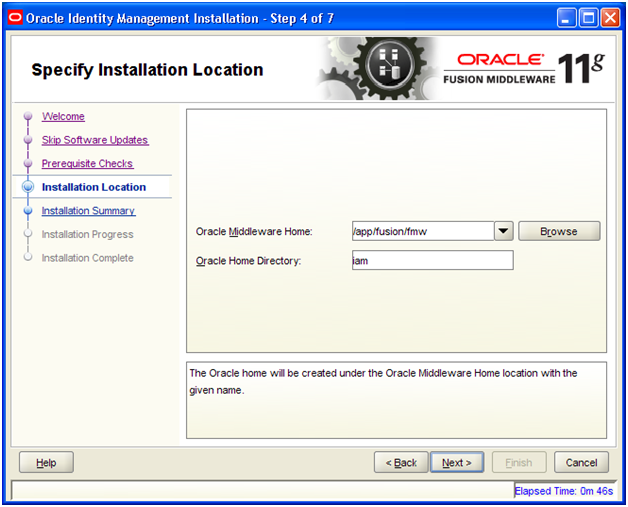
Enter “/app/fusion/fmw” as Middleware home and “iam” as Home directory. Click Next

Review the summary and click Install
Once installation completes click Next
Review the summary and click Finish to complete the installation.
Provisioning the OIM Login Modules Under the WebLogic Server Library Directory
Due to issues with versions of the configuration wizard, some environmental variables are not added to the DOMAIN_HOME/bin/setDomainenv.sh script. This causes certain install sequences to fail. This is a temporary workaround for that problem.
1. Copy the files located under the IAM_ORACLE_HOME/server/loginmodule/wls directory to the MW_HOME/wlserver_10.3/server/lib/mbeantypes directory.
-bash-3.2$ cp -pr /app/fusion/fmw/iam/server/loginmodule/wls/*
/app/fusion/fmw/wlserver_10.3/server/lib/mbeantypes/
2. Change directory to MW_HOME/wlserver_10.3/server/lib/mbeantypes/
-bash-3.2$ cd /app/fusion/fmw/wlserver_10.3/server/lib/mbeantypes/
3. Change the permissions on these files to 750 by using the chmod command.
-bash-3.2$ chmod 750 *
Creating the wlfullclient.jar File
Oracle Identity Manager uses the wlfullclient.jar library for certain operations. Oracle does not ship this library, so you must create this library manually. We will see mention of this during provisioning.
-bash-3.2$ cd /app/fusion/fmw/wlserver_10.3/server/lib
-bash-3.2$ ls -l wlfullclient.jar
wlfullclient.jar: No such file or directory
-bash-3.2$ java -jar wljarbuilder.jar
…
Created new jar file: /app/fusion/fmw/wlserver_10.3/server/lib/wlfullclient.jar
-bash-3.2$ ls -l wlfullclient.jar
-rw-r–r– 1 fusion dba 55004433 Dec 19 15:29 wlfullclient.jar
This concludes the installation of Oracle Identity Management components. Instead of directly configuring these components, we need to apply the mandatory patches first. These patches are listed in the latest release notes. Please refer to the latest release notes for the list of updated patches when you are installing.
Installing Oracle Fusion Applications – steps
-
Create another database for Oracle Identity Management Infrastructure (optional)
Next: Apply mandatory Patches
Hi Admin,
What about steps 8,9 and 10.
Thanks
Emad
Coming soon
During weblogic installation – the bug associated with ‘Register for updates’ exists on OEL 5.7 x64 as well.
Looking forward to the IDM configuration instructions.