Oracle Fusion Applications Installation: Run Repository Creation Utility (RCU) for Oracle Identity Management components
Previous: Run Oracle Fusion Applications Repository Creation Utility (Applications RCU)
Please note that we are not creating a separate database here for Oracle Identity Management components, though it is recommended but not mandatory to have a separate database for this. But since we are doing single node installation for Fusion Applications, we have to manage memory properly and hence we are not creating separate database instance.
Set following DB parameter before running the RCU in our existing database “fusiondb”.
SQL> alter system set open_cursors=800 scope=both sid=’*’;
System altered.
As we mentioned in the previous post, RCU for Oracle Identity Management components is only available for Linux and Windows platforms and the Fusion Application setup ships with Linux only RCU for Identity Management components.
Since we are using Windows RCU this time, we have downloaded the Fusion Middleware RCU from Oracle support website. You can either download ofm_rcu_win_11.1.1.6.0_disk1_1of1.zip or V29675-01.zip file which includes Repository Creation Utility for 11.1.1.6.0 Fusion Middleware Components.
Run rcu.bat from D:\fusion\fmw_rcu\rcuHome\BIN
Click Next
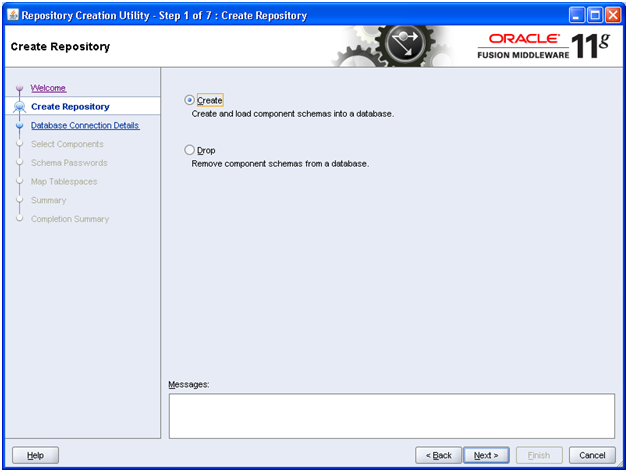
Select Create and click Next
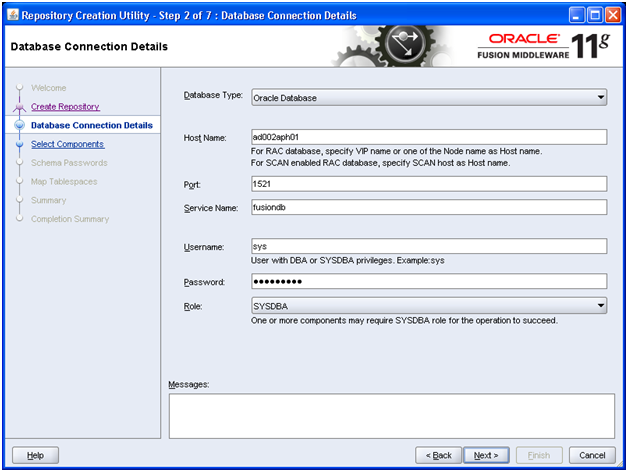
Enter details of our existing database and click Next
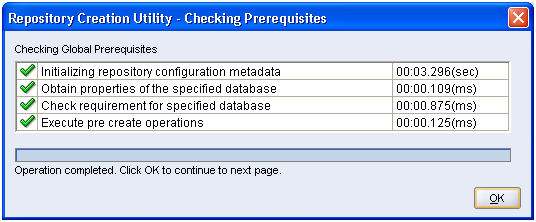
Once prerequisites check completes, click OK

Mention any prefix for Identity Management related schemas. The default value is DEV while we have changed it to PROD. As per fusion applications documentations, they have given example as EDG or ISA. You can use whichever you want but please make a note of this since at many places you will need to mention the schema name.
Select all “Identity Management” components and click Next
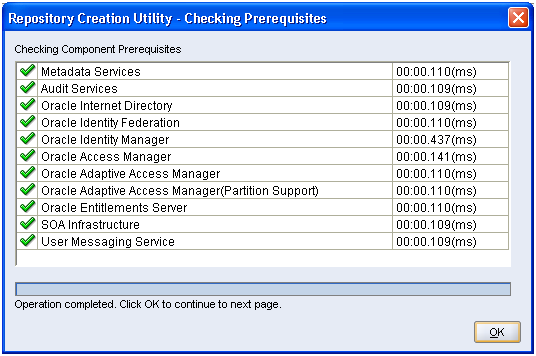
Once prerequisites check is completed, click OK
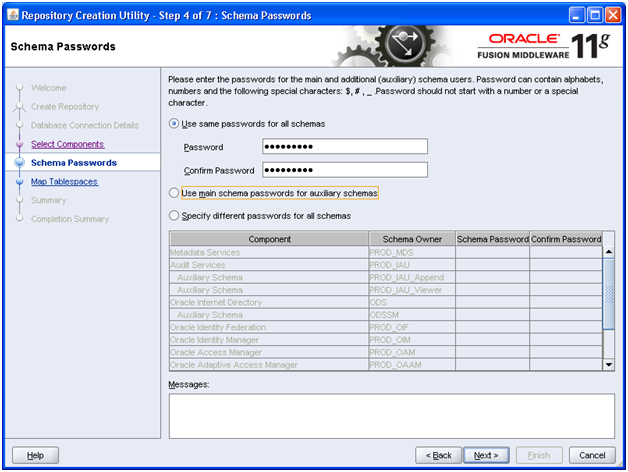
We have specified single password for all users i.e. Oracle123. Click Next
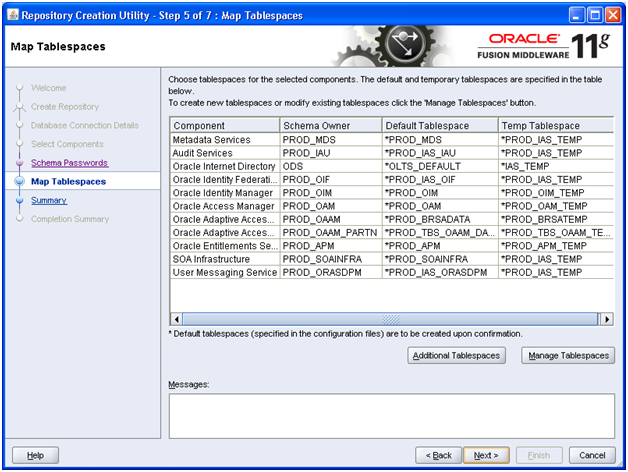
Review the information and click Next
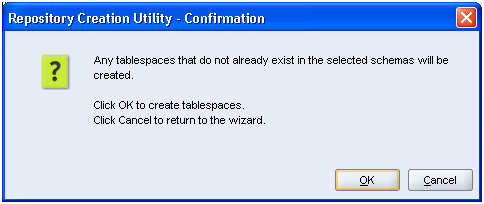
Click OK to create the tablespaces.
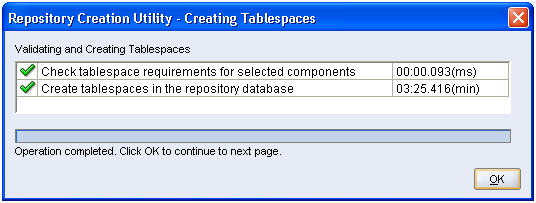
Once tablespaces creation is complete, click OK
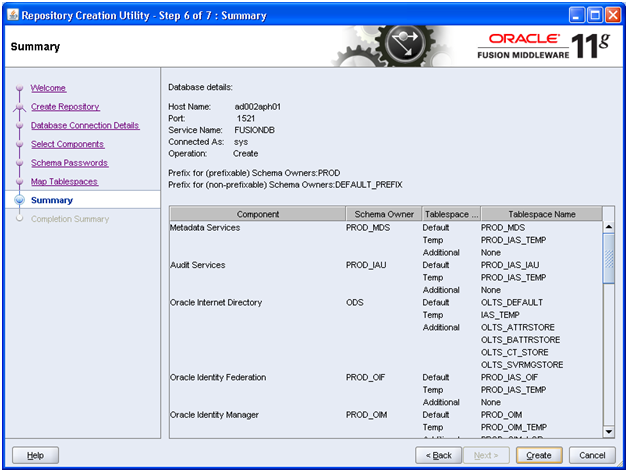
Click Create to create users and start import.
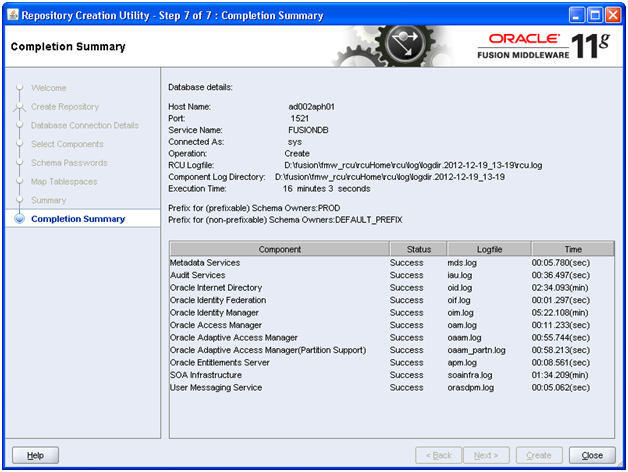
Once import completes, above script appears. Click Close to finish RCU.
Installing Oracle Fusion Applications – steps
-
Create another database for Oracle Identity Management Infrastructure (optional)
Next: Install Oracle Identity and Access Management Components
Hi tushar,
In the step 6 of 7, we get an error: RCU-6130: Action Failed – RCU-6136:Error while trying to execute SQLPlus action.
We get the following components as failed:
-Oracle Internet Directory
-Oracle Identity Manager
-Oracle Adaptative Access Manager(Partition Support)
The logs show a problem with the SQLPlus, we are running these trials in Win2008 x64 using the SQLPlus x64.
Have you heard of any problems like this?
Thanks,
Mike
I am getting the same issue as Mike ? any solution ?
At the step : Select all components and click Next
Select all components for Identity Management and then click next.
The rest must remain as-is?
Thanks
I have updated the post with “select all identity management components”.
Thanks Gaurav for pointing it out.
Mike, if you are referring to 11.1.6 FA installation steps then make sure you are using following guide.
http://www.oratraining.com/blog/2013/03/oracle-fusion-applications-installation-step-by-step-guide-11-1-6/
Regards
Tushar
You can use the installer under linux folder in the setup. Download is required for windows only
Also should I select all or identity managment only ?
Hi Admin,
I start a new installatino on linux.
do i need to download this file ofm_rcu_win_11.1.1.6.0_disk1_1of1.zip or V29675-01.zip
or this for windows installation only and I can use the file undenr
/mnt/fusion/installers/fmw_rcu
Thanks,
Emad