Oracle Fusion Applications Installation: Run Oracle Fusion Applications Repository Creation Utility (Applications RCU)
Previous: Install Oracle 11g Database (Applications Transactional Database)
Please note that RCU are available only for Windows and Linux platforms. Hence we may need to run the RCU on Windows or Linux machine which can connect to this database.
Fusion Applications stage already has both Applications and Fusion Middleware RCUs for Linux but for Windows only apps RCU is included in the installer.
For Windows Fusion Middleware RCU, you need to download V29675-01.zip or ofm_rcu_win_11.1.1.6.0_disk1_1of1.zip from
Oracle website or support website. We will update the links here.
Since we already published steps for Linux in our earlier post for Fusion installation on Linux, we will run RCUs on Windows instead.
Create a directory on your laptop or PC with Windows OS and call it APPS_RCU_HOME
For example, D:\fusion\apps_rcu
Go to <repository_location>/installers/apps_rcu/windows and locate the rcuHome_fusionapps_win.zip file. This file was staged when you created the installer repository.
Extract the contents of rcuHome_fusionapps_win.zip to a directory (APPS_RCU_HOME) on the client machine (your laptop or PC). All dependent components that Applications RCU needs are included in this zipped file.
This will create a folder named rcuHome for example D:\fusion\apps_rcu\rcuHome
Create a temporary directory on server. Make a note of the location.
You will need to enter this location when you specify a value for FUSIONAPPS_DBINSTALL_DP_DIR
For example /app/fusion/dp_dir
Locate and copy APPS_RCU_HOME/rcu/integration/fusionapps/export_fusionapps_dbinstall.zip to the directory you specified for FUSIONAPPS_DBINSTALL_DP_DIR.
Unzip export_fusionapps_dbinstall.zip to FUSIONAPPS_DBINSTALL_DP_DIR.
Now go to APPS_RCU_HOME/rcu/integration/biapps/schema and locate the otbi.dmp file.
Copy otbi.dmp to FUSIONAPPS_DBINSTALL_DP_DIR (where you unzipped the contents of export_fusionapps_dbinstall.zip).
To summarize, we are running the RCU with import data pump commands on Windows or Linux but since data pump requires dump files to be present on DB server, we are copying all required dump files to our Solaris DB server at /app/fusion/dp_dir directory
Launch Repository Creation Utility (RCU)
Run rcu.bat from D:\fusion\apps_rcu\rcuHome\bin
 Click Next
Click Next
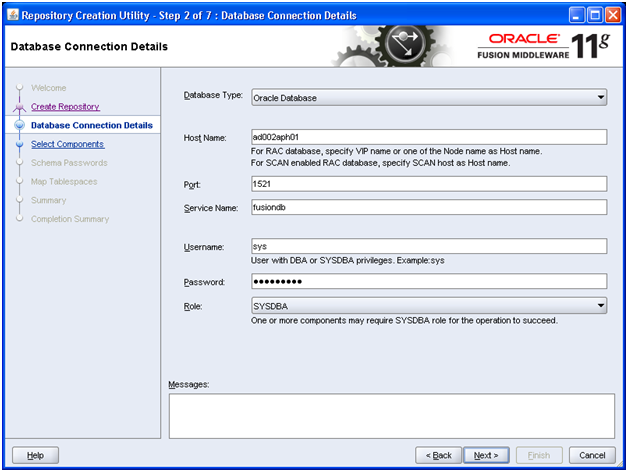
Enter the values as mentioned here and click Next
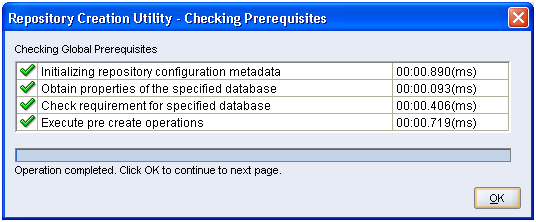
Once the prerequisites check is finished, click OK
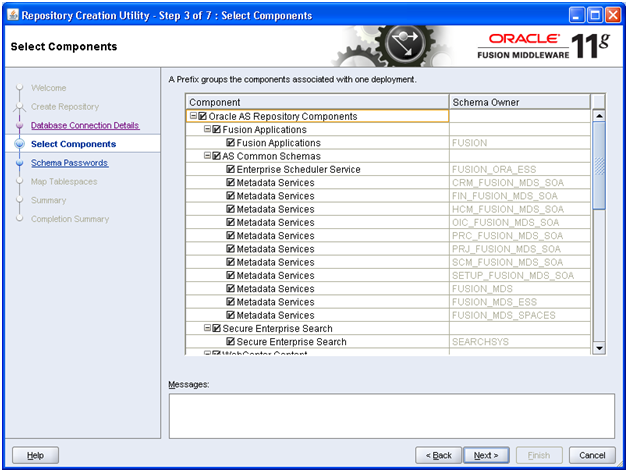
Select all components and click Next
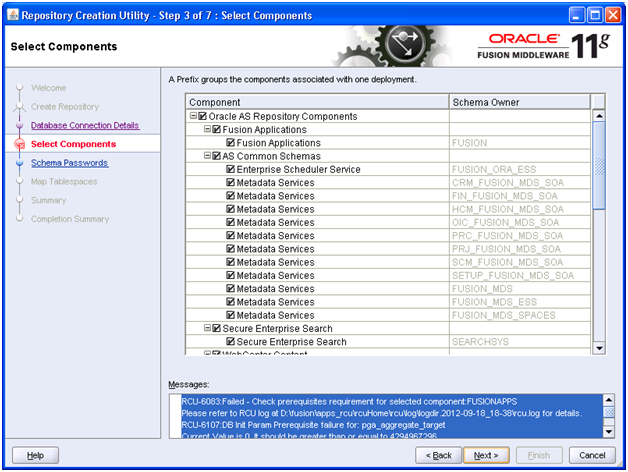
If you have modified the memory size (SGA/PGA) then you might get the following error.
RCU-6083:Failed – Check prerequisites requirement for selected component:FUSIONAPPS Please refer to RCU log at D:\fusion\apps_rcu\rcuHome\rcu\log\logdir.2012-12-19_08-22\rcu.log for details. RCU-6107:DB Init Param Prerequisite failure for: pga_aggregate_target Current Value is 0. It should be greater than or equal to 4294967296. RCU-6107:DB Init Param Prerequisite failure for: sga_target Current Value is 0. It should be greater than or equal to 9663676416. RCU-6092:Component Selection validation failed. Please refer to log at D:\fusion\apps_rcu\rcuHome\rcu\log\logdir.2012-12-19_08-22\rcu.log for details.
To fix this issue, we need to modify the minimum requirement of SGA and PGA in installer pre-requisite config file located at apps_rcu /rcu/integration/fusionapps/fusionapps.xml
Change these values as follows.
<DBPrerequisite COMPARE_OPERATOR=”GE” DATA_TYPE=”NUMBER” PREREQ_TYPE=”InitParameter”>
<ValidIf DBTYPE=”ORACLE”/>
<PrereqIdentifier>sga_target</PrereqIdentifier>
<PrereqValue>0</PrereqValue>
</DBPrerequisite>
…
<DBPrerequisite COMPARE_OPERATOR=”GE” DATA_TYPE=”NUMBER” PREREQ_TYPE=”InitParameter”>
<ValidIf DBTYPE=”ORACLE”/>
<PrereqIdentifier>pga_aggregate_target</PrereqIdentifier>
<PrereqValue>0</PrereqValue>
</DBPrerequisite>
Note: You may need to click Back go to the database details window and click Next again to retry.
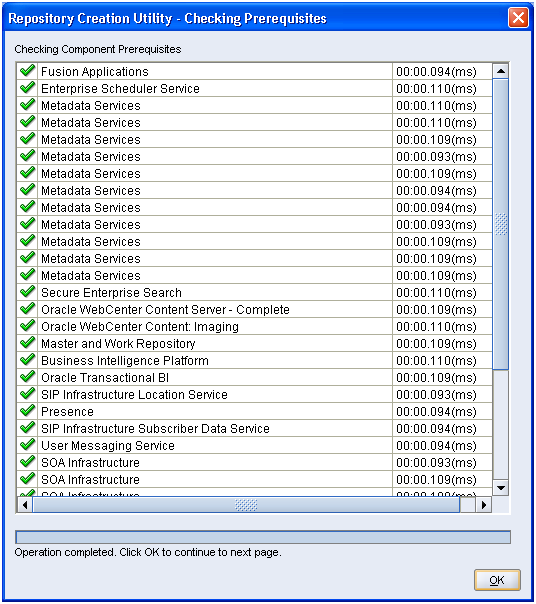
Once prerequisites check is successful, click OK
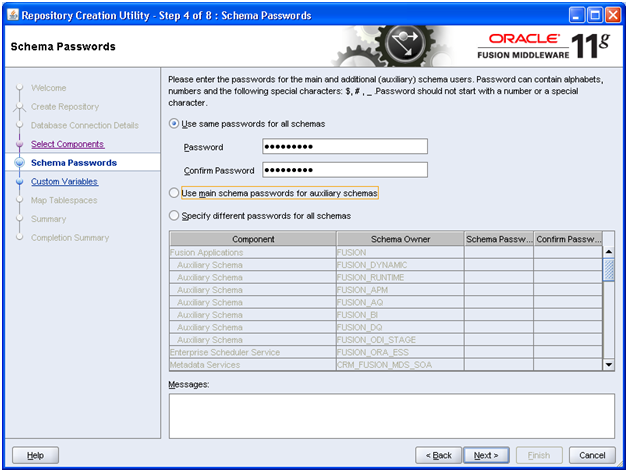
Enter same password (for example Oracle123) for all schemas for now. Click Next
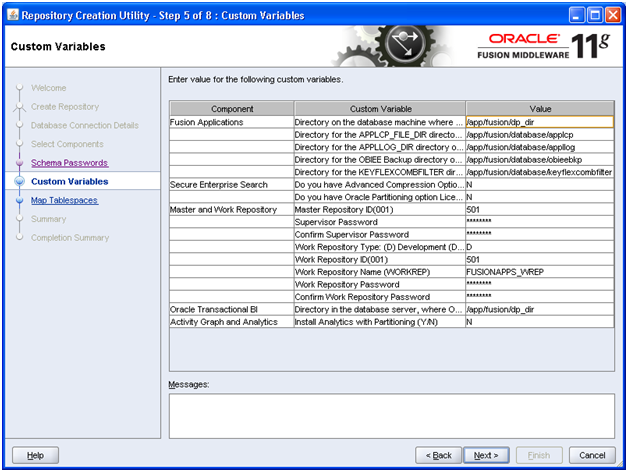
Create following directories on our DB server and then enter values as mentioned here and click Next
-bash-3.2$ mkdir /app/fusion/database/applcp
-bash-3.2$ mkdir /app/fusion/database/appllog
-bash-3.2$ mkdir /app/fusion/database/obieebkp
-bash-3.2$ mkdir /app/fusion/database/ keyflexcombfilter
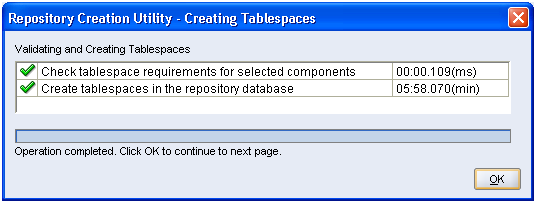
Once Tablespaces creation is complete, click OK
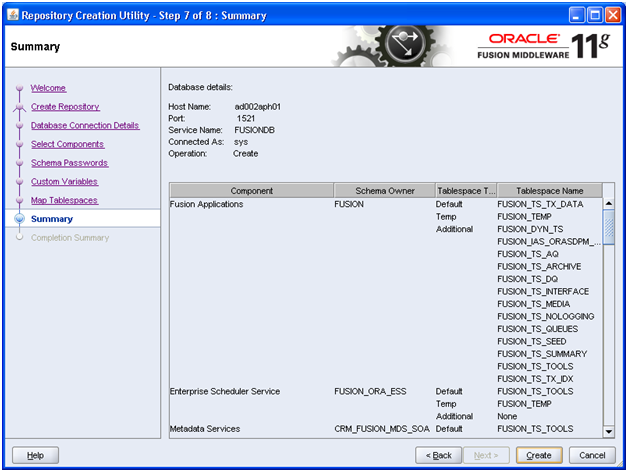
Review the summary and click Create to import the required users and data.
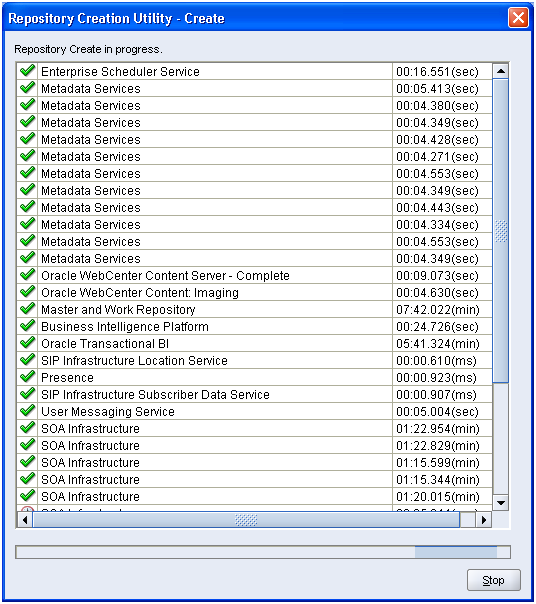
Above timings are just for your reference only to know how much time each may take.
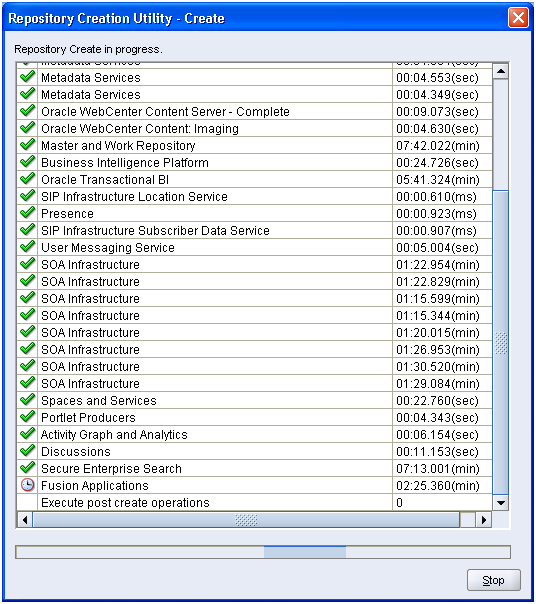
You can also monitor the import logs at /app/fusion/dp_dir
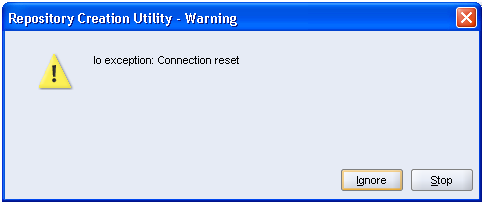
We encountered following error due to firewall timeout. Clicked Ignore
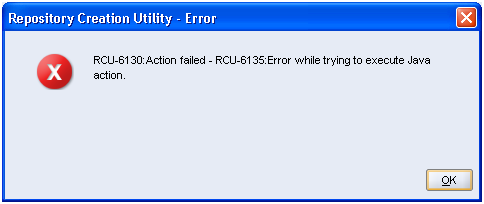
That leads to above error. Don’t panic. Just keep monitoring import log. Once import finishes, you can safely finish the RCU J
You can also monitor the progress by
impdp attach=FUSIONDBJOB
For us above finished almost 3.5 hours, it may take more or less time based on the machine specs.
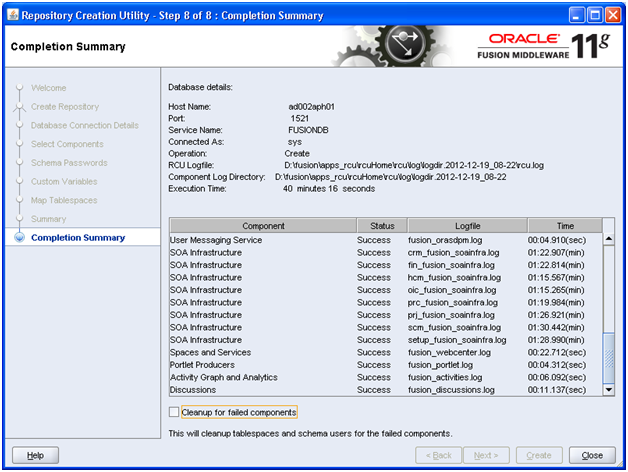
Make sure you uncheck Cleanup for failed components since import already finished in background.
We may need to update following in case if you faced error during RCU and you are sure that import has finished successfully.
SQL> select status from schema_version_registry where comp_name=’Fusion Applications’;
STATUS
———–
LOADING
SQL> select comp_name from schema_version_registry where status=’LOADING’;
COMP_NAME
——————————————————————————–
Fusion Applications
SQL> update schema_version_registry set status=’VALID’ WHERE COMP_NAME=’Fusion Applications’;
1 row updated.
SQL> COMMIT;
Commit complete.
Installing Oracle Fusion Applications – steps
-
Create another database for Oracle Identity Management Infrastructure (optional)
Next: Run Repository Creation Utility (RCU) for Oracle Identity Management components
Recent Comments