Installing 12c RAC on Linux VM: Install Oracle Grid Infrastructure
Previous: Setup shared file system and other pre-requisites
The grid infrastructure (clusterware) or database installation needs to be started only on one node since it will propagate the files to remote node automatically during the installation.
If you have the setup files on your host machine, you can share the setup folder to the VM using VMWare or Oracle VirtualBox shared folder option.
Following screen shows how to share a folder to VM using VMWare. This can be done even when the VM is online.
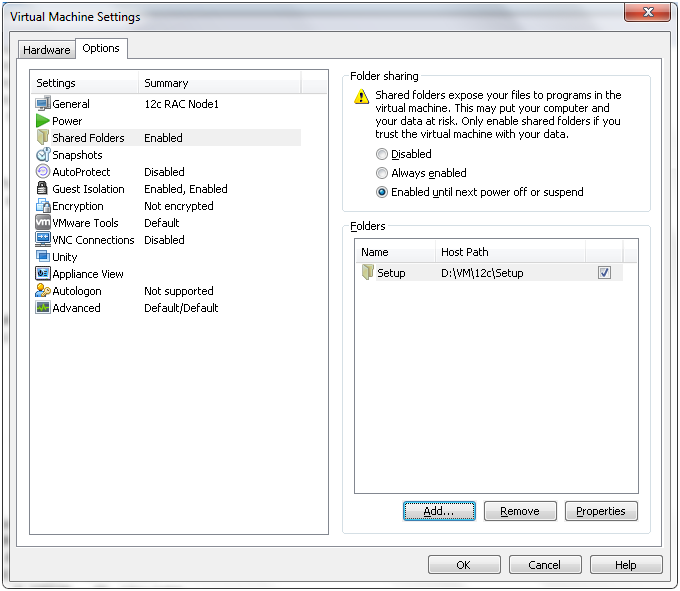
The files which you share using above option will be available by default at /mnt/hgfs/ directory under Linux.
Now let us start the Oracle Clusterware installation.
Before proceeding, please make following change if you are not using DNS if you did not do this already in previous step.
[root@dbhost1 ~]# mv /etc/resolv.conf /etc/resolv.conf_bak
[root@dbhost2 ~]# mv /etc/resolv.conf /etc/resolv.conf_bak
Login with grid user (grid owner)
[grid@dbhost1 ~]$ cd /mnt/hgfs/Setup/grid/
Start the installation using ./runInstaller script
[grid@dbhost1 grid]$ ./runInstaller

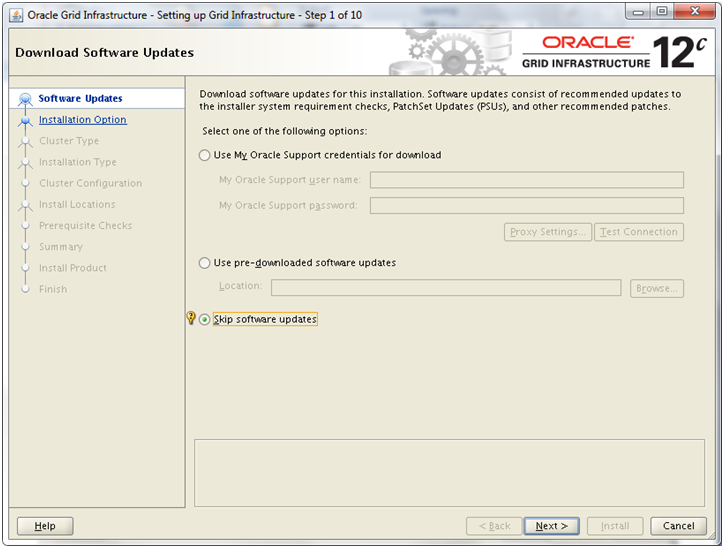
Select “Skip software updates” and click Next
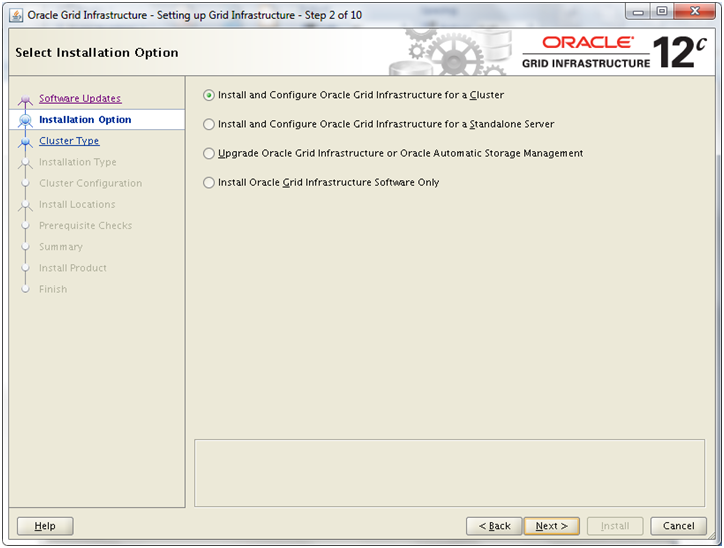
Select “Install and Configure Oracle Grid Infrastructure for a Cluster” and click Next
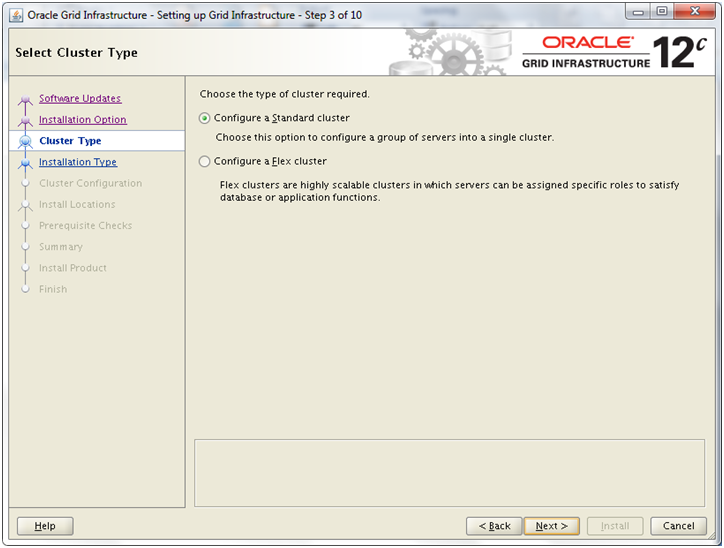
You can see an interesting new feature here called “Flex cluster“. This allows to flexibly use set of servers assigned in a flex server to select roles like database, application etc. We will discuss about this in details later.
Select “Configure a Standard cluster” and click Next
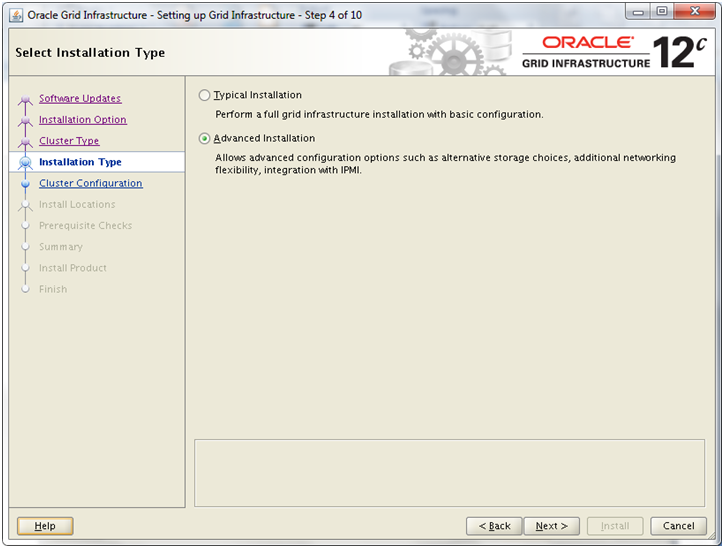
Select “Advanced installation” and click Next
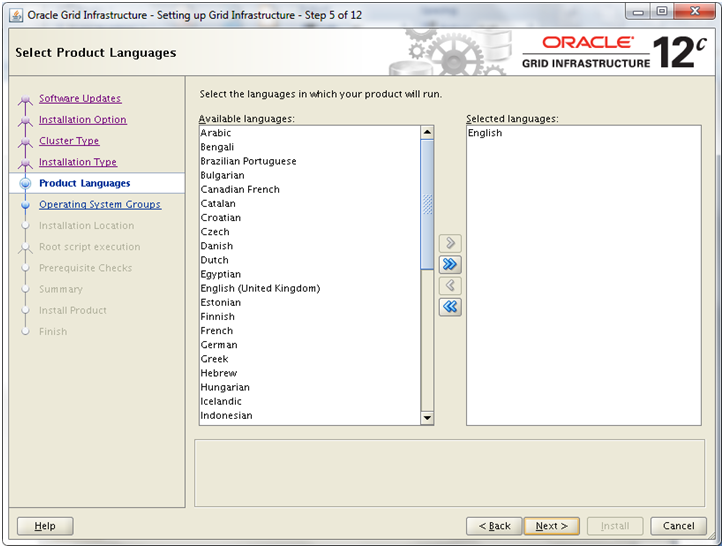
Click Next
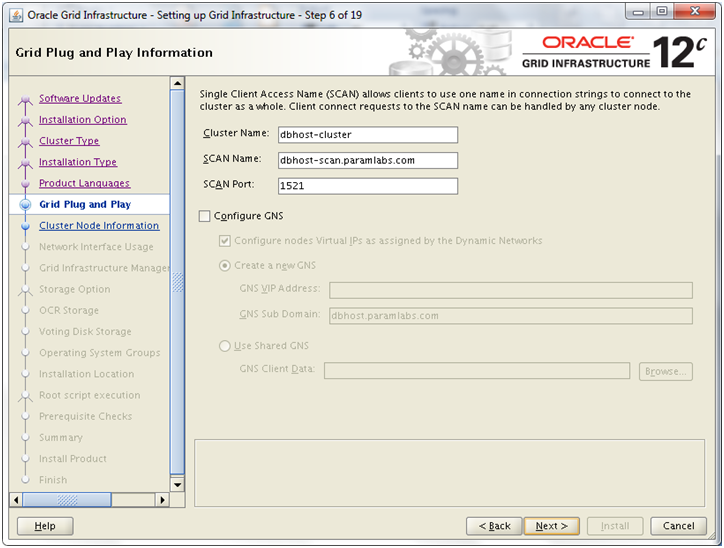
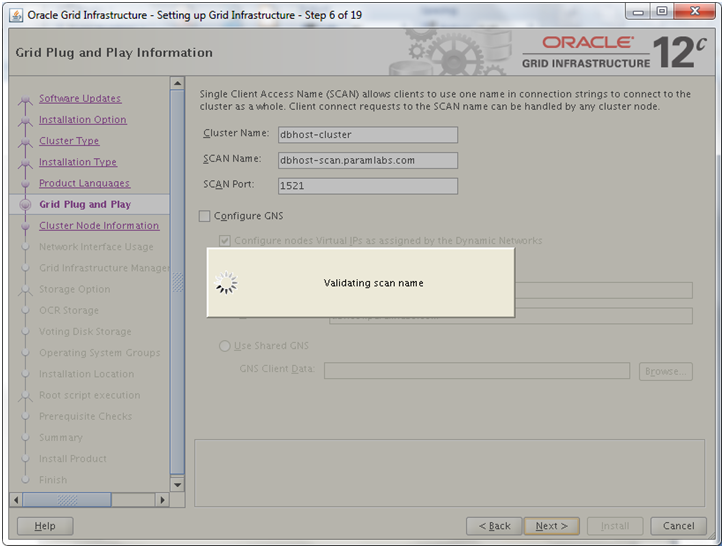
Enter details as follows and click Next. You can change the values as you want but make sure to use same values as you entered if required in other screens.
Cluster Name: dbhost-cluster
SCAN Name: dbhost-scan.paramlabs.com
SCAN Port: 1521
Deselect GNS. Click Next

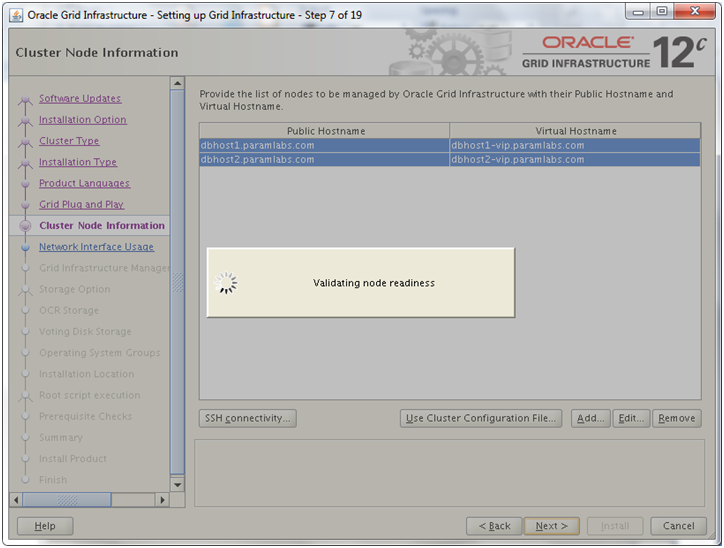
You will see only first host here. We need to add second node in the cluster. Click Add
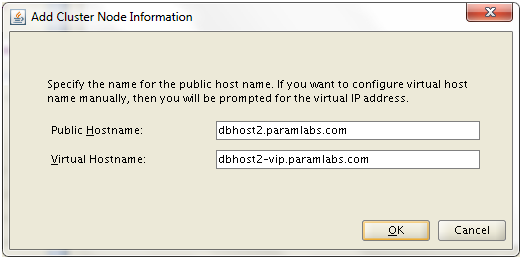
Enter details of second host and virtual hostname (dbhost2-vip.paramlabs.com) and click OK
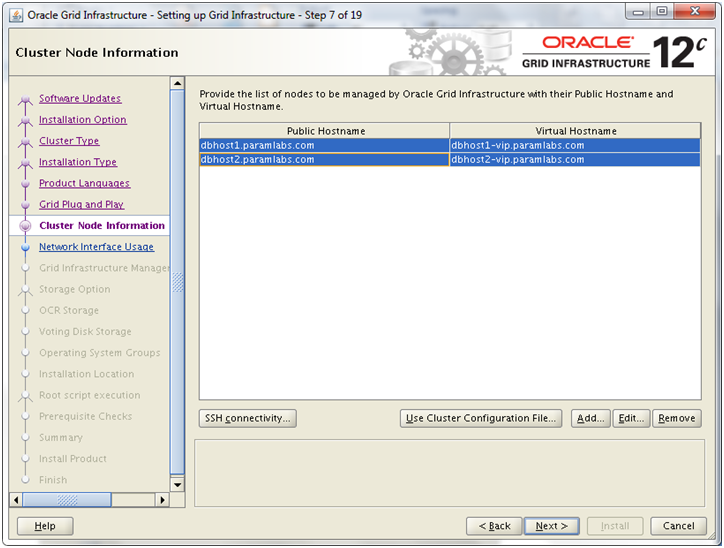
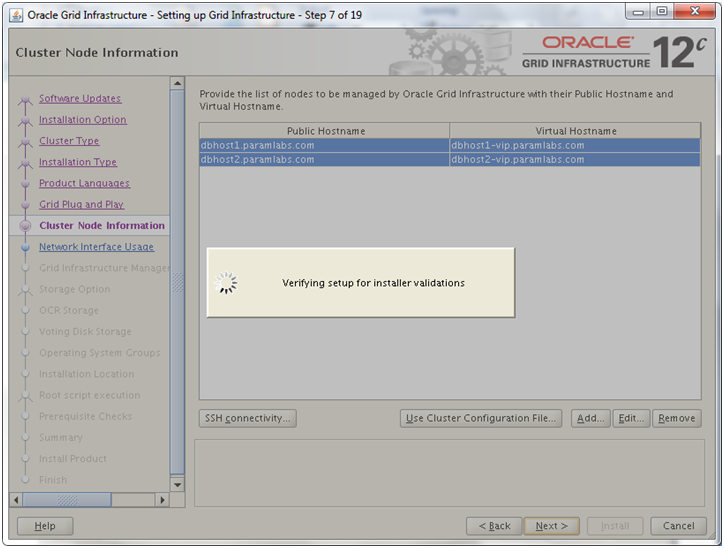
Select both nodes. Click “SSH connectivity“. And select Test. The test should be successful.
Click Next
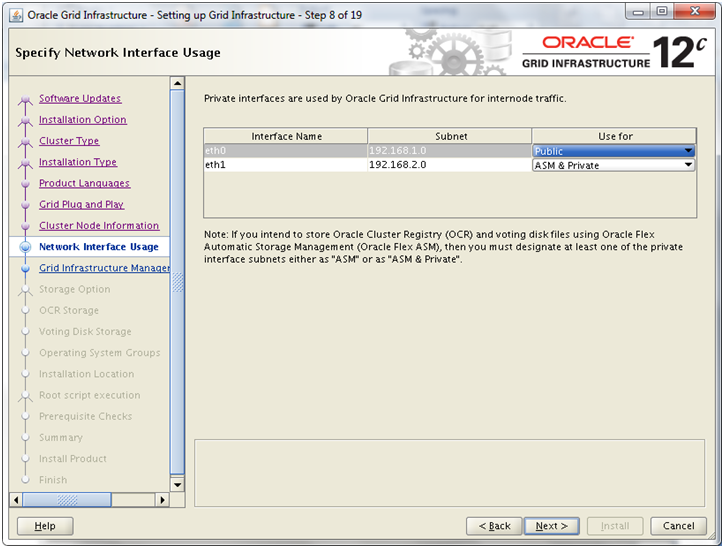
There is a new concept of Oracle Flex ASM storage in 12c. If you are planning to use it then you can select “ASM and Private” for second interface or you can also assign a different interface later.
We will use only shared file system so we will select only “Private” here.
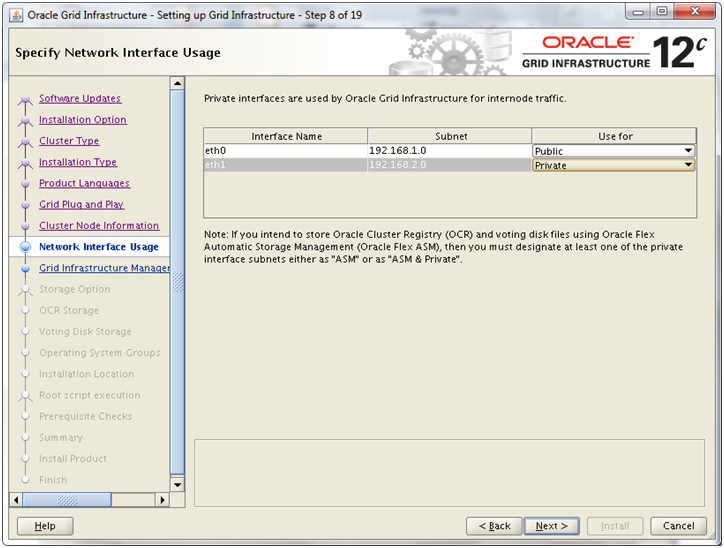
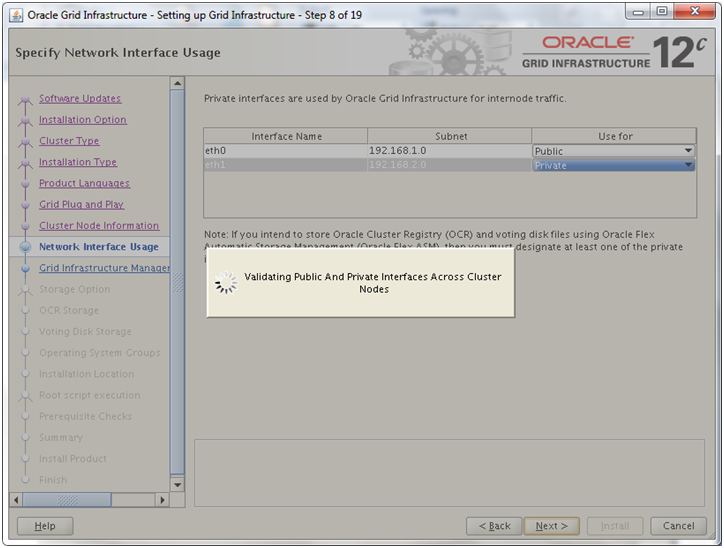
Select Private for eth1 and leave public for eth0 (automatically detected). Click Next
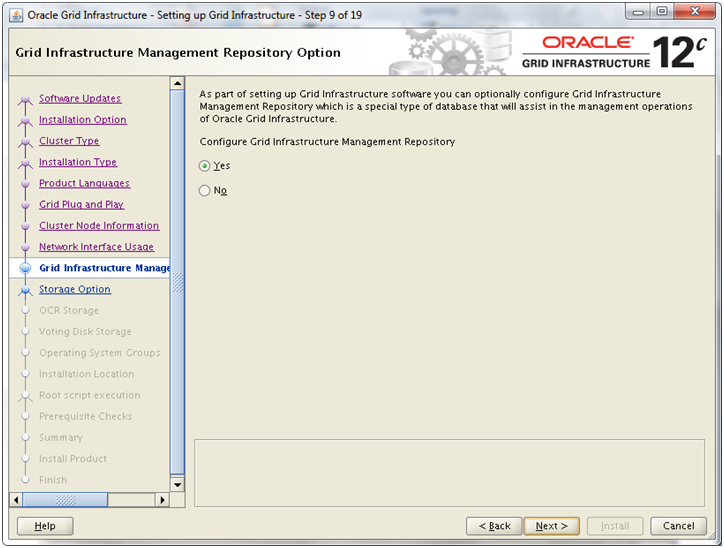
Oracle recommends that you create a Grid Infrastructure Management Repository.
This repository is an optional component, but if you do not select this feature during installation, then you lose access to Oracle Database Quality of Service management, Memory Guard, and Cluster Health Monitor. You cannot enable these features after installation except by reinstalling Oracle Grid Infrastructure.
We will discuss this feature in another post. Let us select “Yes” here. You can choose No as well if you are not planning to do advanced activities on cluster as mentioned above. Click Next
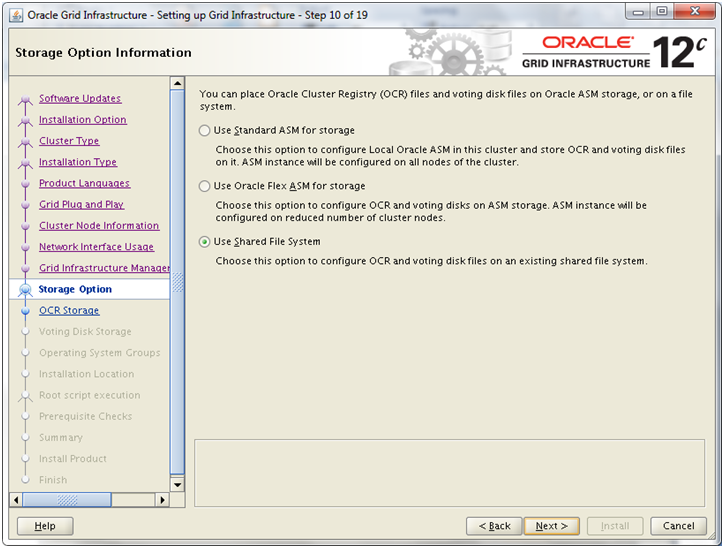
Select “Use Shared File System” and click Next

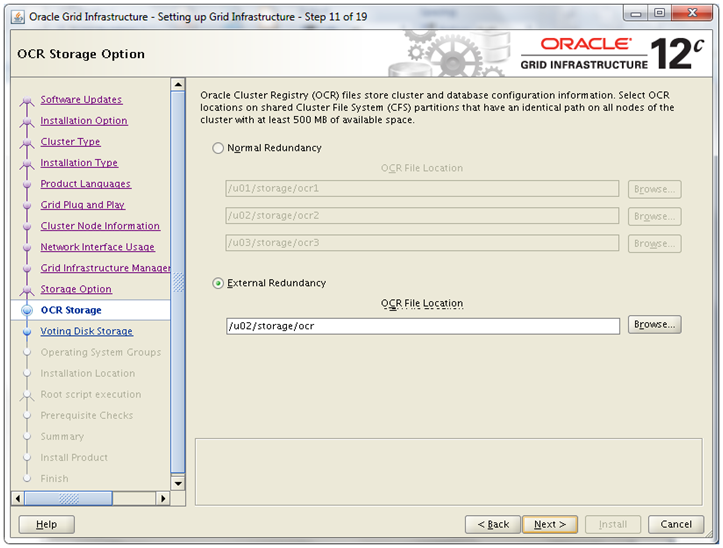
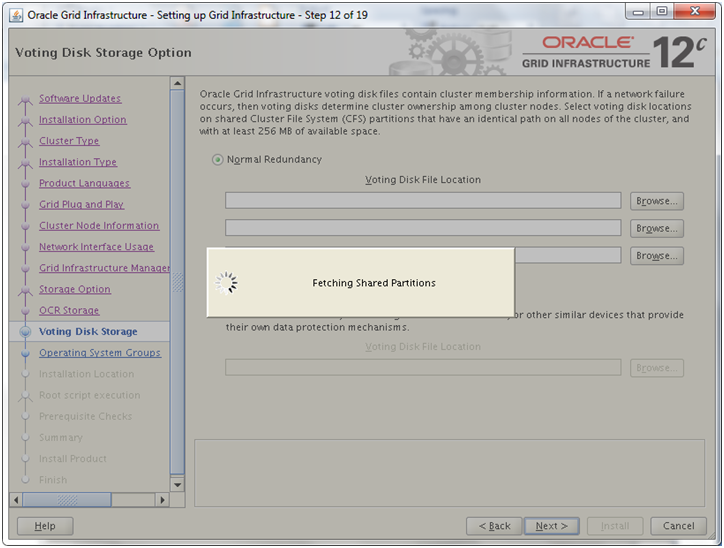
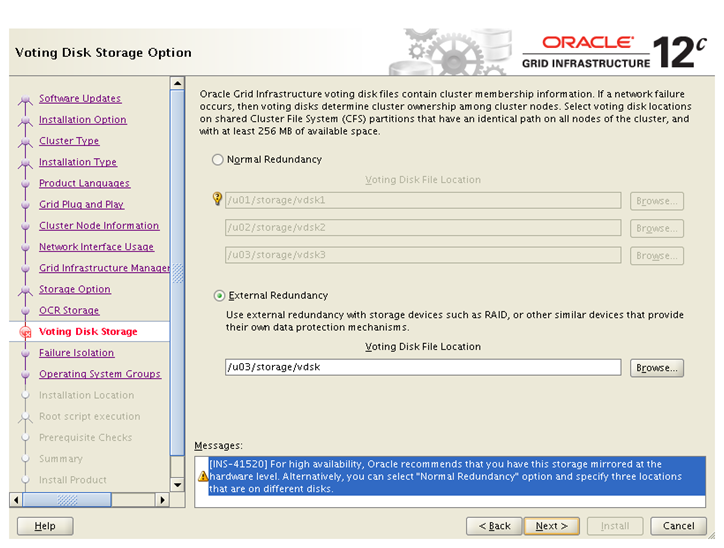
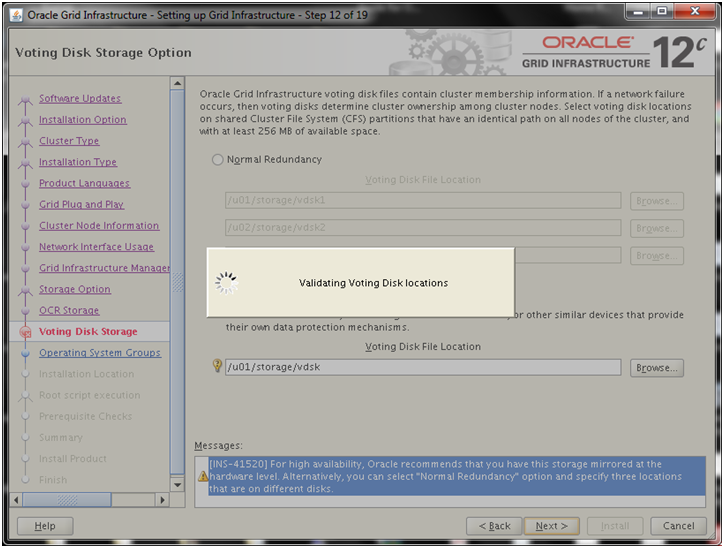
Important Note: Since having normal redundancy increases the load on VM to make sure NFS communicates and keeps all these files in sync all the time, we might face issues during normal run of the Oracle RAC.
So please select EXTERNAL REDUNDANCY which means that you are going to mirror this disk using external methods. Though we are not using any external mirroring here but still for the non-production and learning purpose we can take this risk.
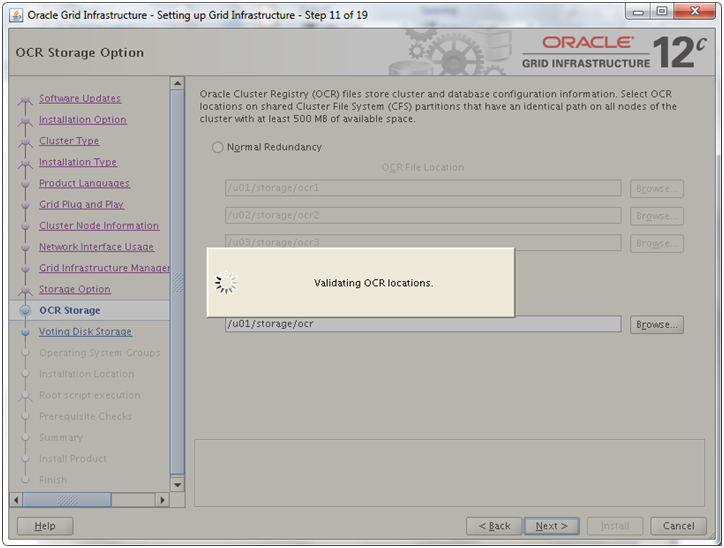
Enter following value in External Redundancy box. Click Next
/u02/storage/ocr
Important Note: Since having normal redundancy increases the load on VM to make sure NFS communicates and keeps all these files in sync all the time, we might face issues during normal run of the Oracle RAC.
So please select EXTERNAL REDUNDANCY which means that you are going to mirror this disk using external methods. Though we are not using any external mirroring here but still for the non-production and learning purpose we can take this risk.
Enter following value in External Redundancy box. Click Next
/u03/storage/vdsk
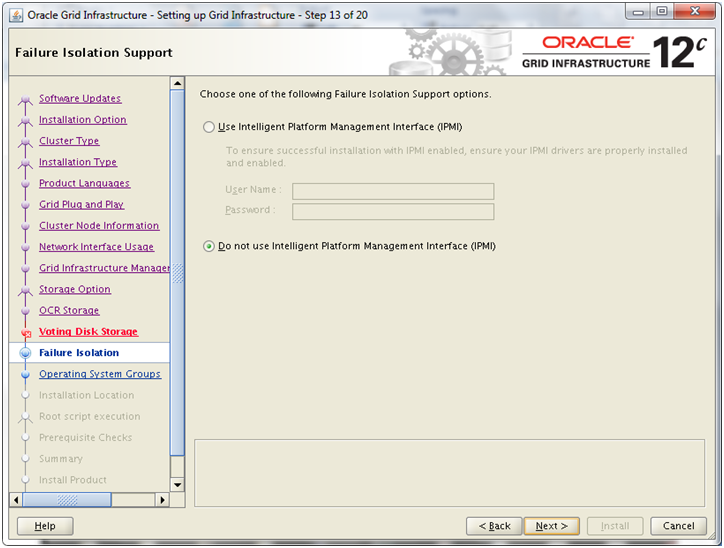
Select “Do not use IPMI” and click Next
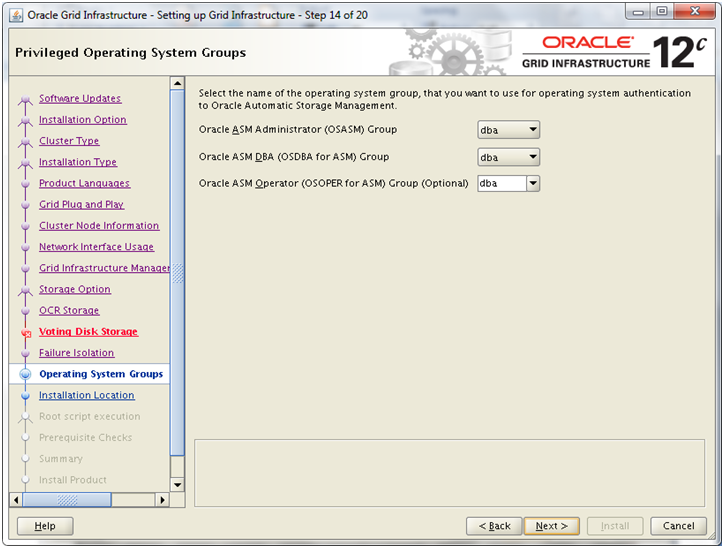
We have selected dba for all the above groups, you can choose different if you wish to. Click Next
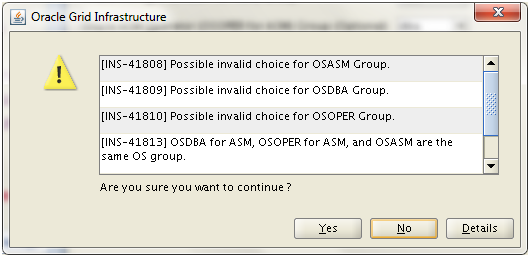
If you chose dba as all above groups, you might see above message box, click Yes
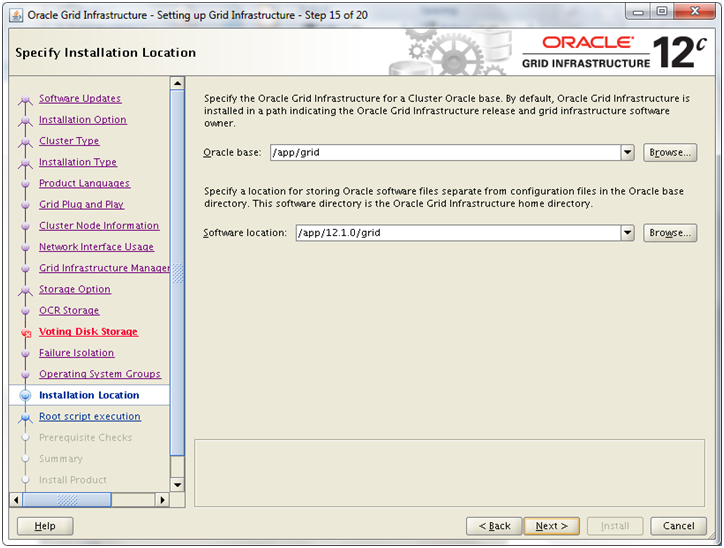
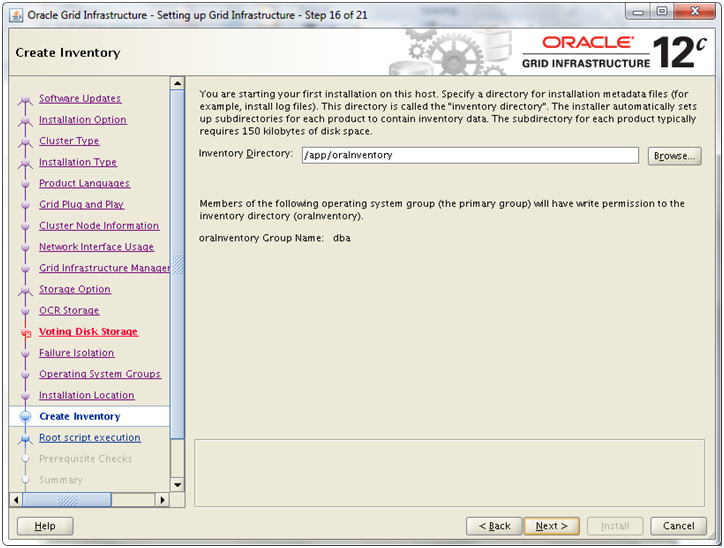
Enter following values and click Next
Oracle Base: /app/grid
Software Location: /app/12.1.0/grid
Click Next
Click Next
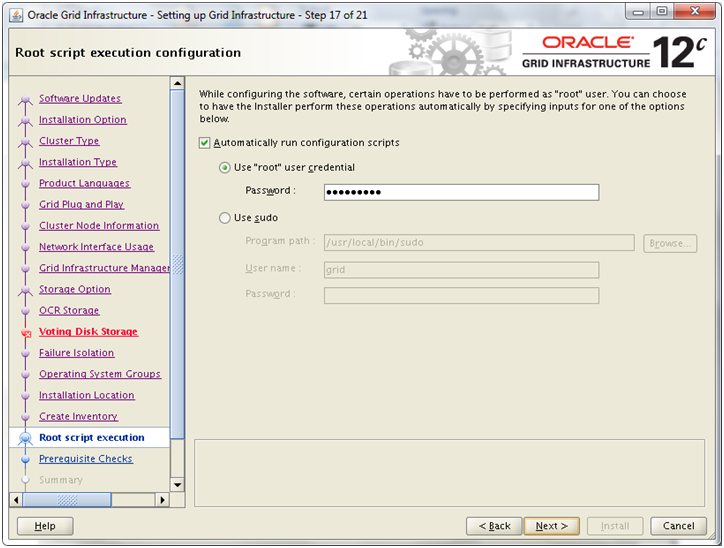
In 12c the installer itself can run various root user scripts on its own if we provide root password here. Select the checkbox and enter root password. You can skip this as well but in that case you will be prompted to run scripts manually. Click Next

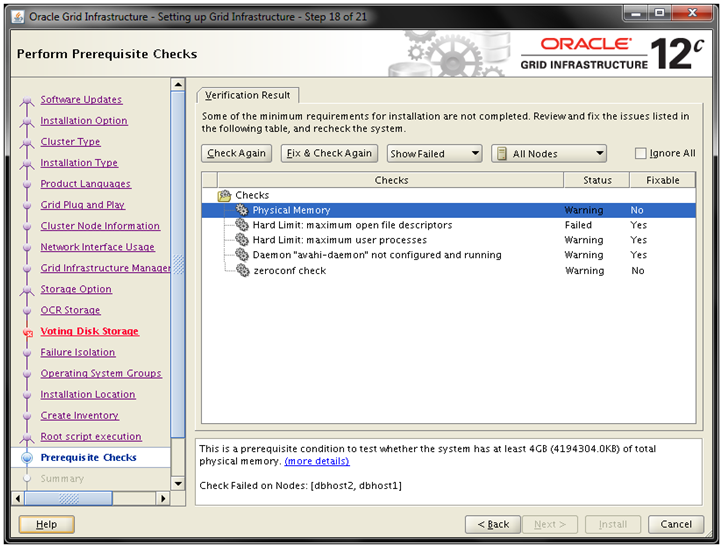
Click on zeroconf check and select “more details” from bottom pan.
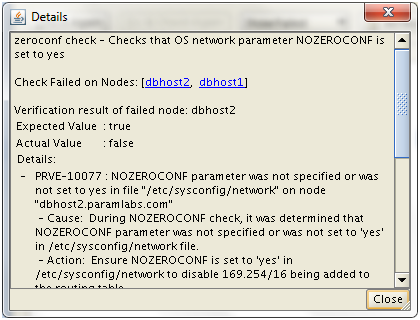
We can fix is as follows.
[root@dbhost1 ~]# cp -pr /etc/sysconfig/network /etc/sysconfig/network.bak
Update the file as follows.
[root@dbhost1 ~]# more /etc/sysconfig/network
# Added NOZEROCONF as pre-requisite for 12c
NOZEROCONF=yes
NETWORKING=yes
NETWORKING_IPV6=yes
HOSTNAME=dbhost1.paramlabs.com
[root@dbhost2 ~]# cp -pr /etc/sysconfig/network /etc/sysconfig/network.bak
Update the file as follows.
[root@dbhost2 ~]# more /etc/sysconfig/network
# Added NOZEROCONF as pre-requisite for 12c
NOZEROCONF=yes
NETWORKING=yes
NETWORKING_IPV6=yes
HOSTNAME=dbhost2.paramlabs.com
You can see that some of the dependencies installer can fix on its own. Click “Fix & Check Again” to see what all it can fix automatically.
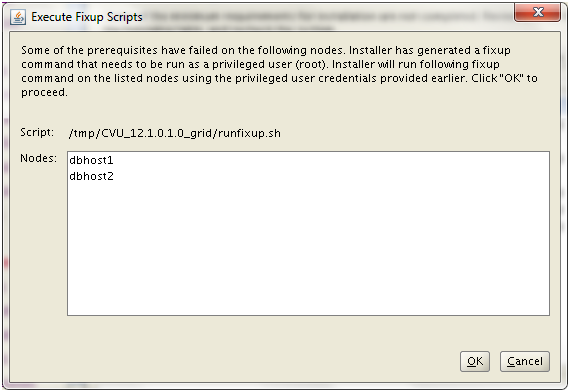
You will see above screen if you have already provided root password earlier. Click OK to let it run the fix scripts and start validation again.

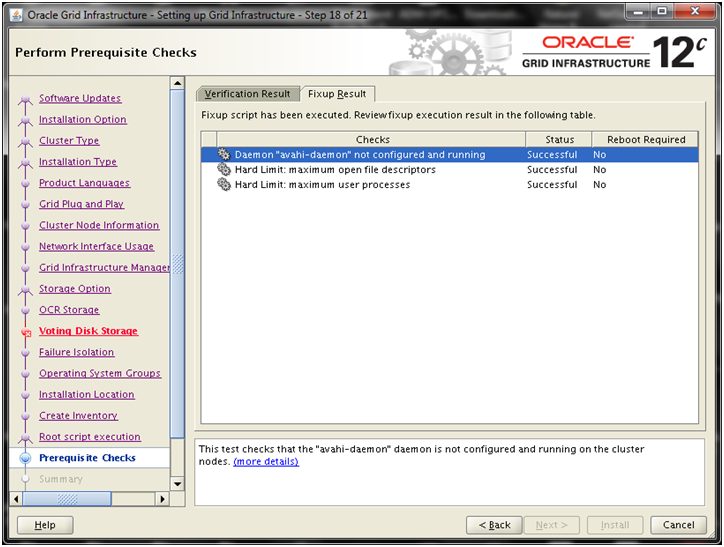
You can see result of fixup script on second tab.
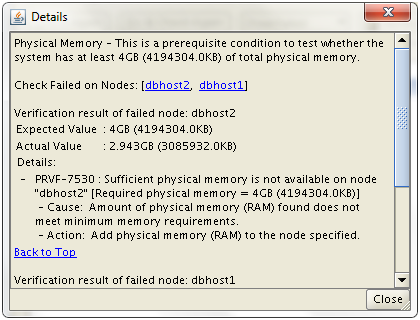
We can ignore this since we know 3 GB is good enough for this J
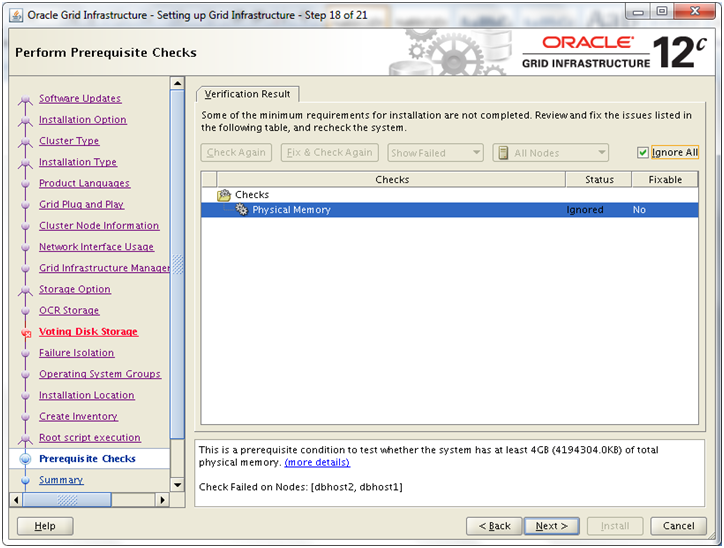
Click “Ignore all” and click Next
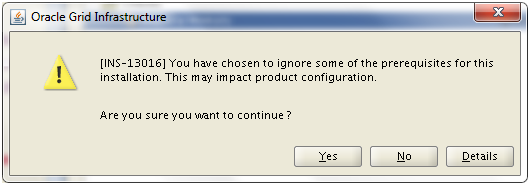
Click Yes
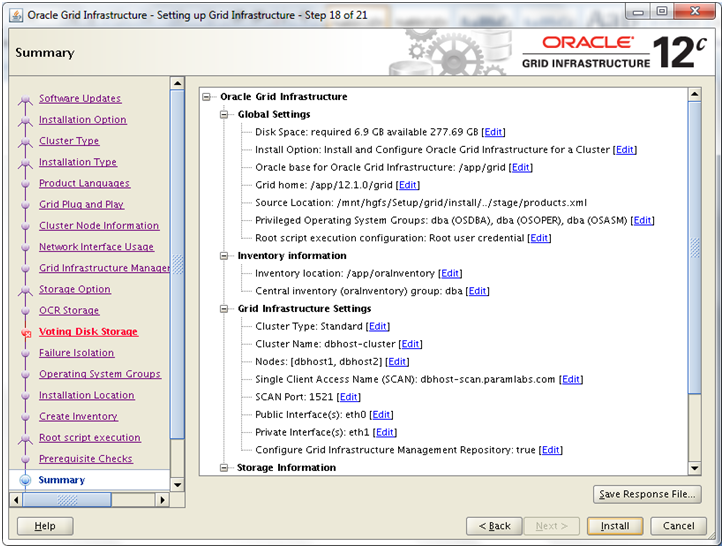
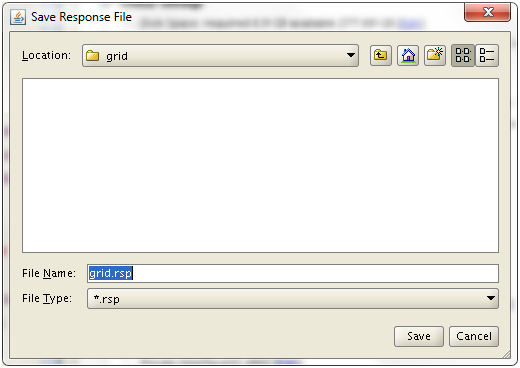
Save Response file if required. Click Next
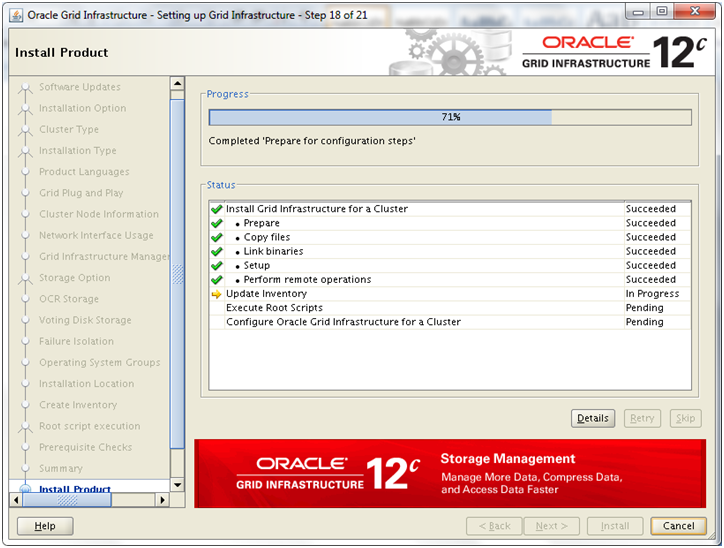
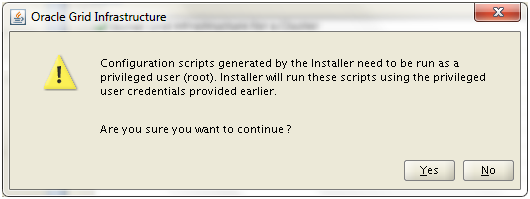
At this point it will prompt that installer will run root scripts automatically using previous password. Click Yes
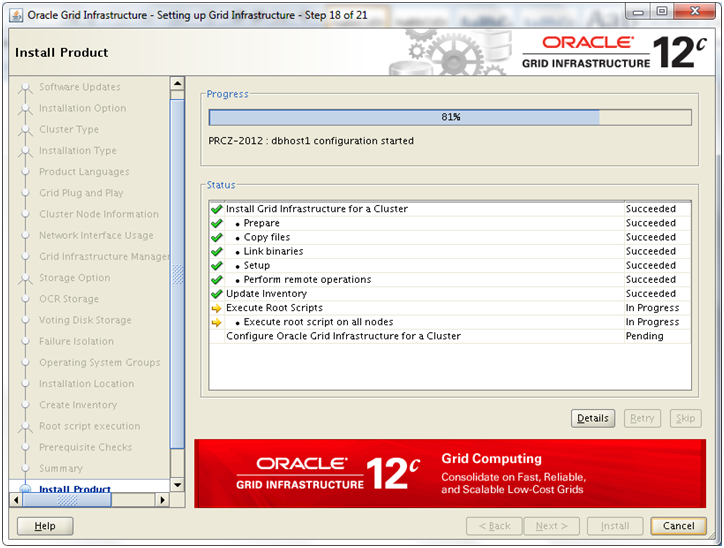
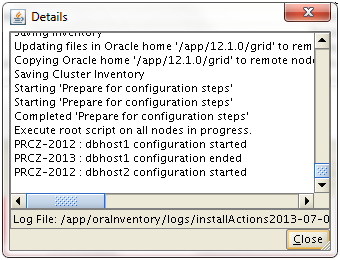
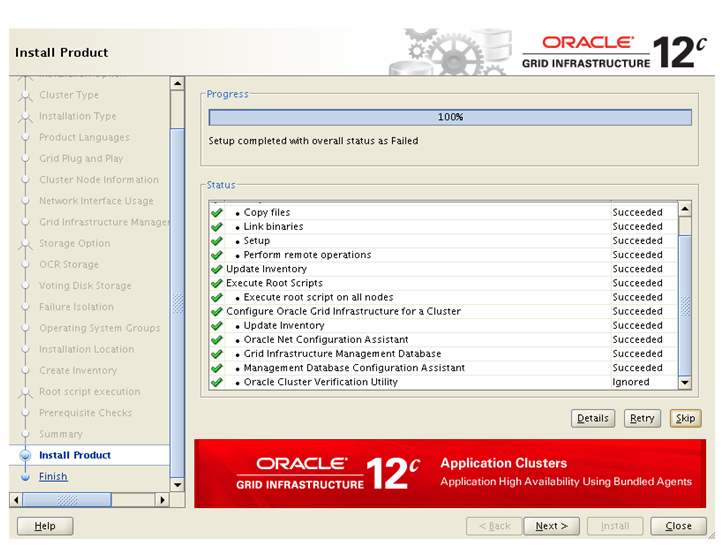
You can click details of current activity by clicking on “Details” button.

At this point installer will error out with following message.
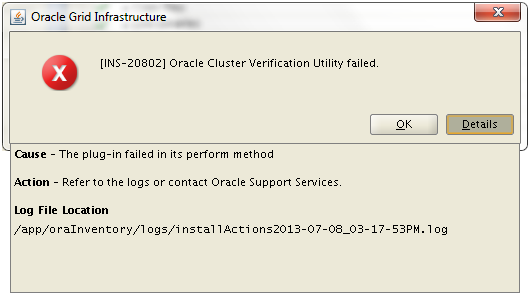
No need to panic. This is expected since we did not use DNS and installer tries to resolve the SCAN name using DNS. You can confirm this in the log file.
===================
INFO: PRVG-1101 : SCAN name “dbhost-scan.paramlabs.com” failed to resolve
INFO: ERROR:
INFO: PRVF-4657 : Name resolution setup check for “dbhost-scan.paramlabs.com” (IP address: 192.168.1.125) failed
INFO: ERROR:
INFO: PRVF-4664 : Found inconsistent name resolution entries for SCAN name “dbhost-scan.paramlabs.com”
INFO: Checking SCAN IP addresses…
INFO: Check of SCAN IP addresses passed
INFO: Verification of SCAN VIP and Listener setup failed
==================

Click Skip
Click Next
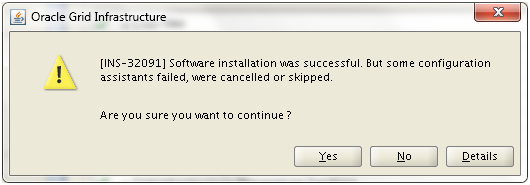
Click Yes
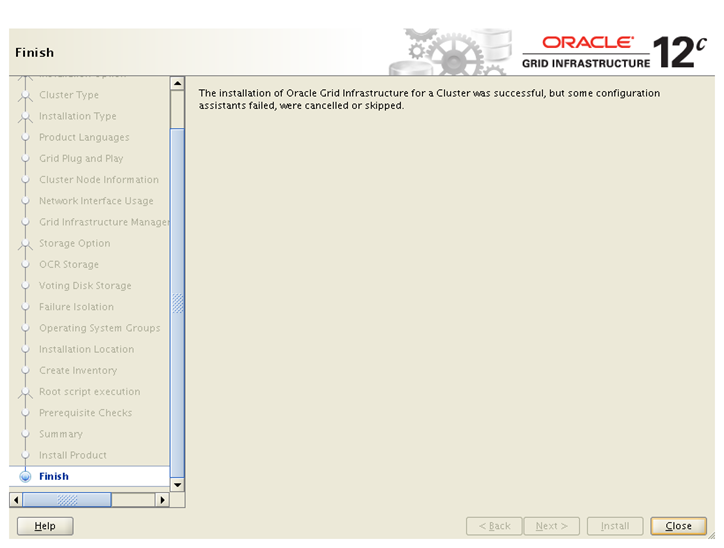
Click Close to finish the installation
Verify that the cluster services are started properly on both nodes.
[grid@dbhost1 logs]$ /app/12.1.0/grid/bin/srvctl status nodeapps
VIP dbhost1-vip.paramlabs.com is enabled
VIP dbhost1-vip.paramlabs.com is running on node: dbhost1
VIP dbhost2-vip.paramlabs.com is enabled
VIP dbhost2-vip.paramlabs.com is running on node: dbhost2
Network is enabled
Network is running on node: dbhost1
Network is running on node: dbhost2
ONS is enabled
ONS daemon is running on node: dbhost1
ONS daemon is running on node: dbhost2
This concludes the 12c Grid infrastructure installation. Next step is installation of database software and creating RAC database.
Next: Install Oracle Database software and create RAC database
1. Create Virtual Machine and install 64 bit Linux
2. Add additional virtual Ethernet card and perform prerequisites in Linux
3. Copy/clone this virtual machine to create second node and modify host details
4. Setup shared file system and other pre-requisites
5. Install Oracle Grid Infrastructure
6. Install Oracle Database software and create RAC database
hi there
getting below error at the time of adding OCR storage location selecting External Redundancy.
INS-41321: Invalid Oracle Cluster Registry (OCR) location
Please help
Thanks
Bryan