Install Fusion Applications Provisioning Framework
Installing Oracle Fusion Applications > Setting up Fusion Applications Node > Install Fusion Applications Provisioning Framework
Previous: Perform Post-Provisioning Configuration on IDM Host
Pro Oracle Fusion Applications – Installation and Administration
Now you can buy the first and only comprehensive book on Oracle Fusion Applications Installation and Administration which covers end to end information on introduction, planning, installation and troubleshooting guides for implementing Fusion Applications on premise. Buy it now from any of the following stores.
http://www.amazon.com/Pro-Oracle-Fusion-Applications-Administration/dp/1484209842
http://www.barnesandnoble.com/w/pro-oracle-fusion-applications-tushar-thakker/1121094340
Please note that since IDM node is ready now, now onwards all the following tasks are to be done on Node 2 which is Fusion Apps Node.
If you are using Virtual Machine then make sure that the staging directory is shared in VirtualBox.
[root@fahost ~]# mkdir /stage
[root@fahost ~]# mount -t vboxsf stage /stage
[root@fahost ~]# ls -ltr /stage
total 12
drwxrwxrwx 1 root root 8192 Oct 24 03:02 installers
drwxrwxrwx 1 root root 4096 Oct 24 03:03 jdk6
Make sure your /etc/hosts includes entries for idmhost, fahost as well as database host aliases idmdbhost and fadbhost
[root@fahost ~]# more /etc/hosts
# Do not remove the following line, or various programs
# that require network functionality will fail.
127.0.0.1 localhost.localdomain localhost
#::1 localhost6.localdomain6 localhost6
192.168.1.141 idmhost idmhost.paramlabs.com
192.168.1.141 idmdbhost.paramlabs.com idmdbhost
192.168.1.161 fahost.paramlabs.com fahost
192.168.1.161 fadbhost.paramlabs.com fadbhost
Important Note: We have made extra 2 entries here for same IPs. The reason being, in case if you want to keep DB on different server or move it to different server later, we can easily do it since our all configuration will use different DB host name.
If you are not using DNS resolution then comment out following entries in /etc/resolve.conf to speed up name resolution directly through hosts file.
[root@fahost ~]# more /etc/resolv.conf
#search paramlabs.com
[root@fahost ~]# cp -pr /etc/security/limits.conf /etc/security/limits.conf.bak
[root@fahost ~]# vi /etc/security/limits.conf
Edit the values as follows.
[root@fahost ~]# tail -3 /etc/security/limits.conf
# Fusion Applications specific changes
fusion soft nofile 327679
fusion hard nofile 327679
Also make sure UsePAM is set to Yes in /etc/ssh/sshd_config file
[root@fmwhost ~]# vi /etc/ssh/sshd_config
Edit /proc/sys/fs/file-max and set it to 6553600. No need for any changes if set to this or more.
The change becomes effective immediately but does not persist after a reboot. To make the change permanent edit /etc/sysctl.conf and set fs.file-max = 6553600
[root@fmwhost ~]# ulimit -u
24064
This should be 16384 or more
Make sure tmpfs size is more than the size you want to keep for the database SGA and PGA. In our case we are going to reduce DB memory to only 2GB since this is demo installation on VM, hence changing tmpfs to 4GB or more
[root@fmwhost ~]# cp -pr /etc/fstab /etc/fstab.bak
[root@fmwhost ~]# vi /etc/fstab
Change values as follows (only if it is less this 4G)
[root@fmwhost ~]# grep tmpfs /etc/fstab
tmpfs /dev/shm tmpfs size=4G 0 0
Note: If this size is less than memory_target then you will get error
ORA-00845: MEMORY_TARGET not supported on this system
Restart machine
Make sure that ip_local_port_range value is 32768 to 61000
First checking existing value.
[root@fahost ~]# cat /proc/sys/net/ipv4/ip_local_port_range
9000 65500
Now let’s change as per the requirement.
[root@fahost ~]# echo “32768 61000″ > /proc/sys/net/ipv4/ip_local_port_range
[root@fahost ~]# cat /proc/sys/net/ipv4/ip_local_port_range
32768 61000
To make this change persistent across reboots, change value in /etc/sysctl.conf
[root@fahost ~]# vi /etc/sysctl.conf
[root@fahost ~]# grep 61000 /etc/sysctl.conf
net.ipv4.ip_local_port_range = 32768 61000
Let’s create Fusion installation owner user.
[root@fahost ~]# useradd fusion -g dba -G oinstall
[root@fahost ~]# passwd fusion
Changing password for user fusion.
New UNIX password:
Retype new UNIX password:
passwd: all authentication tokens updated successfully.
Before you install the Oracle Database using the Provisioning Wizard, ensure that the value of the kernel parameter shmmax on the database host is greater than the value of the System Global Area (SGA) Memory.
The value of SGA Memory (sga_target) is 9 GB in the default Database Configuration Assistant (DBCA) template for the Starter database. If you are running DBCA using the production DBCA template packaged with Oracle Fusion Applications Provisioning, the value of the SGA Memory is 18 GB. Ensure that shmmax > (shmall * shmmni) > SGA Memory, where shmmax, shmall, shmmni are kernel parameters.
For example, to retrieve the values of these kernel parameters on Linux, use the following command:
[root@fmwhost ~]# /sbin/sysctl -a | grep shm
kernel.shmmax = 4398046511104
kernel.shmall = 1073741824
kernel.shmmni = 4096
vm.hugetlb_shm_group = 0
To set the value of a kernel parameter:
[user@host] /sbin/sysctl -w sys.kernel.shmmax=value
Let us start the installation of Fusion Applications Provisioning Framework
[fusion@idmhost ~]$ cd /stage/installers/faprov/Disk1/
[fusion@idmhost Disk1]$ ./runInstaller
(make sure NOT TO use “&” since this will prompt for java directory if java home is not set)
…
Please specify JRE/JDK location ( Ex. /home/jre ), <location>/bin/java should exist :/stage/jdk6
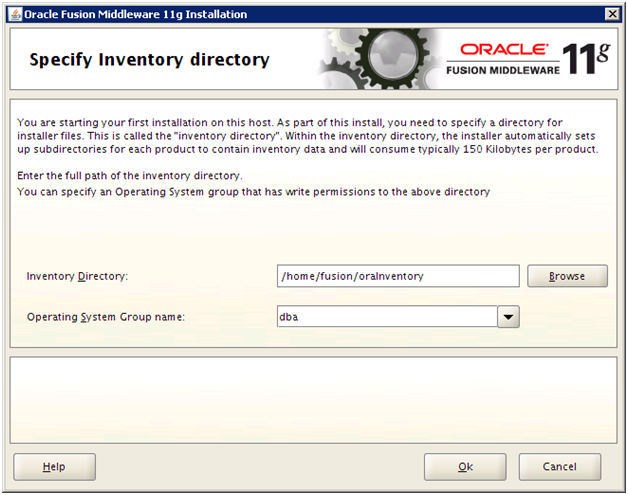
If this is the first Oracle software on this machine using this user, it will prompt for inventory directory location.
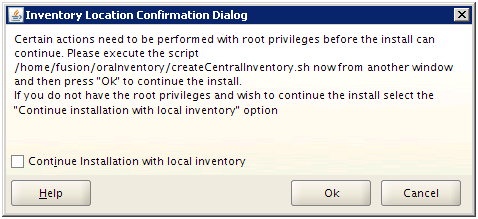
Once prompted, run the following script as root.
[root@fahost ~]# /home/fusion/oraInventory/createCentralInventory.sh
Setting the inventory to /home/fusion/oraInventory
Setting the group name to dba
Creating the Oracle inventory pointer file (/etc/oraInst.loc)
Changing permissions of /home/fusion/oraInventory to 770.
Changing groupname of /home/fusion/oraInventory to dba.
The execution of the script is complete
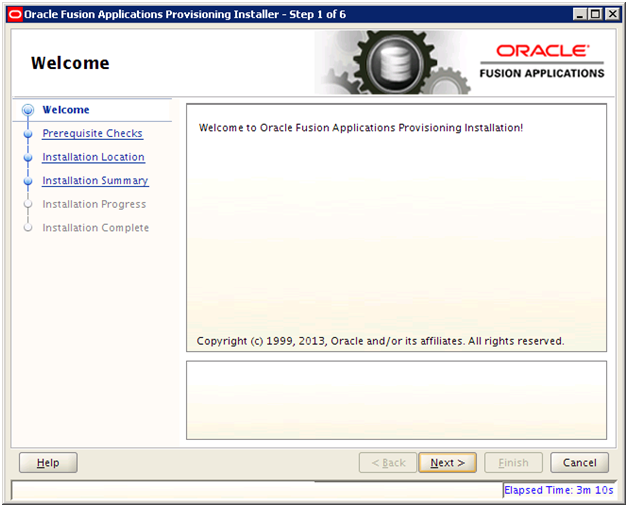
Click Next
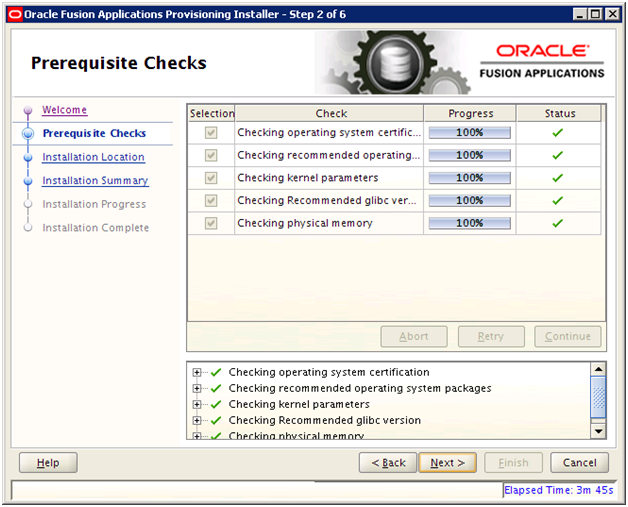
Once prerequisite check is completed, click Next
Meanwhile create the root directory for installation as follows.
[root@fahost ~]# mkdir /app
[root@fahost ~]# chown fusion:dba /app
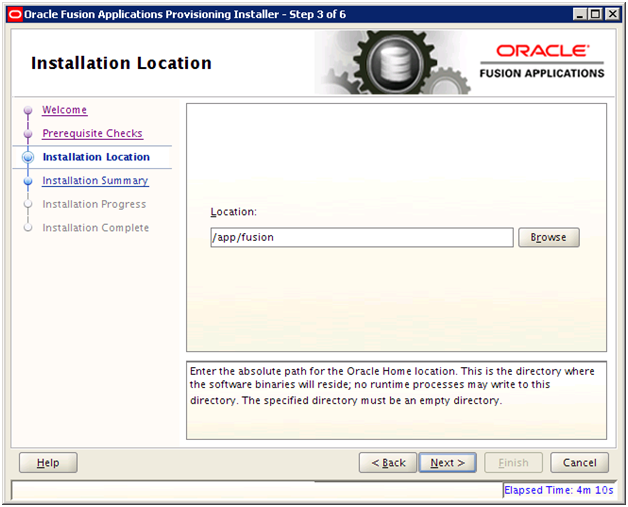
Enter /app/fusion and click Next
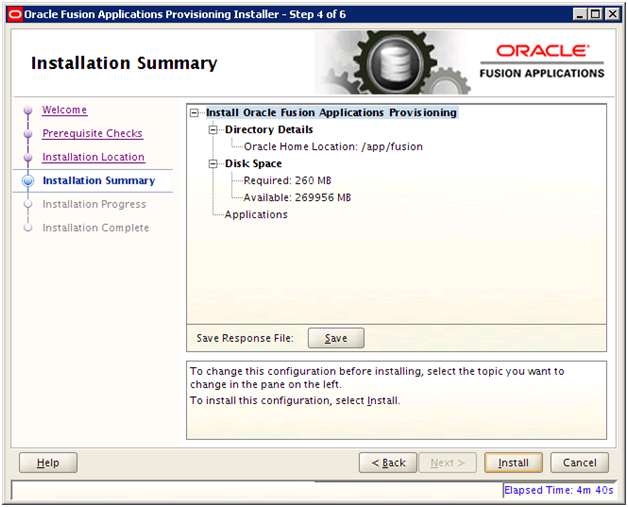
Review summary. Save inventory if required and click Install
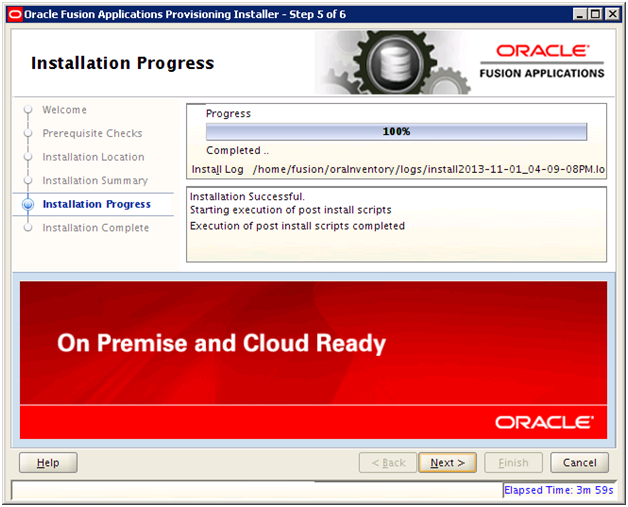
Once installation is finished click Next
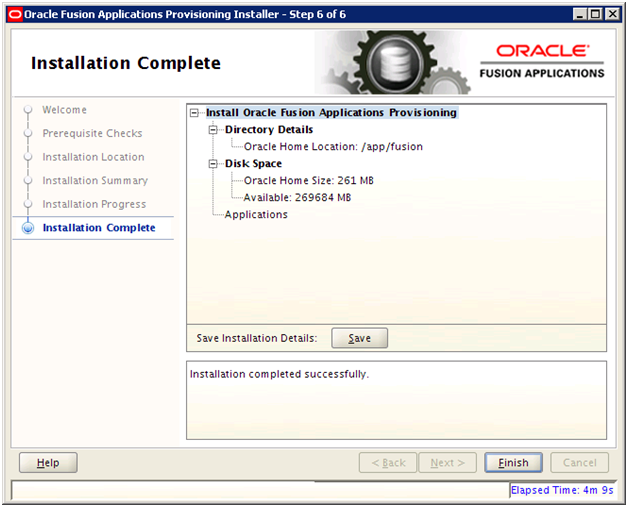
Review the summary and click Finish
Next: Install Oracle 11g Database (Fusion Apps Database)
Installing Oracle Fusion Applications – steps
A. Setting up Identity and Access Management Node
1. Install Fusion Applications Provisioning Framework
2. Install Oracle 11g Database (Identity management database)
3. Run Repository Creation Utility (RCU) for Oracle Identity Management components
4. Install Identity Management Provisioning Wizard
5. Create IDM provisioning Response File
6. Provision Identity Management
7. Perform Post-Provisioning Configuration
B. Setting up Fusion Applications Node
1. Install Fusion Applications Provisioning Framework
2. Install Oracle 11g Database (Fusion Apps Database)
3. Run Oracle Fusion Applications Repository Creation Utility (Applications RCU)
Recent Comments