Install Identity Management Provisioning Wizard
Installing Oracle Fusion Applications > Setting up Identity and Access Management Node > Install Identity Management Provisioning Wizard
Previous: Run Repository Creation Utility (RCU) for Oracle Identity Management components
Pro Oracle Fusion Applications – Installation and Administration
Now you can buy the first and only comprehensive book on Oracle Fusion Applications Installation and Administration which covers end to end information on introduction, planning, installation and troubleshooting guides for implementing Fusion Applications on premise. Buy it now from any of the following stores.
http://www.amazon.com/Pro-Oracle-Fusion-Applications-Administration/dp/1484209842
http://www.barnesandnoble.com/w/pro-oracle-fusion-applications-tushar-thakker/1121094340
Fusion Applications 11.1.8 and 11.1.7 include Oracle Identity and Access Management 11.1.1.7 instead of 11.1.1.6.
Also instead of manual installation, configuration and integration as we used to do till 11.1.6, now Oracle has supplied Provisioning wizard for Identity Management as well. This greatly decreases the chances of errors during manual configuration.
Let us first install the Provisioning Wizard using Identity Management Lifecycle Management Tools installer (ldmlcm).
[fusion@idmhost admin]$ cd /stage/installers/idmlcm/idmlcm/Disk1/
[fusion@idmhost Disk1]$ ./runInstaller -jreLoc /app/fusion/jdk6
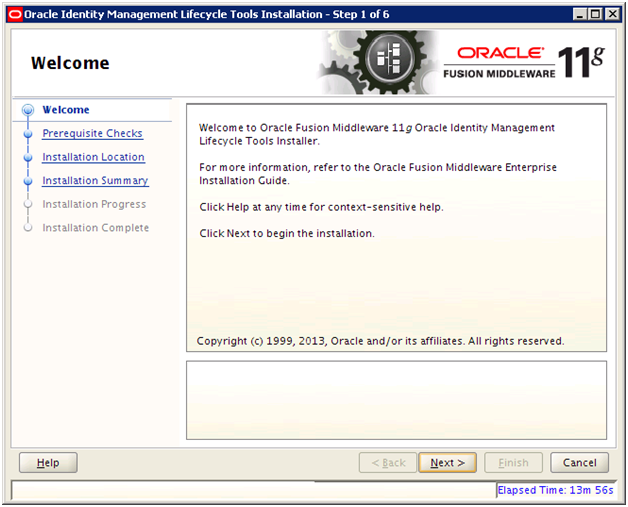
Click Next
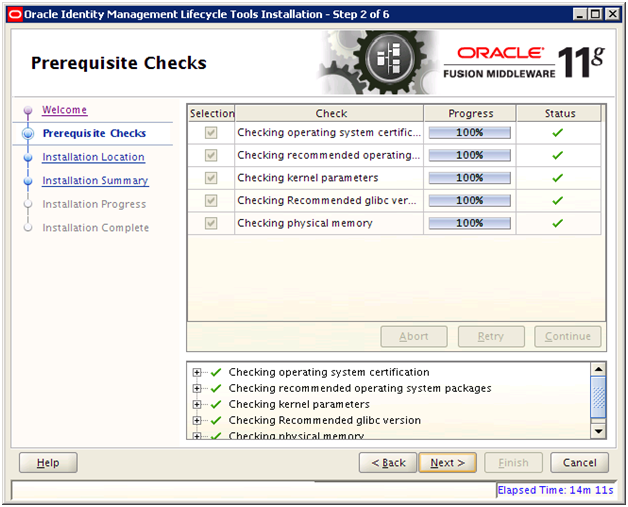
Once prerequisites check is successful, click Next
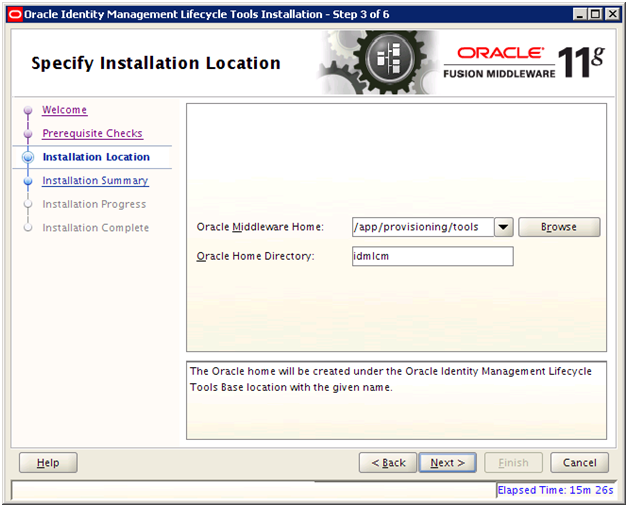
Select home directory to install the provisioning wizard. e.g. /app/provisioning/tools
Set Home Directory as “idmlcm“. Click Next
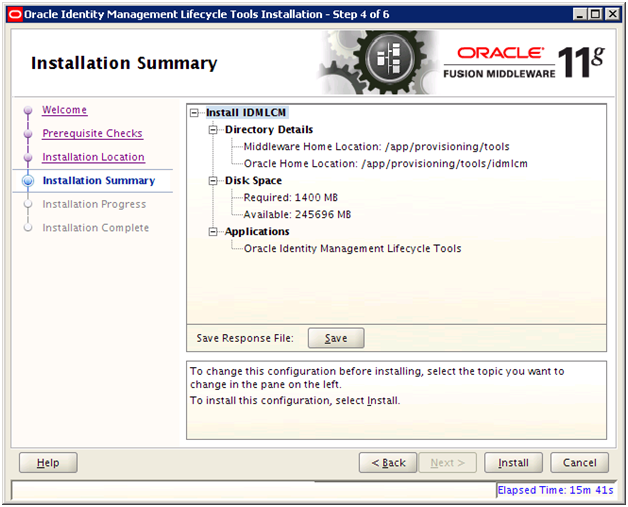
Review the Summary and click Install
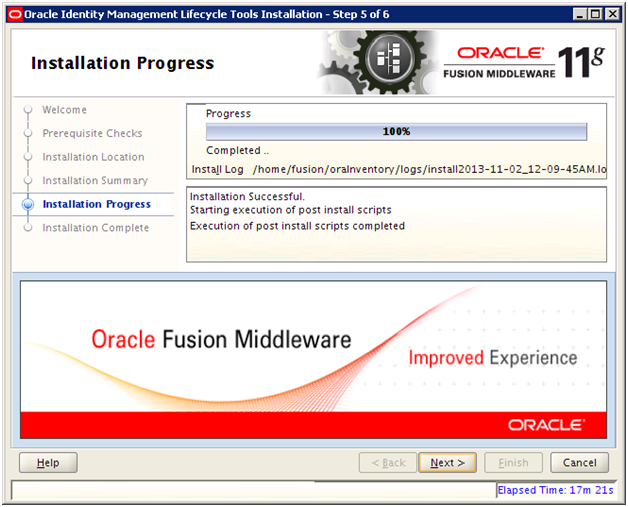
Once installation completes, click Next
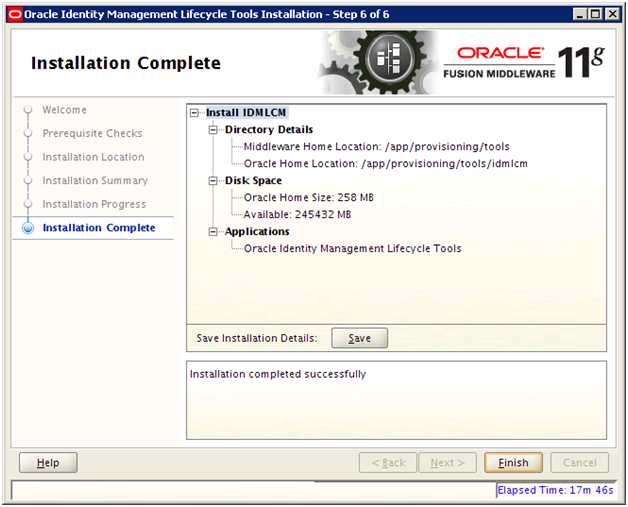
Review the summary, save if required and click Finish
Next: Create IDM provisioning Response File
Installing Oracle Fusion Applications – steps
A. Setting up Identity and Access Management Node
1. Install Fusion Applications Provisioning Framework
2. Install Oracle 11g Database (Identity management database)
3. Run Repository Creation Utility (RCU) for Oracle Identity Management components
4. Install Identity Management Provisioning Wizard
5. Create IDM provisioning Response File
6. Provision Identity Management
7. Perform Post-Provisioning Configuration
B. Setting up Fusion Applications Node
1. Install Fusion Applications Provisioning Framework
2. Install Oracle 11g Database (Fusion Apps Database)
3. Run Oracle Fusion Applications Repository Creation Utility (Applications RCU)
Recent Comments