Create IDM provisioning Response File
Installing Oracle Fusion Applications > Setting up Identity and Access Management Node > Create IDM provisioning Response File
Previous: Install Identity Management Provisioning Wizard
Pro Oracle Fusion Applications – Installation and Administration
Now you can buy the first and only comprehensive book on Oracle Fusion Applications Installation and Administration which covers end to end information on introduction, planning, installation and troubleshooting guides for implementing Fusion Applications on premise. Buy it now from any of the following stores.
http://www.amazon.com/Pro-Oracle-Fusion-Applications-Administration/dp/1484209842
http://www.barnesandnoble.com/w/pro-oracle-fusion-applications-tushar-thakker/1121094340
Since we will use port 7777 for IDM web server, let’s make sure nothing is running on this port.
[fusion@idmhost ~]$ netstat -an | grep 7777
Launch the IDM provisioning Wizard to create a new response file.
[fusion@idmhost ~]$ export JAVA_HOME=/app/fusion/jdk6
[fusion@idmhost ~]$ cd /app/provisioning/tools/idmlcm/provisioning/bin/
[fusion@idmhost bin]$ ./idmProvisioningWizard.sh
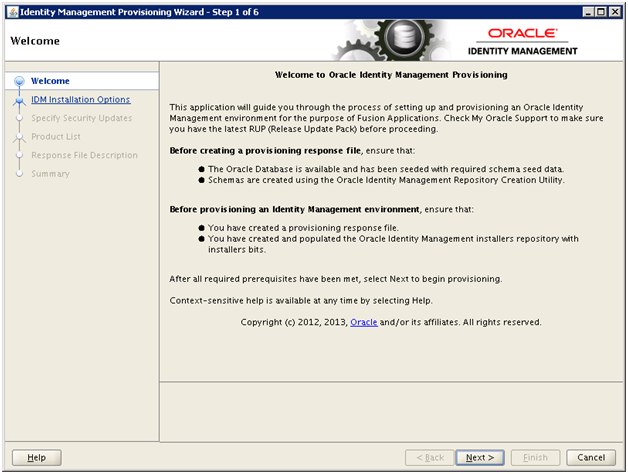
Click Next
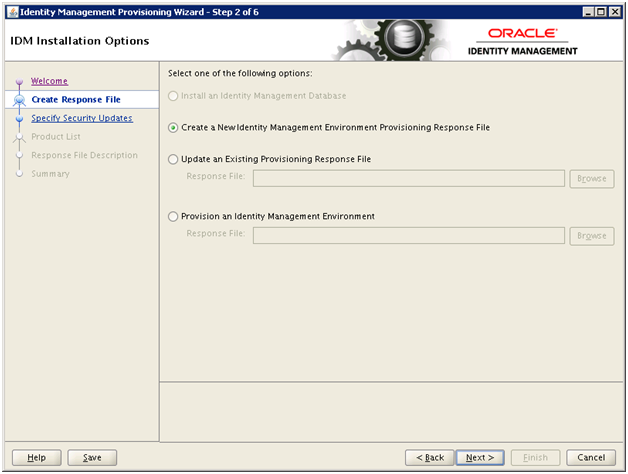
Select “Create a New Identity Management Environment Provisioning Response File” and click Next
Note: Since we can see that the option “Install an Identity Management Database” is grayed out since it is not yet available in the wizard. In future when this will be available, we will not need Fusion Provisioning Framework on this node to install new database.
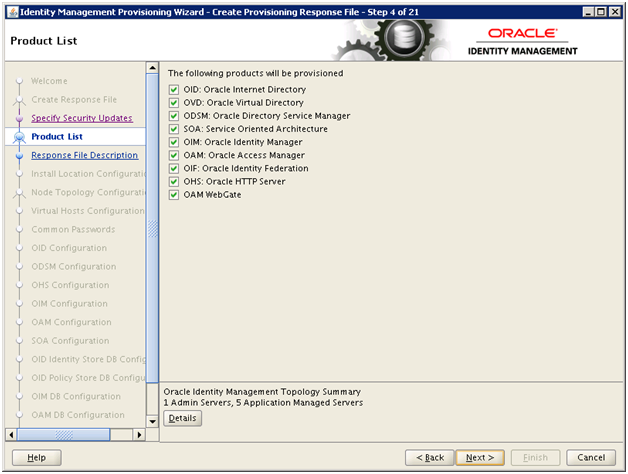
Make sure all components are selected. Click Next
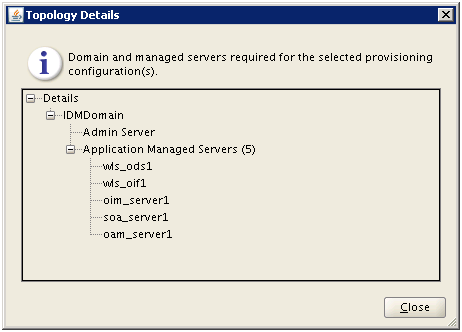
You can click Details button to see what all managed servers will be created during provisioning.
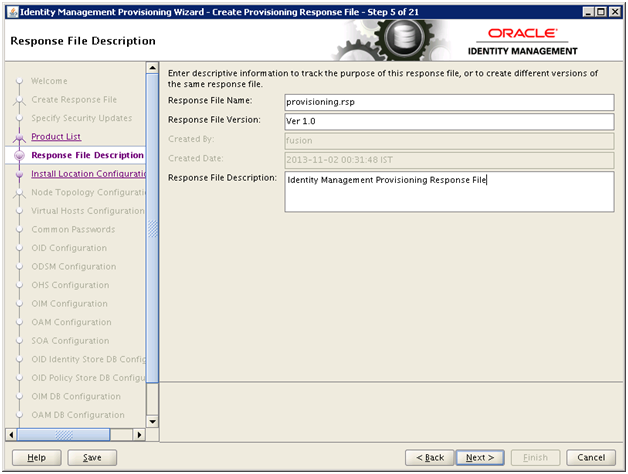
Enter response file name “provisioning.rsp”. Click Next
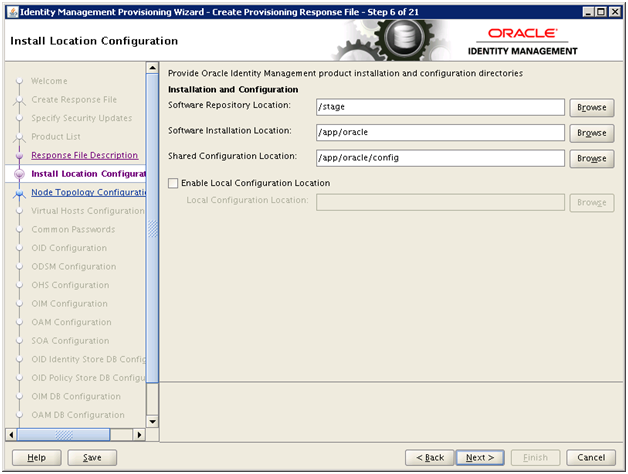
Enter installers location as the repository directory (/stage). Enter software location as “/app/oracle”. Click Next
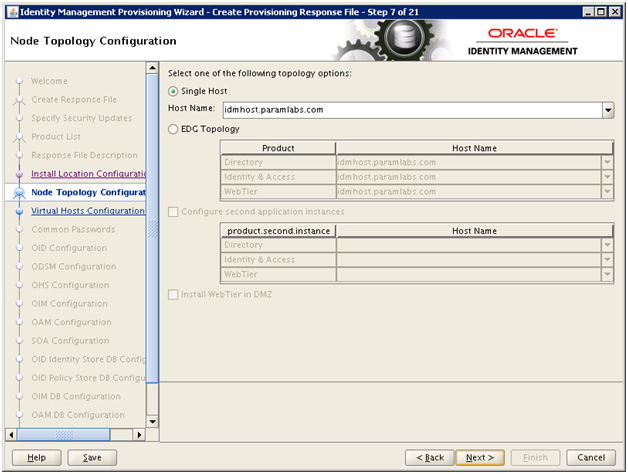
Select Single host and enter IDM host name. Click Next

Click Next
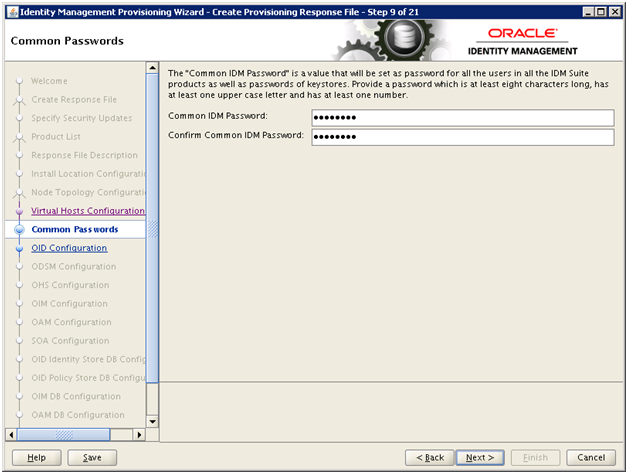
Enter IDM Password. We will enter “Oracle123” and click Next
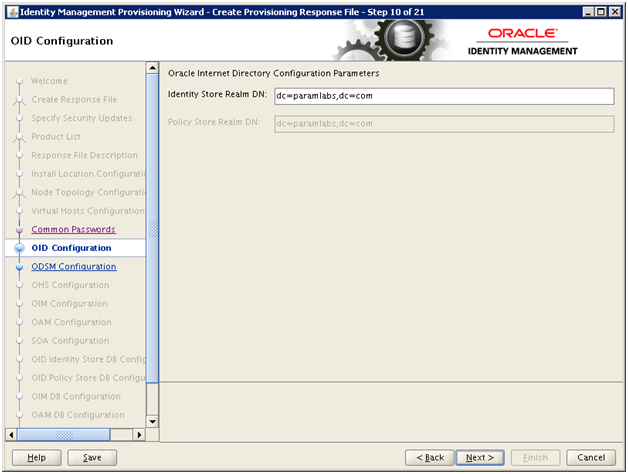
Enter “dc=<your domain>,dc=com” and click Next
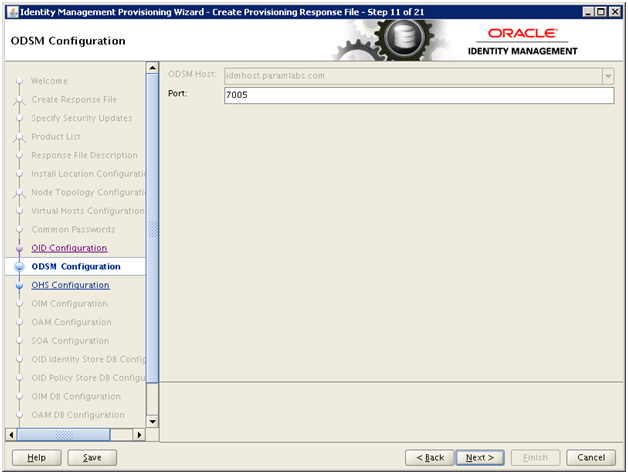
Click Next
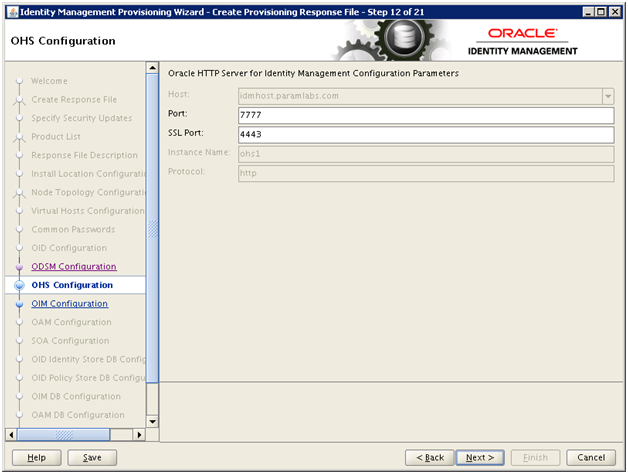
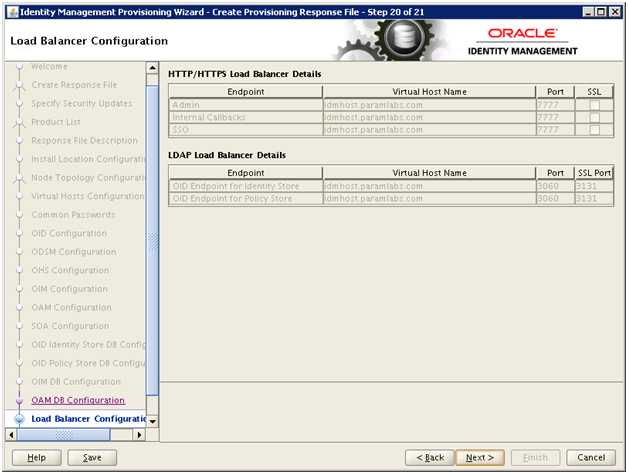
Review the ports and click Next
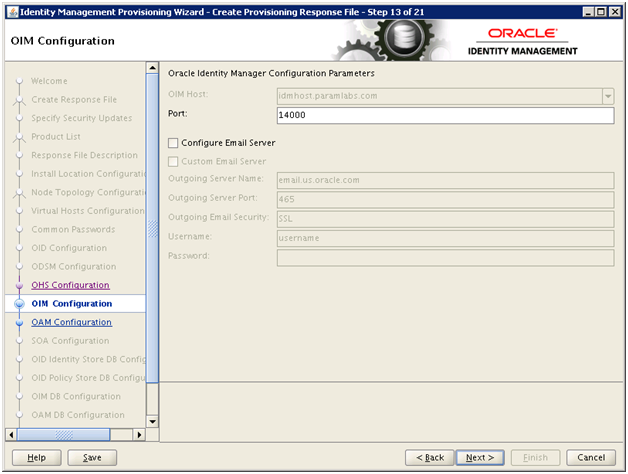
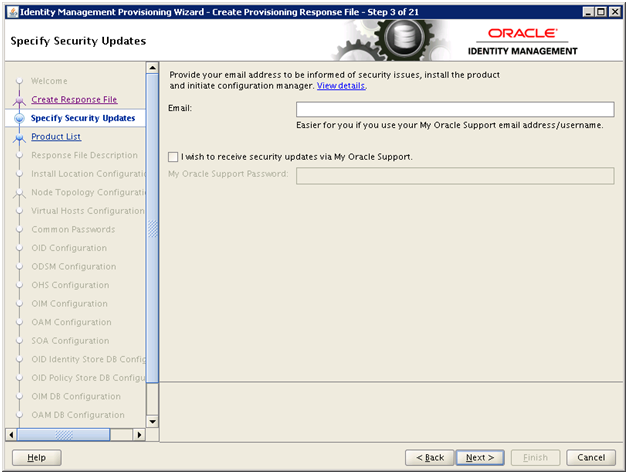
Configure Email server if required (optional) and click Next
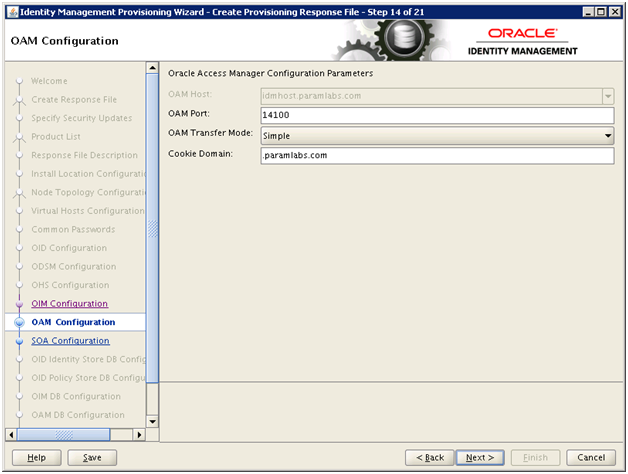
Important Note: Till 11.1.6 we were allowed to use “Open” Transfer mode. But from 11.1.7 onwards we must use “Open” for AIX OS only and for all other OS, we must specify “Simple”.
Enter cookie domain as your domain name and click Next
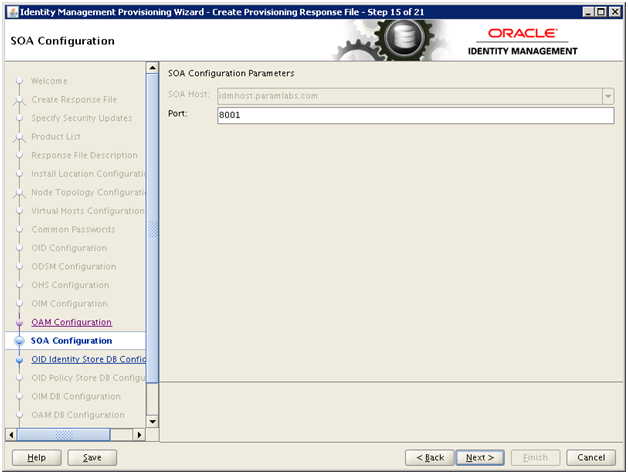
Click Next
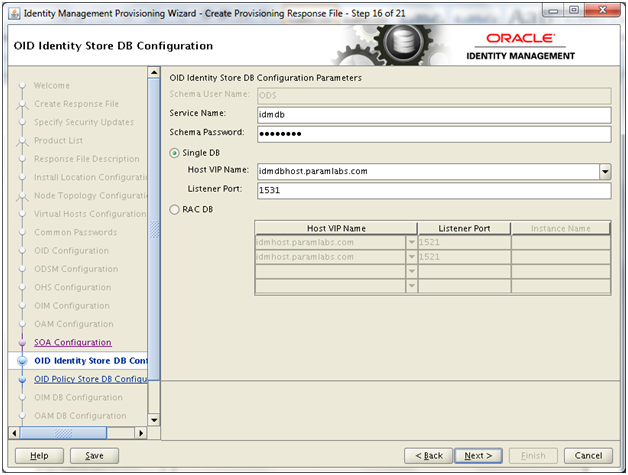
Enter IDM database details. Please note that since we had used non-default port, we must mention that port here. Click Next
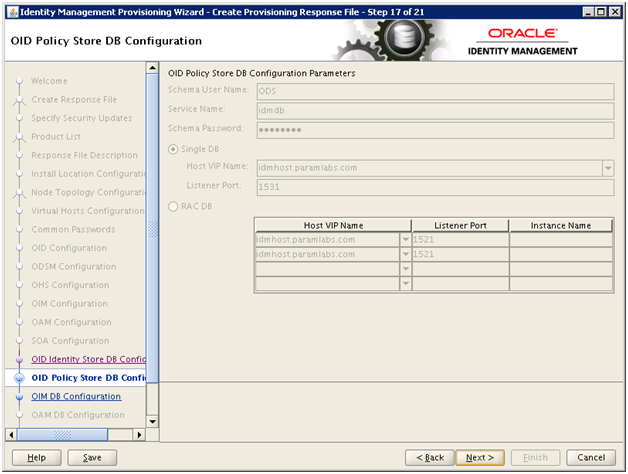
Click Next
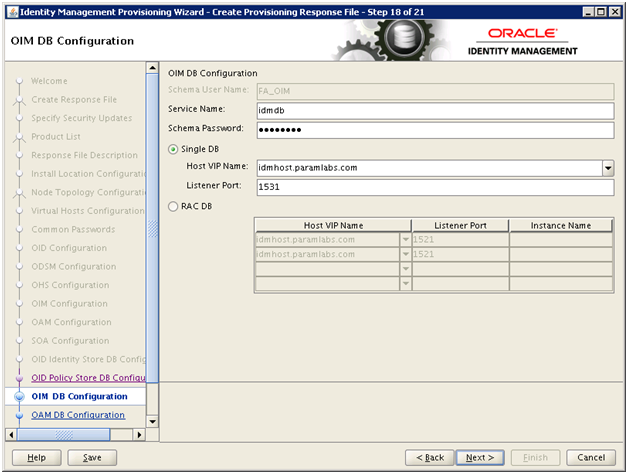
Enter same details and click Next
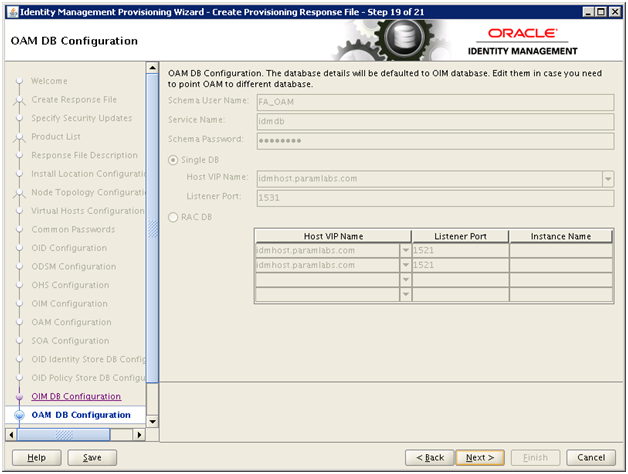
Click Next
Click Next
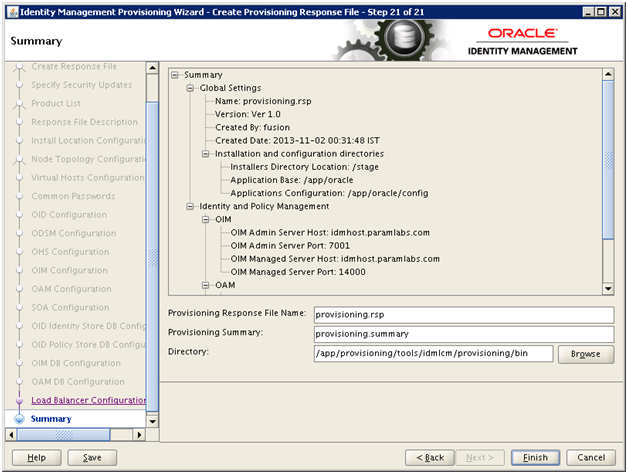
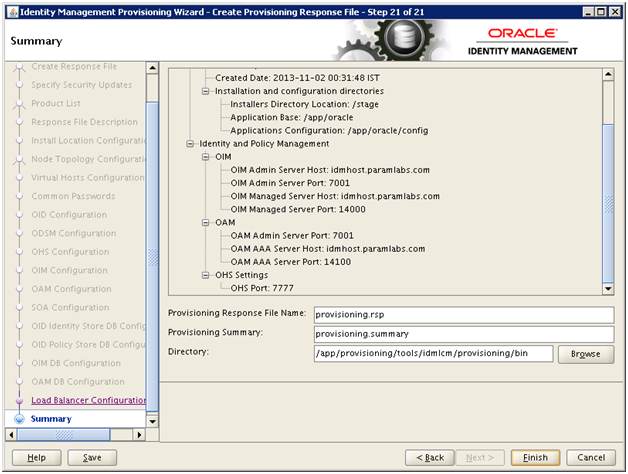
Review the summary and click Finish
Since the IDM provisioning is generic, we must change following values in order to meet requirements for Fusion Apps provisioning.
Change following values manually in provisioning.rsp
#IDStore UserNames Configuration
IDSTORE_OAMADMINUSER=oamadmin
IDSTORE_OAMSOFTWAREUSER=oamLDAP
IDSTORE_OIMADMINUSER=oimLDAP
[fusion@idmhost ~]$ cd /app/provisioning/tools/idmlcm/provisioning/bin/
[fusion@idmhost bin]$ cp -pr provisioning.rsp provisioning.rsp.bak
[fusion@idmhost bin]$ vi provisioning.rsp
[fusion@idmhost bin]$ diff provisioning.rsp provisioning.rsp.bak
355,357c355,357
< IDSTORE_OAMADMINUSER=oamadmin
< IDSTORE_OAMSOFTWAREUSER=oamLDAP
< IDSTORE_OIMADMINUSER=oimLDAP
—
> IDSTORE_OAMADMINUSER=oamAdminUser
> IDSTORE_OAMSOFTWAREUSER=oamSoftwareUser
> IDSTORE_OIMADMINUSER=oimAdminUser
Next: Provision Identity Management
Installing Oracle Fusion Applications – steps
A. Setting up Identity and Access Management Node
1. Install Fusion Applications Provisioning Framework
2. Install Oracle 11g Database (Identity management database)
3. Run Repository Creation Utility (RCU) for Oracle Identity Management components
4. Install Identity Management Provisioning Wizard
5. Create IDM provisioning Response File
6. Provision Identity Management
7. Perform Post-Provisioning Configuration
B. Setting up Fusion Applications Node
1. Install Fusion Applications Provisioning Framework
2. Install Oracle 11g Database (Fusion Apps Database)
3. Run Oracle Fusion Applications Repository Creation Utility (Applications RCU)
Reposting Again….
Hi Tushar,
It has been a while back I came to this forum. I installed 11.1.7 sometime back. It has been sometime that I started my machine. Today while doing it, the WebLogic Server in IDM Node did not start and it says password has expired. I have been researching and every solution provided is asking me to go to ODSM using the browser and changing the expiry duration. I am unable to do that because my WebLogic Server is not even starting. With this I am not sure how to start my machine. Appreciate any help you can provide.
Thank you in advance.
Regards,
Anand
Hi Anand,
What’s the exact error that you are getting while starting the IDM AdminServer ? is it Password Policy Error 9000: GSL_PWDEXPIRED_EXCP Error?
Regards
jdbaig
Tushar,
Why is a “prefix” allowed for database schema users when the schema names are fixed in the Provisioning Wizard?
I selected “FA1” as a Prefix, as I generally have multiple instances of a single product using a single database.
When I get to the stage where I need to do “OIM DB Configuration”, the Schema User Name is fixed to “FA_OIM”.
The schema created by the RCU is “FA1_OIM”.
Is this a known bug? Or should I raise this with Oracle support?
Many thanks,
Joost Roeleveld
Dear Joost,
This we have explained in previous post that earlier it was allowing to put any prefix (in fact they suggested EDG) while we at oratraining always used FA but later Oracle made FA mandatory for this part.
Regards
Tushar
Hi Tushar,
While providing values for OID Identity Store DB Configuration Parameters you are providing host VIP name (Single DB) as ‘idmdbhost.*’ and in the next screen which displays as a view only, it shows the value as idmhost and not the value from the previous screen. Is the wrong screen pasted?
Schema User Name is ODS.
Let me know how to clean manually as I am stuck now. First time it was OAM (Configure). Second time I cleaned the idmlcm directory and restarted the configuration and got stopped in preverify itself.
Regards,
Anand
Hi,
I have a small doubt about DMZ configuration for Fusion Apps Provisioning.
Can we have WebTier for IDM provisioning without DMZ and the WebTier for Fusion App(SCM) with DMZ config. ??
If this make sense, what component we need extra for transmitting request b/w 2 webtier. ?? (like webgate/wl-ohs-mod on the Fusion app Webtier).
thanks
kewal
Hi,
We are seeking clarification on what is on the OID Identity Store DB configuration screen.
On all the other screens the host name has been specified as idmhost.paramlabs.com but on this particular screen in question the host name has been specified as idmdbhost.paramlabs.com
Could you please explain to us why this is so.
Rgds/Philip
Dear Philip,
As you can see in the first step itself, we have created IDM DB on IDM node and FA DB on FA node, hence we have created aliases for same IP as follows.
192.168.1.141 idmhost idmhost.paramlabs.com
192.168.1.141 idmdbhost.paramlabs.com idmdbhost
192.168.1.161 fahost.paramlabs.com fahost
192.168.1.161 fadbhost.paramlabs.com fadbhost
If you have hosted your DB on another host then you can put different IP here or else keep the same IP but if you configure using alias, it will give you liberty to move the DB to other host in future.
Regards
Tushar