Configuring Oracle Identity and Access Management components
Important Note:
This is OLD guide for old version 11.1.1.5. Please follow instructions at http://www.oratraining.com/blog/2012/12/oracle-fusion-applications-installation-step-by-step-guide-11-1-5/
for latest guide for current version i.e. 11.1.5
Oracle Fusion Applications Installation: Configuring Oracle Identity and Access Management components
Previous: Installing Oracle Identity and Access Management Components
Configuring Oracle Identity Management components” can be divided into following tasks.
- Configuring the Web Tier
- Create Weblogic Domain for Identity Management
- Extending the Domain with Oracle Internet Directory
- Extending the Domain with Oracle Directory Service Manager (ODSM)
- Extending the Domain with Oracle Virtual Directory
- Extending the Domain with Oracle Access Manager
- Extending the Domain to Configure Oracle Identity Manager and Oracle SOA Suite
- Installing and Configuring WebGate
Please note that this post is going to be long so allow time to load all images.
Configuring the Web Tier
Start the configuration from <Web_Home>/bin
[oracle@fusion bin]$ cd /app/fusion/bea_default/Oracle_WT1/bin
[oracle@fusion bin]$ ./config.sh

Click Next
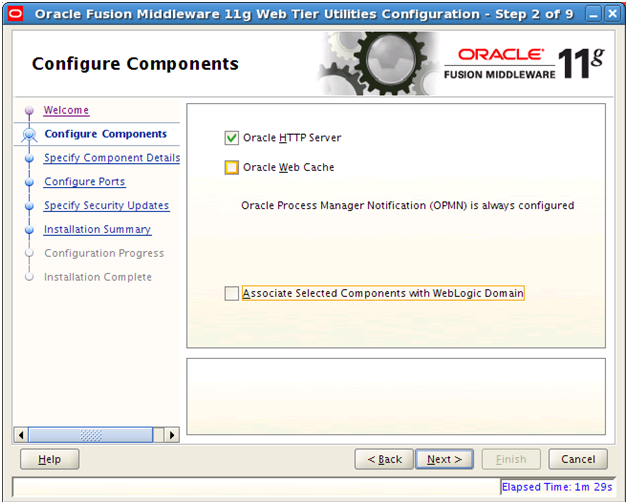
Select “Oracle HTTP Server” and click Next
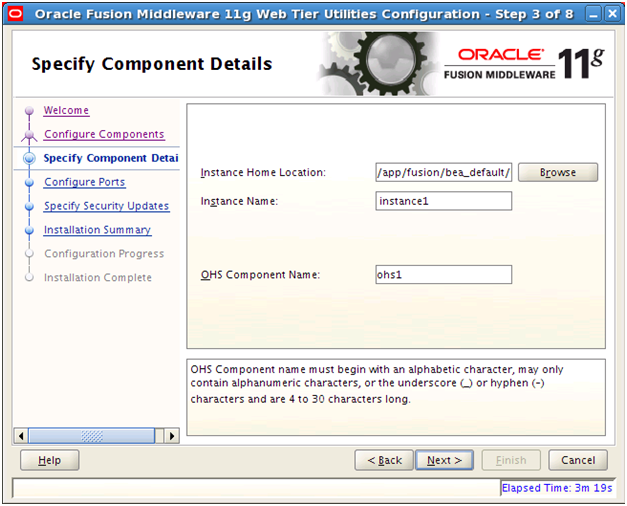
For Instance location enter “/app/fusion/bea_default/instances” since we will keep all instances in this location. Provide any appropriate Instance name and OHS component name. We will go for the defaults. Click Next
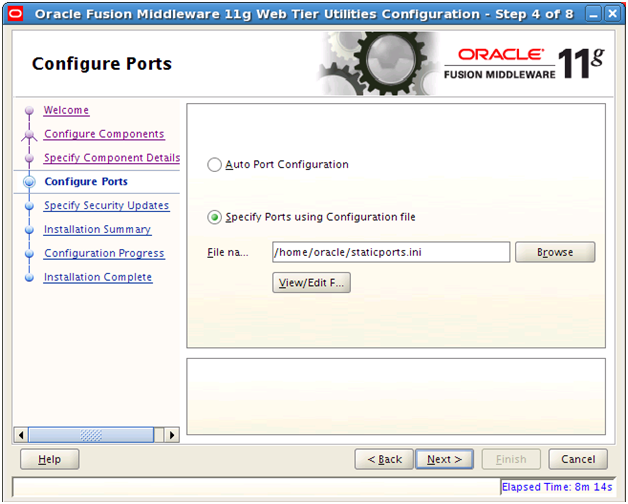
Select “Specify Ports using Configuration File” and enter file name as /home/oracle/staticports.ini
Now we will copy staticports.ini default file from <repository_location>/installers/webtier/Disk1/stage/Response to home directory /home/oracle
cp /mnt/fusion/installers/webtier/Disk1/stage/Response/staticports.ini ~/staticports.ini
Now click on “View/Edit File” to edit this file.
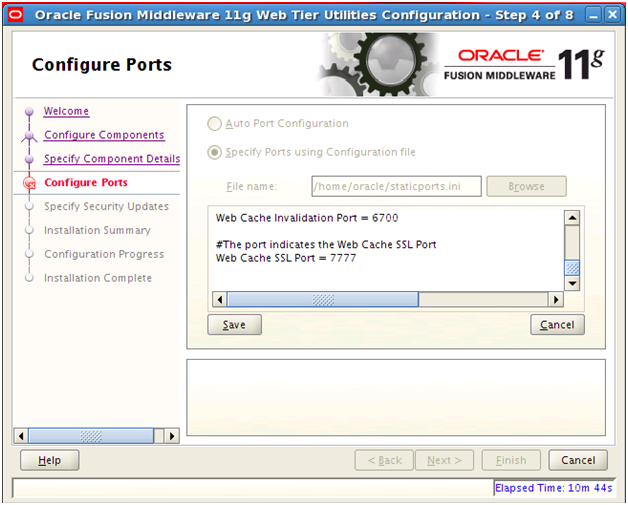
Uncomment and set the following values. Click Save
OPMN Local Port = 6700
OHS Port = 7777
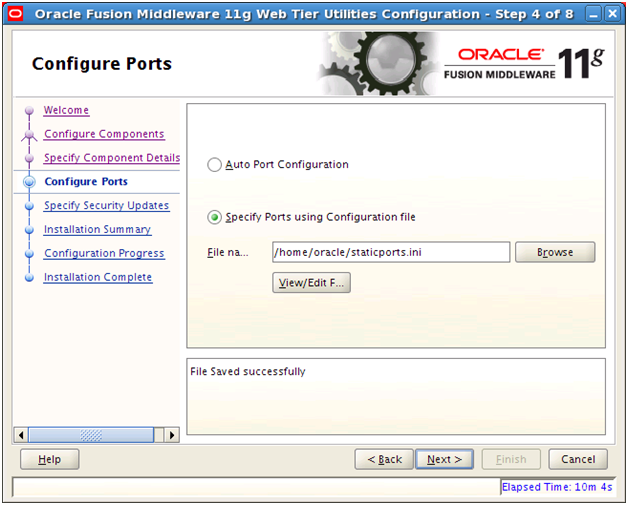
Click Next
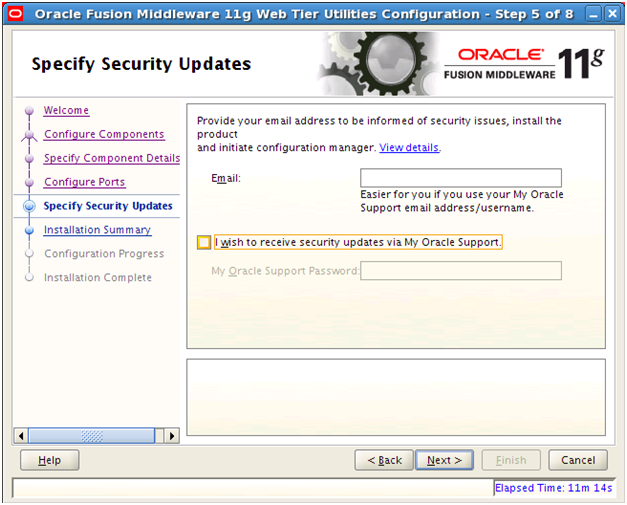
Deselect email notification and click Next
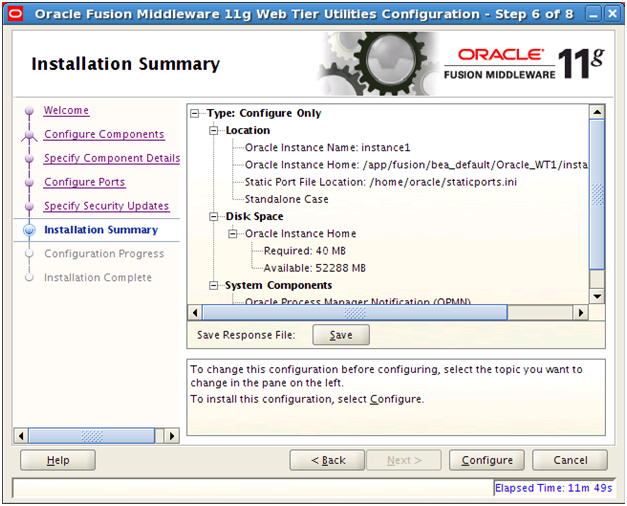
Save summary if needed and click Configure to start configuration.
Important Note: If SELinux is enabled in your Linux operating System then it will throw an error. Since we already disabled it during installation, we will not see that error here.
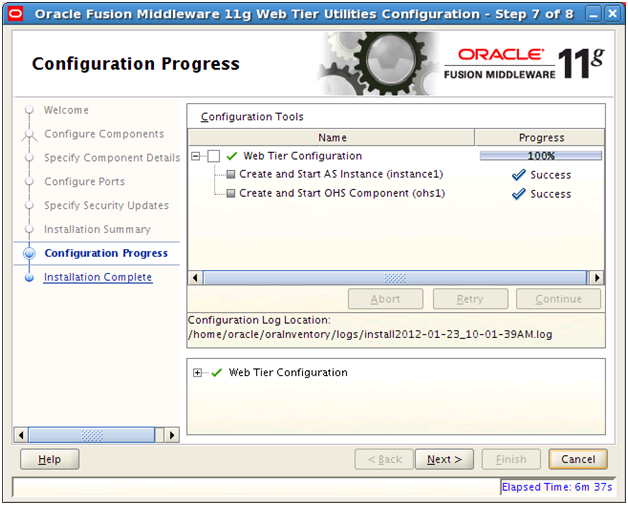
Once installation finishes, click Next
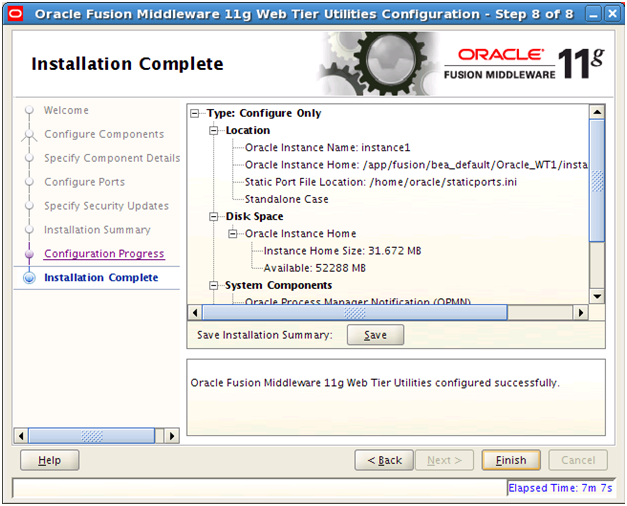
Save installation summary if needed and click Finish to complete the installation.
It would have already started HTTP server now. We can verify the same.
[oracle@fusion instances]$ ps -ef | grep http
oracle 3521 3491 0 10:06 ? 00:00:00 /app/fusion/bea_default/Oracle_WT1/ohs/bin/httpd.worker -DSSL
oracle 3547 3521 0 10:06 ? 00:00:00 /app/fusion/bea_default/Oracle_WT1/ohs/bin/httpd.worker -DSSL
oracle 3548 3521 0 10:06 ? 00:00:00 /app/fusion/bea_default/Oracle_WT1/ohs/bin/httpd.worker -DSSL
oracle 3549 3521 0 10:06 ? 00:00:00 /app/fusion/bea_default/Oracle_WT1/ohs/bin/httpd.worker -DSSL
Check /app/fusion/bea_default/Oracle_WT1/instances/instance1/config/OHS/ohs1/httpd.conf to make sure it reflects correct user and group name
User oracle
Group oinstall
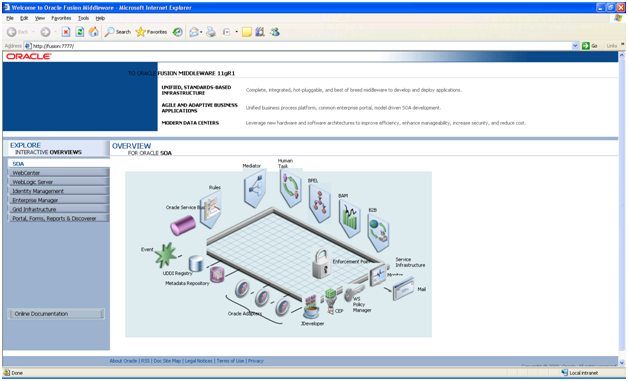
We can launch http://fusion:7777 (Homepage of Oracle HTTP server) now. It will look as follows.
Create Weblogic Domain for Identity Management
Start the configuration from <Middleware Home>/oracle_common/commin/bin
[oracle@fusion bin]$ /app/fusion/bea_default/oracle_common/common/bin/config.sh
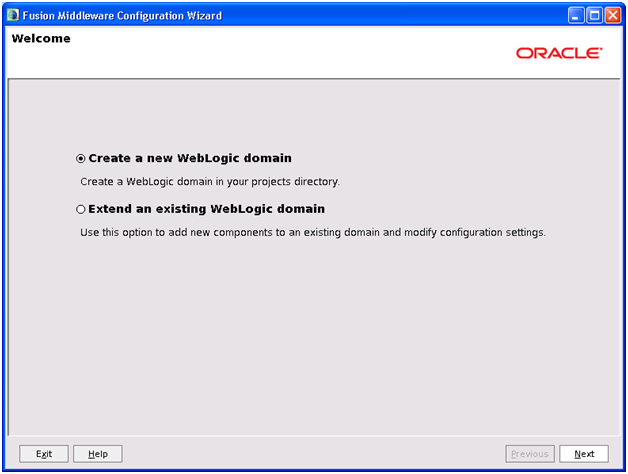
Select “Create a new Weblogic domain” and click Next
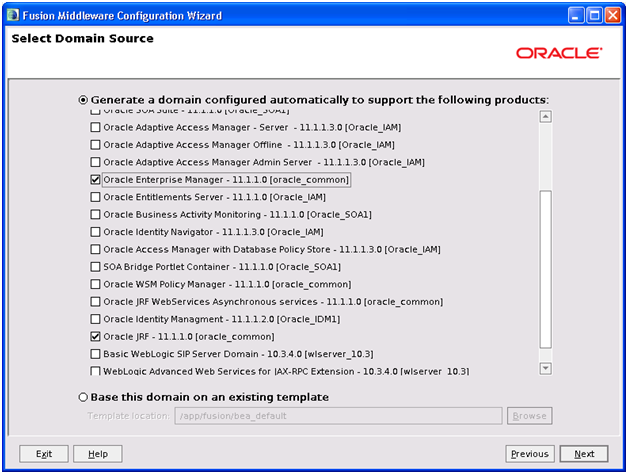
Select “Oracle Enterprise Manager – 11.1.1.0 [oracle_common]” and “Oracle JRF – 11.1.1.0 [oracle_common]” and click Next
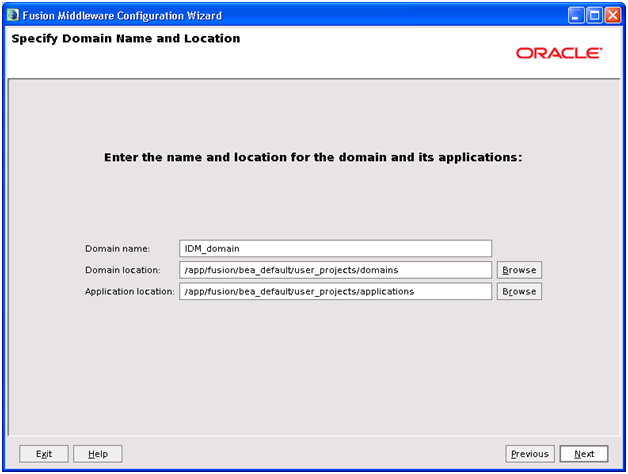
Enter details as above or accept default values and click Next.
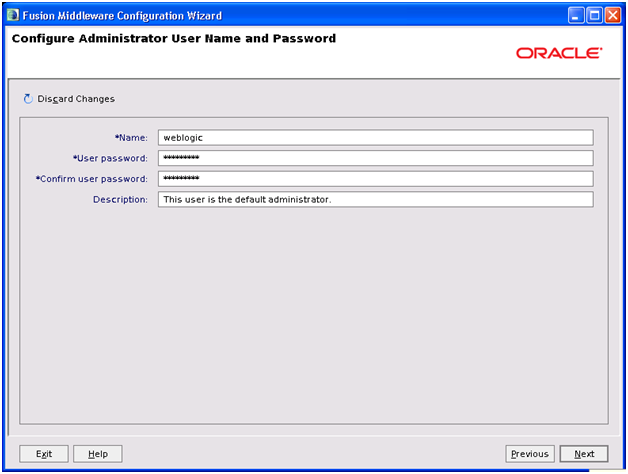
Since it accepts minimum 8 characters set password again to
oracle123. Please note that you can also change username from weblogic but in future whenever we refer to weblogic user you must enter the new user which selected. We will go for default “weblogic” username

You would see option of Oracle JRockit here. So select that JDK in this list.
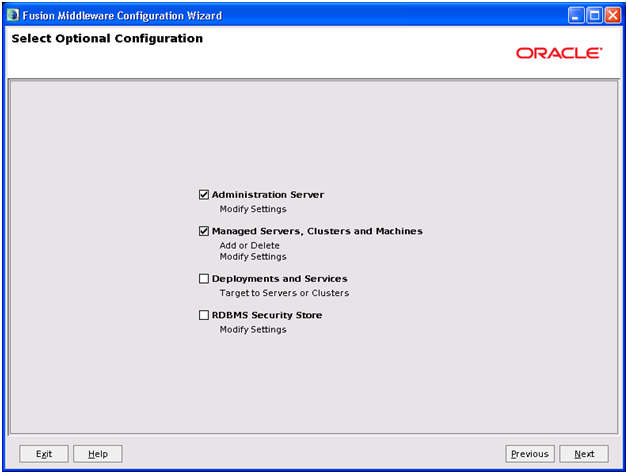
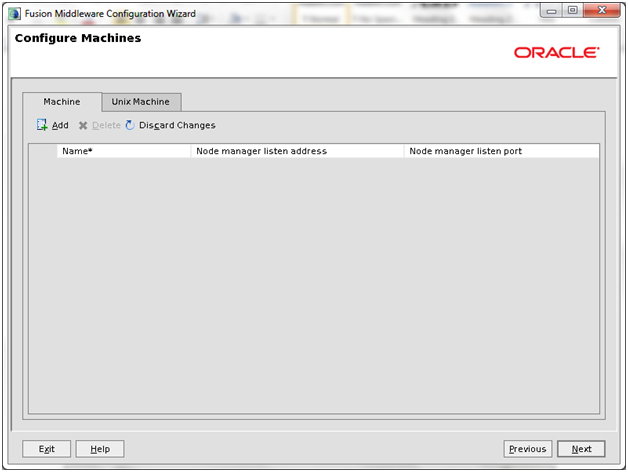
Select “Administration Server” and “Managed Servers, Clusters and Machines”. Click Next
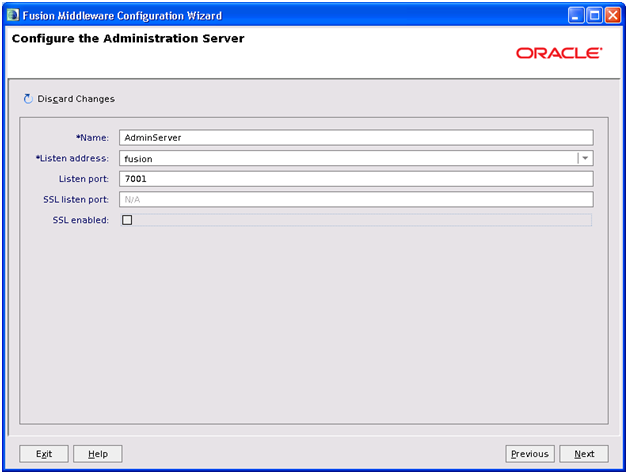
Keep defaults but make a note of the port since this will be widely used during next part of installation. Click Next
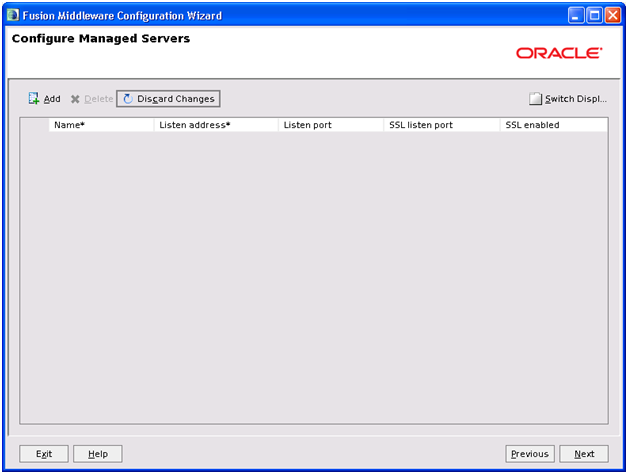
Just click Next
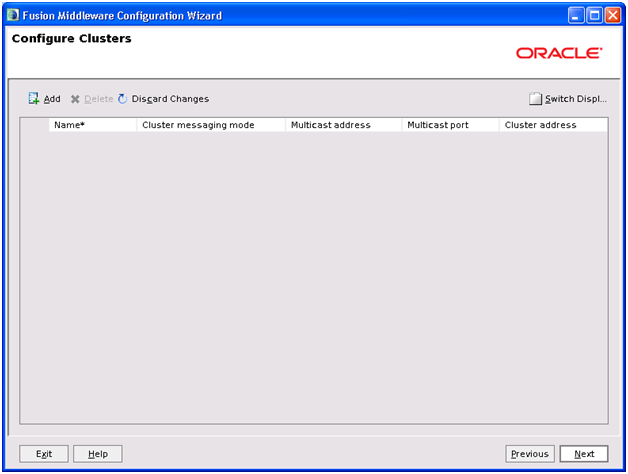
Click Next again
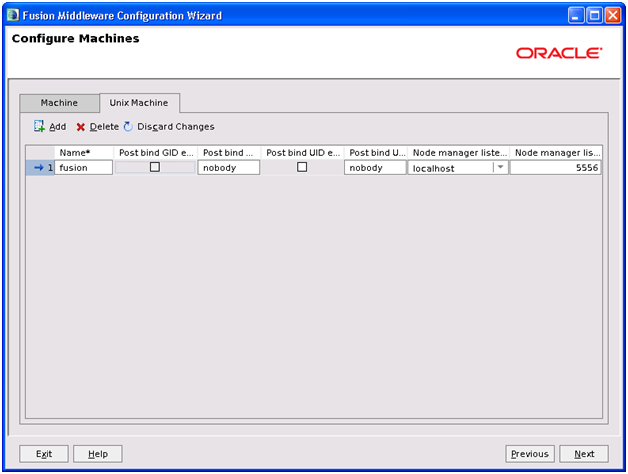
Select Second Tab “Unix Machine” and enter the hostname as above. Click Next

Click on AdminServer and Click right arrow. Click Next
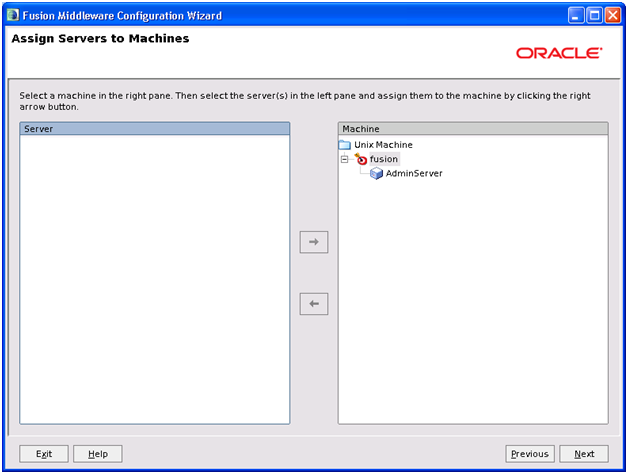
It will now look as above. Click Next
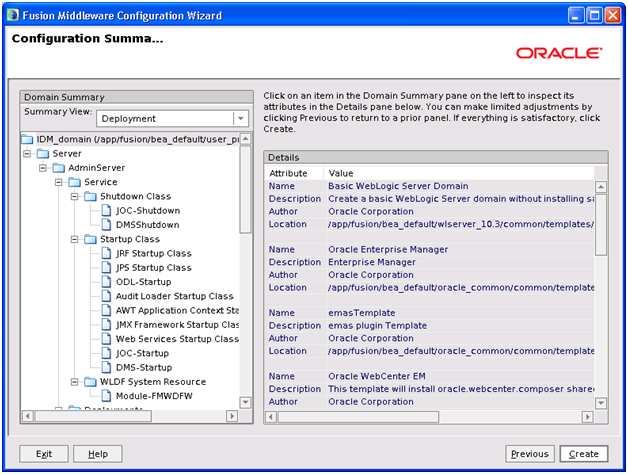
On Summary page click Create
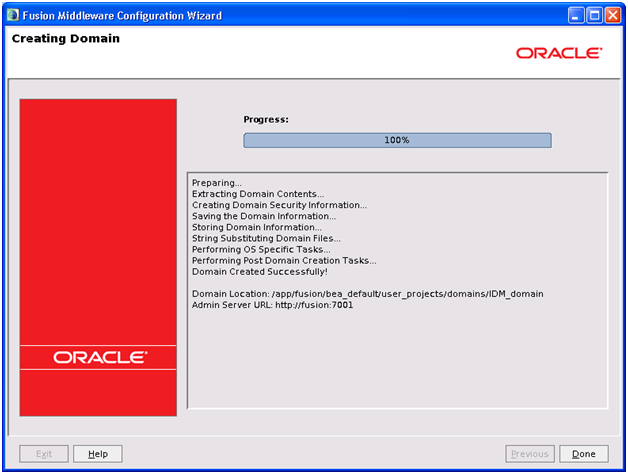
Once installation finishes, click Done
Make sure that the encrypted username and password values are already in boot.properties
[oracle@fusion security]$ more /app/fusion/bea_default/user_projects/domains/IDM_domain/servers/AdminServer/security/boot.properties
# Generated by Configuration Wizard on Mon Jan 23 10:59:07 GST 2012
username={AES}zaXc3+4y2KGuxnK6WkI7ehKcliQDeandkjdTdu0vpuY=
password={AES}WZ6Zo+j6aGoCyE2nQmCCdboEkA8TDGRlagdSqFGRedo=
Set StartScriptEnabled=true in nodemanager.properties by running following script
[oracle@fusion bin]$ cd /app/fusion/bea_default/oracle_common/common/bin
[oracle@fusion bin]$ ./setNMProps.sh
Appending required nodemanager.properties
Verify the change.
[oracle@fusion bin]$ tail -f /app/fusion/bea_default/wlserver_10.3/common/nodemanager/nodemanager.properties
#Required NM Property overrides (append to existing nodemanager.properties)
StartScriptEnabled=true
Start Node manager
[oracle@fusion bin]$ cd /app/fusion/bea_default/wlserver_10.3/server/bin
[oracle@fusion bin]$ nohup ./startNodeManager.sh &
…
IDM_domain -> /app/fusion/bea_default/user_projects/domains/IDM_domain
…
INFO: Secure socket listener started on port 5556
Start Weblogic AdminServer
[oracle@fusion bin]$ nohup
/app/fusion/bea_default/user_projects/domains/IDM_domain/bin/startWebLogic.sh &
tail nohup.out file until it shows following message.
<Jan 23, 2012 11:55:21 AM GST> <Notice> <WebLogicServer> <BEA-000360> <Server started in RUNNING mode>
Open Weblogic Admin Console
Launch Weblogic Admin console through
http://fusion:7001/console
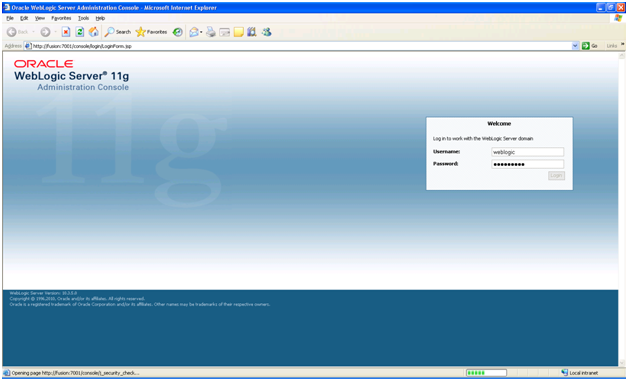
Login with weblogic/oracle123
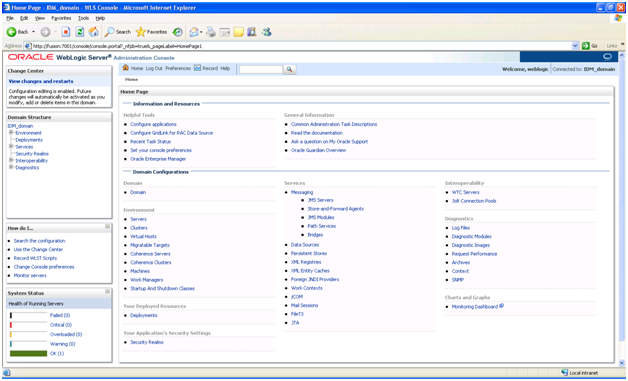
Note: Go to preferences and change “automatic acquire lock” settings to avoid accidental changes since we are in development mode.

Configuring HTTP server for the Administration Server
Create a new file admin.conf as follows.
[oracle@fusion moduleconf]$ more /app/fusion/bea_default/Oracle_WT1/instances/instance1/config/OHS/ohs1/moduleconf/admin.conf
<VirtualHost *:7777>
ServerName fusion:7777
ServerAdmin you@your.address
RewriteEngine On
RewriteOptions inherit
RewriteRule ^/console/jsp/common/logout.jsp /oamsso/logout.html [PT]
RewriteRule ^/em/targetauth/emaslogout.jsp /oamsso/logout.html [PT]
# Admin Server and EM
<Location /console>
SetHandler weblogic-handler
WebLogicHost fusion
WeblogicPort 7001
</Location>
<Location /consolehelp>
SetHandler weblogic-handler
WebLogicHost fusion
WeblogicPort 7001
</Location>
<Location /em>
SetHandler weblogic-handler
WebLogicHost fusion
WeblogicPort 7001
</Location>
</VirtualHost>
Restart http server.
ORACLE_HOME=/app/fusion/bea_default/Oracle_WT1
export ORACLE_HOME
ORACLE_INSTANCE=/app/fusion/bea_default/Oracle_WT1/instances/instance1
export ORACLE_INSTANCE
PATH=$ORACLE_HOME/opmn/bin:$PATH
export PATH
opmnctl stopall
opmnctl startall
Now we need to Register HTTP server with Weblogic Server so that Enterprise Manager can monitor the instance.
[oracle@fusion ~]$ opmnctl registerinstance -adminHost fusion -adminport 7001 -adminUsername weblogic
Command requires login to weblogic admin server (fusion):
Username: weblogic
Password:
…
Done
Registering instance
Command succeeded.
Note: We will not enable load-balancer access since we have skipped load-balancing in this single node installation guide.
Enable Weblogic Plugin
Log in the Oracle Weblogic Server Administration and click on Lock and Edit. Click on IDMDomain and Click on Configuration tab and then select the Web Applications tab.
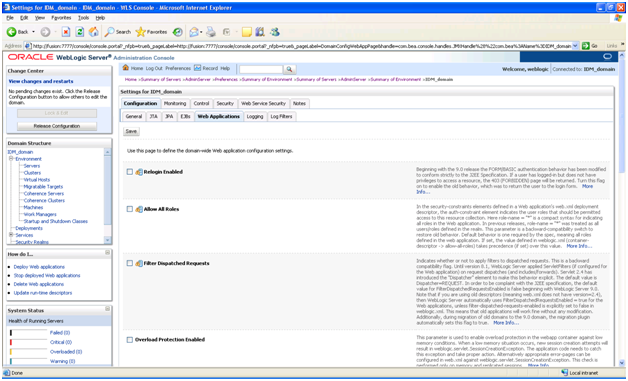
Scroll down and enable “Weblogic Plug-in Enabled”.
Click on Save and Activate the Changes.

Restart the Weblogic Administration Server.
Extending the Domain with Oracle Internet Directory
Start the configuration from <IDM Oracle Home/bin
[oracle@fusion bin]$ cd /app/fusion/bea_default/Oracle_IDM1/bin
[oracle@fusion bin]$ ./config.sh &
Click Next

Select “Configure Without A Domain” and click Next
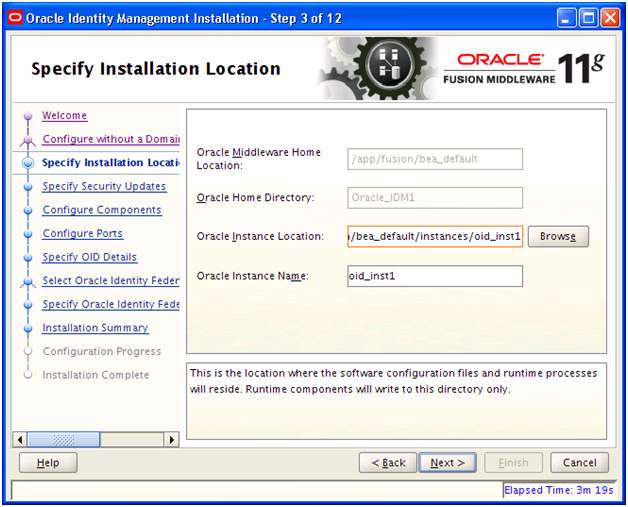
Make sure to select any directory inside MW_HOME/instances. You can accept default for Instance Name. Click Next
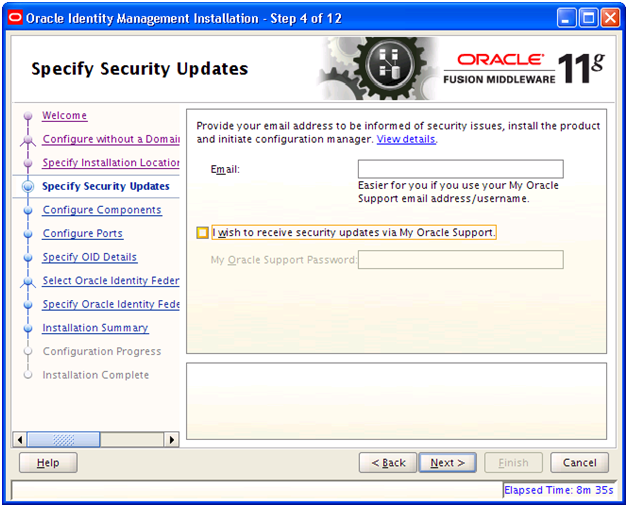
Deselect email notification and click Next
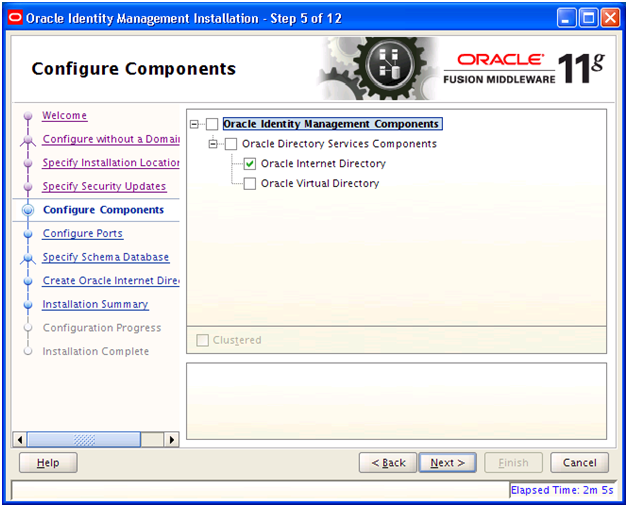
Select only “Oracle Internet Directory” and click Next
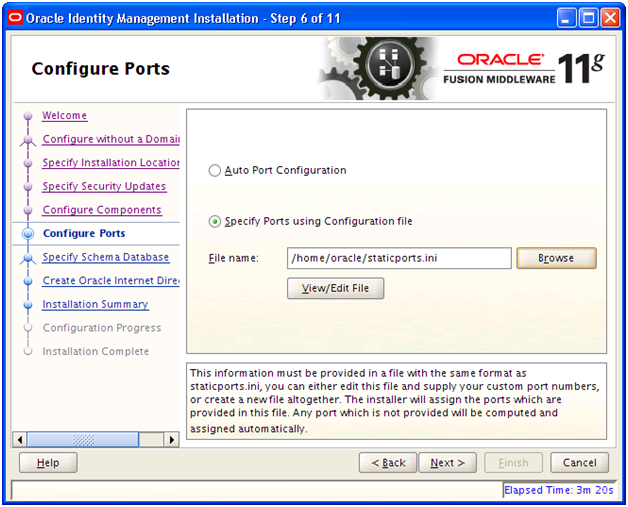
Select “Specify Ports using Configuration File” and enter file name as /home/oracle/staticports.ini
In another terminal window copy the staticports.ini file to home directory.
[oracle@fusion bin]$ cp /app/fusion/provisioning/idm/idm/Disk1/stage/Response/staticports.ini ~/
Click on View/Edit file
VERY IMPORTANT:
As per Oracle Manual we should Change it to as follows.
#The Non-SSL port for OID
Oracle Internet Directory Port No = 389
#The SSL port for OID
Oracle Internet Directory (SSL) Port No = 636
But OID fails to configure and start at the end of installation with these values so we will stick to the OID values for 11g in the staticports.ini and just remove the comments.
#The Non-SSL port for OID
Oracle Internet Directory Port No = 3060
#The SSL port for OID
Oracle Internet Directory (SSL) Port No = 3061
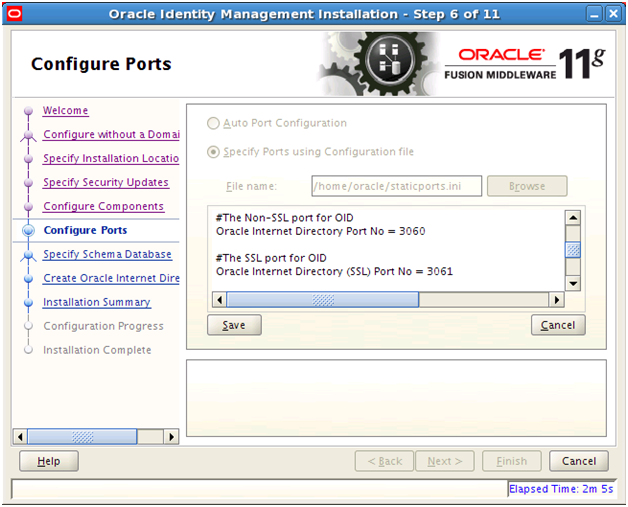
Click Save
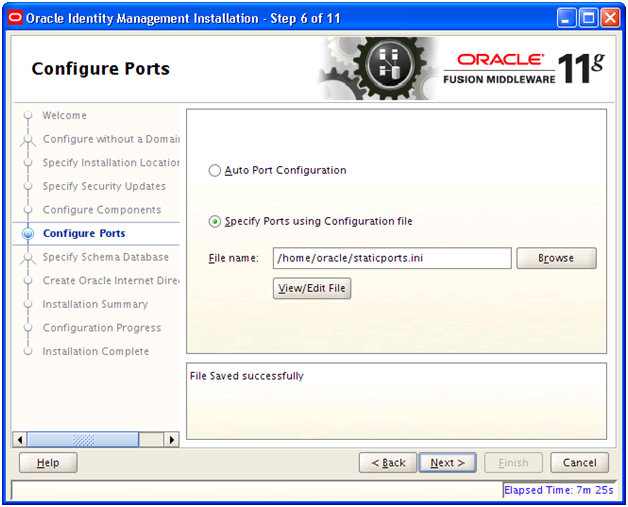
Once saved, click Next

Enter oracle123 or any suitable password. If you are using different passwords then please make a note of all of them. Click Next
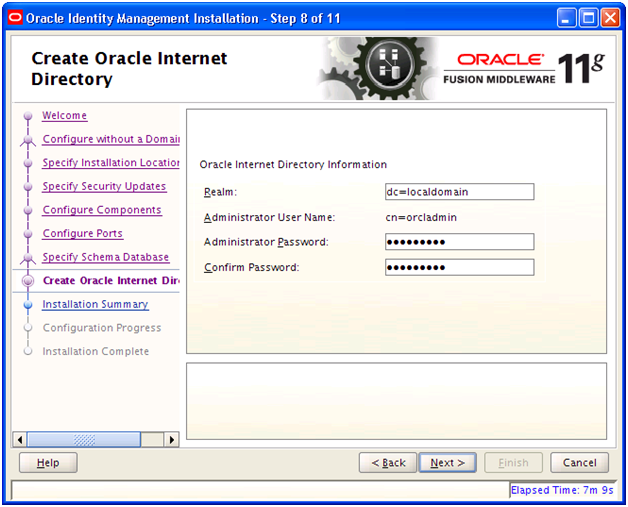
Since we are not using any domains as such but as we have added an entry in our hosts file for fusion.localdomain, we will add “dc=localdomain” for Realm. Enter oracle123 or any suitable password. Click Next
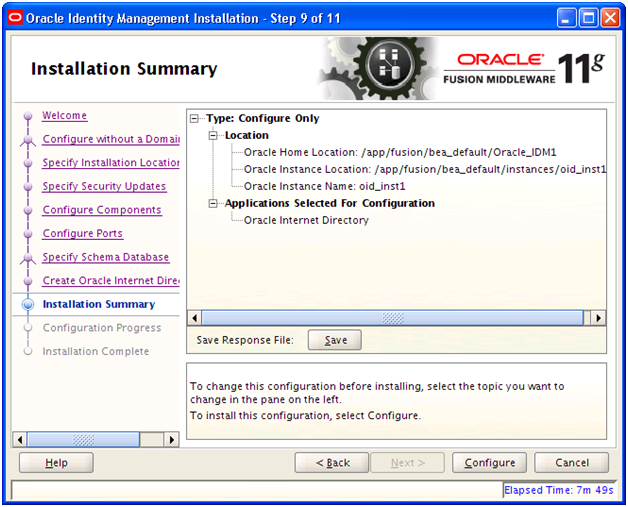
Save summary if needed and click Configure to start configuration.

Once installation finishes, click Next

Save installation summary if needed and click Finish to complete the installation.
Validate the OID installation
[oracle@fusion ~]$ export ORACLE_HOME=/app/fusion/bea_default/Oracle_IDM1
[oracle@fusion ~]$ export ORACLE_INSTANCE=/app/fusion/bea_default/instances/oid_inst1
[oracle@fusion ~]$ export PATH=$ORACLE_HOME/opmn/bin:$ORACLE_HOME/bin:$ORACLE_HOME/ldap/bin:$ORACLE_HOME/ldap/admin:$PATH
[oracle@fusion ~]$ ldapbind -h fusion -p 3060 -D “cn=orcladmin” -q
Please enter bind password:
bind successful
[oracle@fusion ~]$ ldapbind -h fusion -p 3061 -D “cn=orcladmin” -q -U 1
Please enter bind password:
bind successful
[oracle@fusion ~]$ opmnctl status
Processes in Instance: oid_inst1
———————————+——————–+———+———
ias-component | process-type | pid | status
———————————+——————–+———+———
oid1 | oidldapd | 19810 | Alive
oid1 | oidldapd | 19798 | Alive
oid1 | oidmon | 19785 | Alive
EMAGENT | EMAGENT | 19325 | Alive
Registering Oracle Internet Directory with the WebLogic Server Domain
[oracle@fusion ~]$ echo $ORACLE_HOME
/app/fusion/bea_default/Oracle_IDM1
[oracle@fusion ~]$ echo $ORACLE_INSTANCE
/app/fusion/bea_default/instances/oid_inst1
[oracle@fusion ~]$ opmnctl registerinstance -adminHost fusion -adminPort 7001 -adminUsername weblogic
Command requires login to weblogic admin server (fusion):
Username: weblogic
Password:
Registering instance
Command succeeded.
Note: We have skipped next steps related to SSL since we are setting up non-SSL connections here.
Update the Enterprise Manager Repository URL
Next we will update the Enterprise Manager Repository URL using the emctl utility with the switchOMS flag. The emctl utility is located under the ORACLE_INSTANCE/EMAGENT/EMAGENT/bin directory.
[oracle@fusion ~]$ cd /app/fusion/bea_default/instances/oid_inst1/EMAGENT/EMAGENT/bin
[oracle@fusion bin]$ ./emctl switchOMS http://fusion:7001/em/upload
Oracle Enterprise Manager 10g Release 5 Grid Control 10.2.0.5.0.
Copyright (c) 1996, 2009 Oracle Corporation. All rights reserved.
SwitchOMS succeeded.
We can now verify whether this instance is registered for monitoring agent.
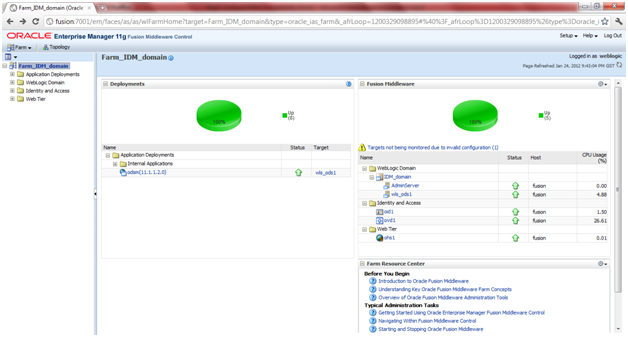
Login to http://fusion:7001/em
Click on Farm->Agent monitored targets.
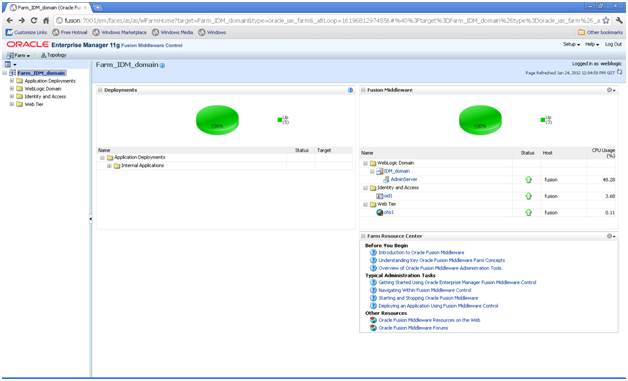
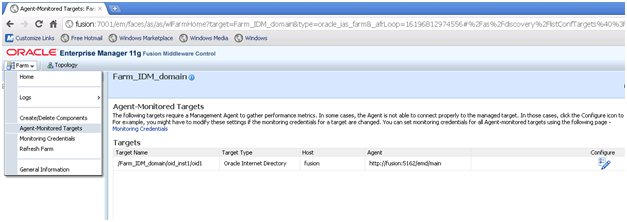
You should be able to see the OID instance under this. Make sure that the Agent URL is showing up fine. If the status shows as “Need Configuration” then click on Configure and then in next screen enter weblogic user credentials. It should now show the correct Agent URL.
Extending the Domain with Oracle Directory Service Manager (ODSM)
Start the configuration from <IDM Oracle Home>/bin
[oracle@fusion bin]$ cd /app/fusion/bea_default/Oracle_IDM1/bin
[oracle@fusion bin]$ ./config.sh &
Click Next
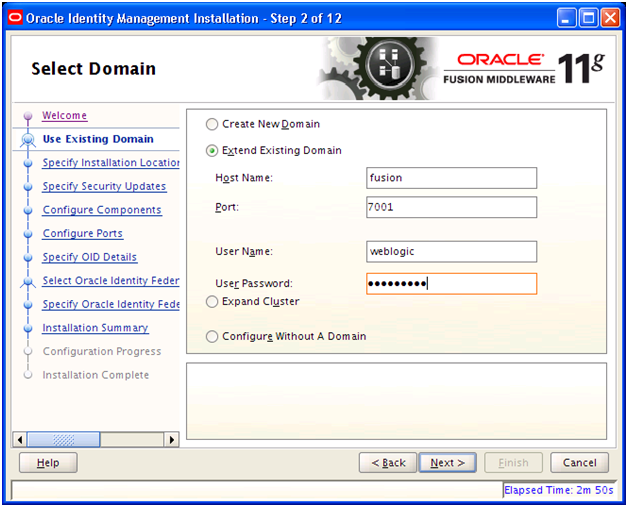
Select “Extend Existing Domain” and enter details of existing weblogic Server and AdminServer port. Click Next
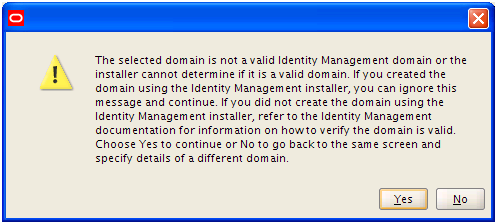
You can ignore this error since we created this domain using the Identity Management installer. Click Yes to ignore.
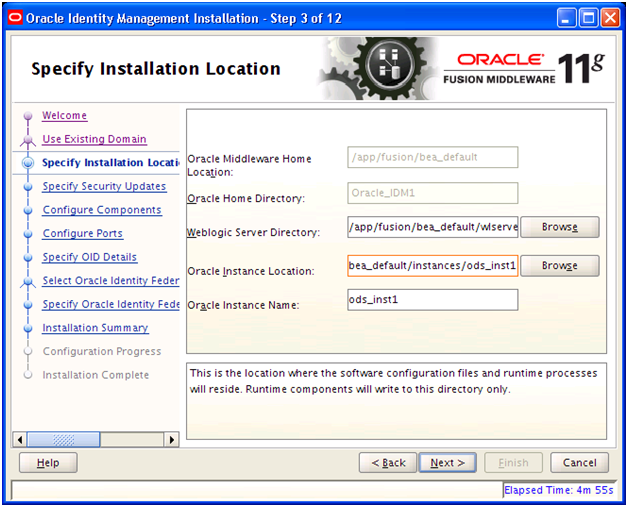
Verify that the weblogic server directory shown is correct as per previous steps. Specify name and path for Oracle Directory Service instance. Make sure to keep the instance in same parent directory as previous instances. Click Next

Deselect email notification and click Next

Select Oracle “Directory Service Manager” and click Next
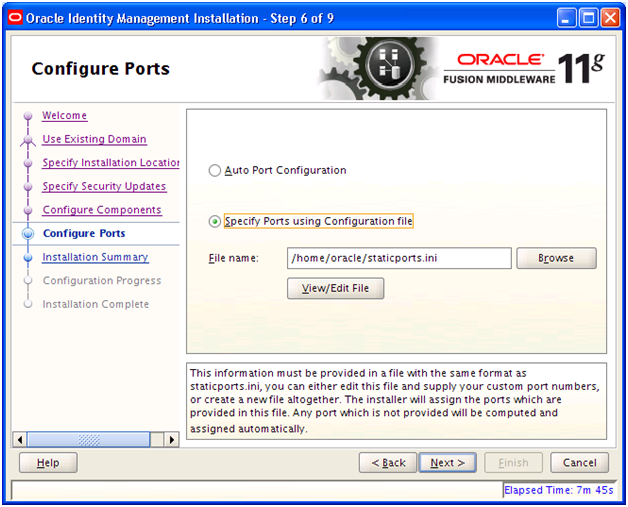
Select “Specify Ports using Configuration File” and enter file name as /home/oracle/staticports.ini
Meanwhile in another terminal window copy the staticports.ini to home directory.
[oracle@fusion bin]$ cp -p /app/fusion/provisioning/idm/idm/Disk1/stage/Response/staticports.ini ~/
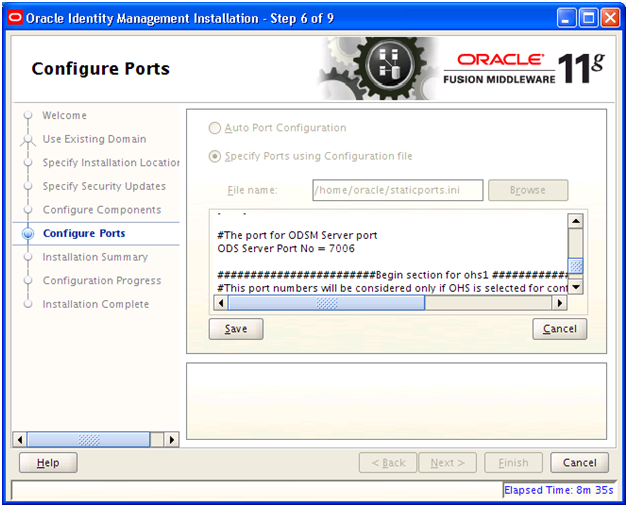
Uncomment the ODS Server Port and keep it default 7006. Click Save.

Once Saved click Next.

Save summary if needed and click Configure to start configuration.
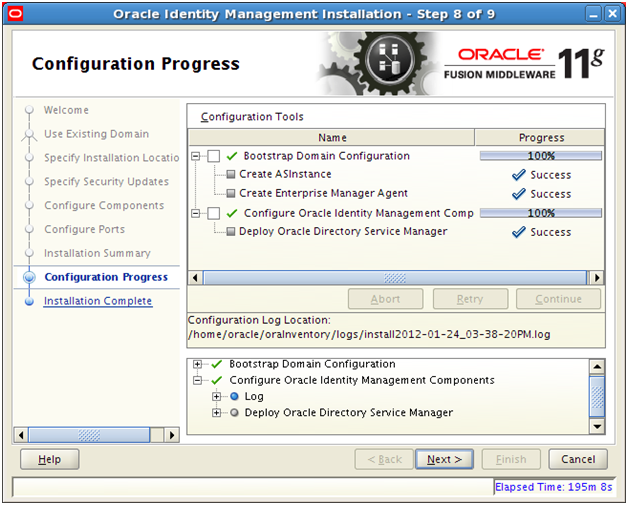
Once installation finishes, click Next
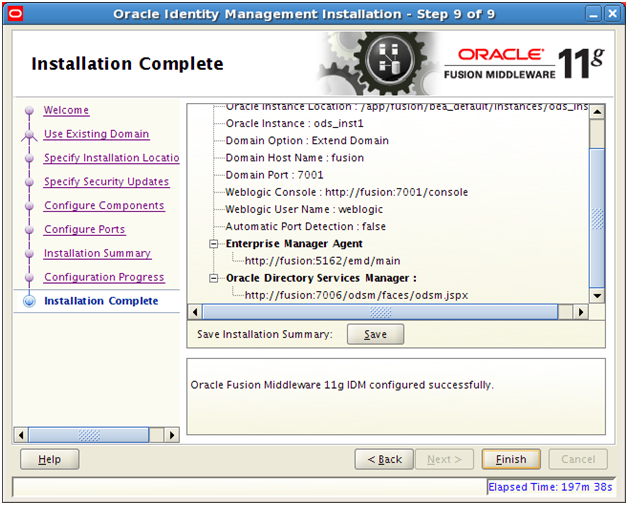
Save installation summary if needed and click Finish to complete the installation.
Password-less startup for ODS
cd /app/fusion/bea_default/user_projects/domains/IDM_domain/servers/wls_ods1/security
cp ../../AdminServer/security/boot.properties .
cd /app/fusion/bea_default/user_projects/domains/IDM_domain/bin
nohup ./startManagedWebLogic.sh wls_ods1
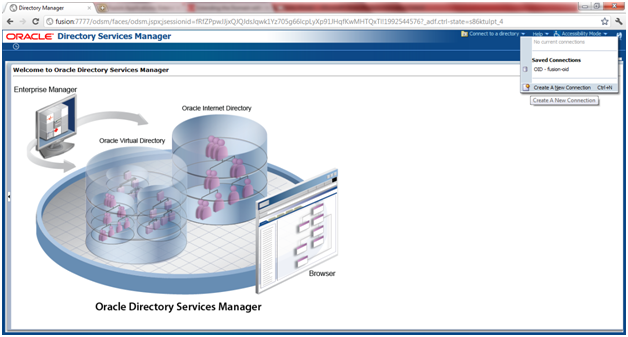
Now you can access ODS homepage at http://fusion:7006/odsm/faces/odsm.jspx (as per the above post-installation summary screen)
Register ODS with OID
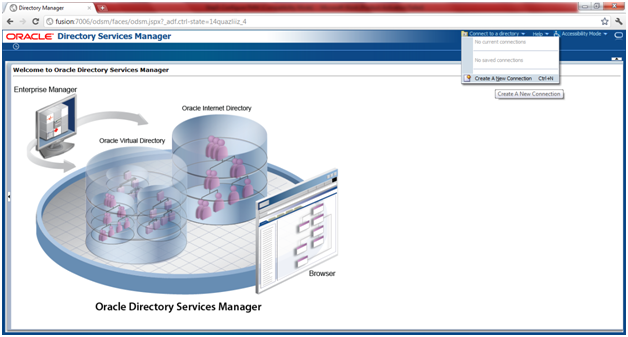
Click on Connect to a directory -> Create A New Connection
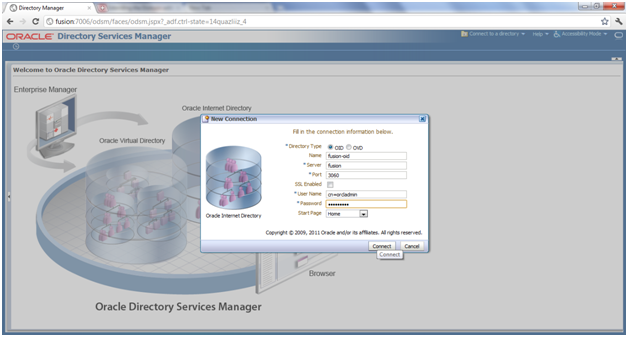
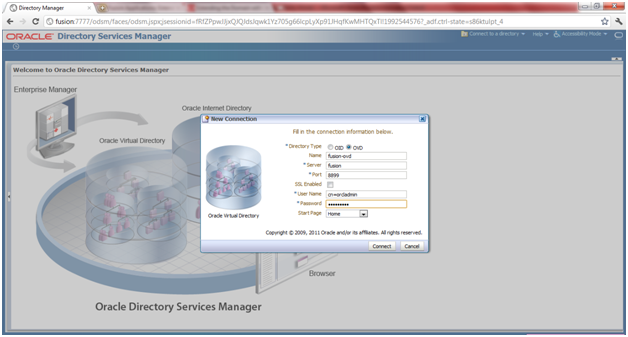
Enter the details for OID.
Name: fusion-oid
Server: fusion
SSL Enabled: Unchecked
User Name: cn=orcladmin
Password: oracel123
Start Page: Home
Click Connect
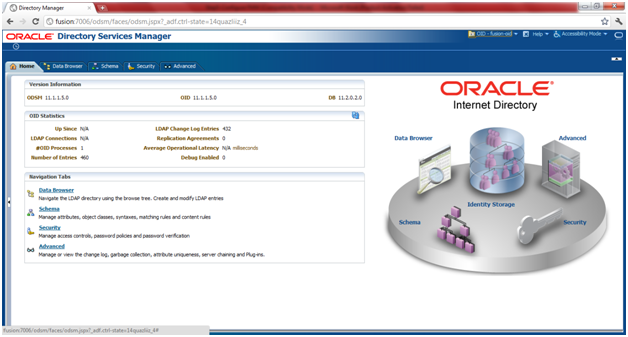
Once connection is successful, you should be able to see OID page.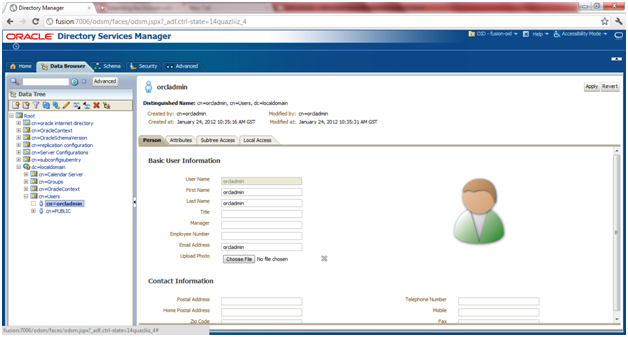
You can randomly check whether you are able to see details of any user, for example cn=orcladmin
Configuring Oracle HTTP Servers to Access the ODSM Console
[oracle@fusion moduleconf]$ cd /app/fusion/bea_default/Oracle_WT1/instances/instance1/config/OHS/ohs1/moduleconf
[oracle@fusion moduleconf]$ vi admin.conf
# Append following lines in admin.conf
<Location /odsm>
SetHandler weblogic-handler
# WebLogicCluster fusion:7006
WebLogicHost fusion
WeblogicPort 7006
</Location>
Note: The reason we have kept commented cluster entries is that in case if you have setup cluster then you can use cluster entry instead of standalone entry.
Restart HTTP server.
Now we can access ODSM through http://fusion:7777/odsm/faces/odsm.jspx
Extending the Domain with Oracle Virtual Directory
Start the configuration from <IDM Oracle Home>/bin
[oracle@fusion ~]$ cd /app/fusion/bea_default/Oracle_IDM1/bin/
[oracle@fusion bin]$ ./config.sh &
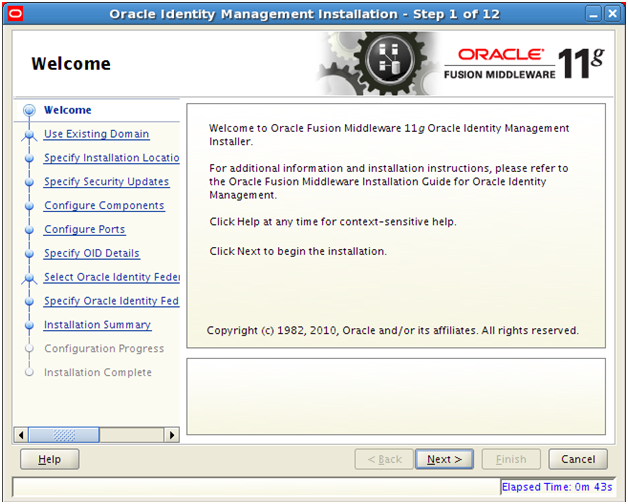
Click Next
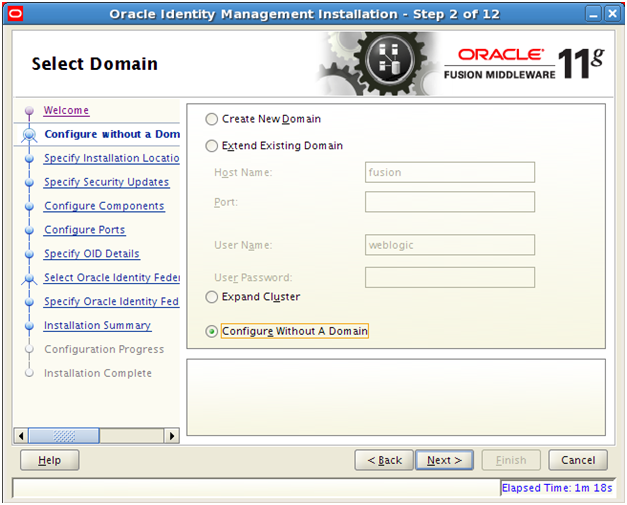
Select “Configure Without A Domain“. Click Next
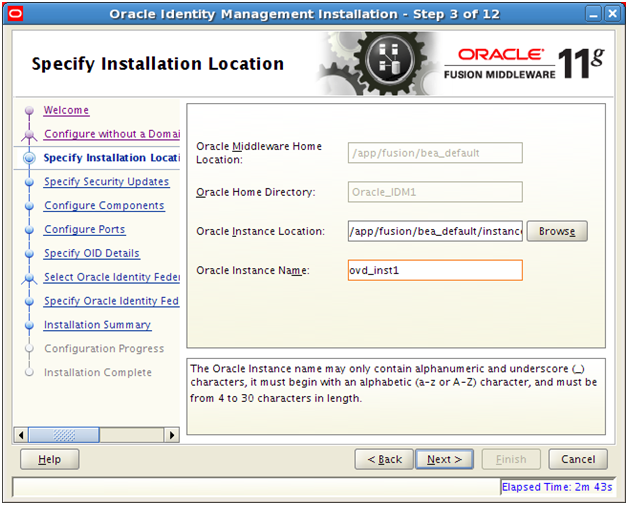
Provide values for Oracle Virtual Directory (OVD) instance. You can accept default values. Click Next
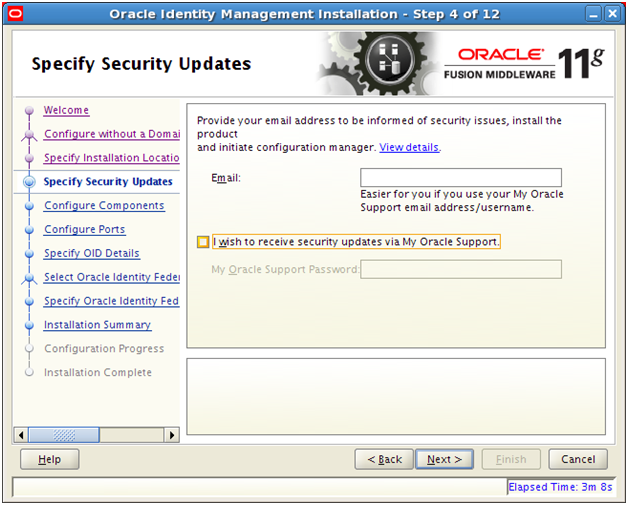
Deselect email notification and click Next
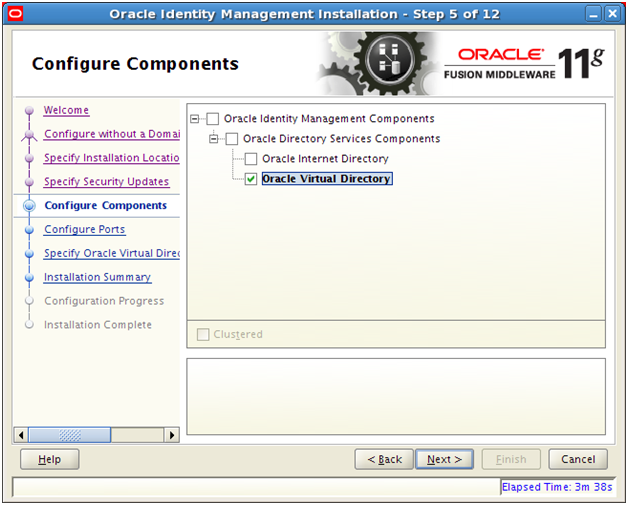
Select “Oracle Virtual Directory” and click Next
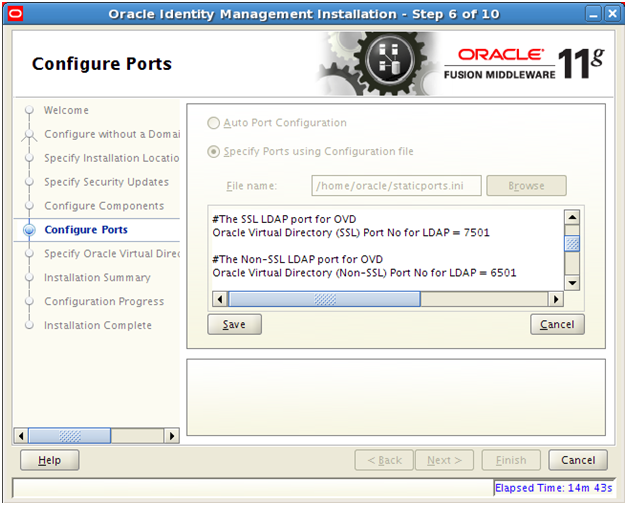
Select “Specify Ports using Configuration File” and enter file name as /home/oracle/staticports.ini
Open a separate terminal/putty window and copy staticports.ini file to home directory.
[oracle@fusion ~]$ cp /app/fusion/provisioning/idm/idm/Disk1/stage/Response/staticports.ini ~/
Click on View/Edit.
Edit the staticports.ini file to assign ports 6501 and 7501, as follows.
# The non-SSL port for Oracle Virtual Directory
Oracle Virtual Directory port = 6501
# The SSL port for Oracle Virtual Directory
Oracle Virtual Directory (SSL) port = 7501
Click Save and then Next
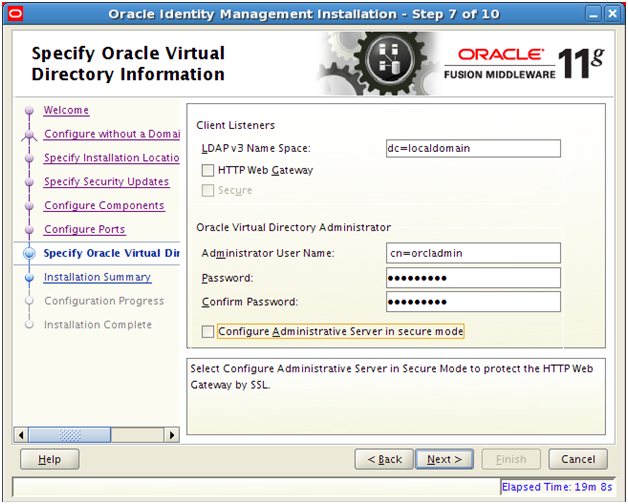
Provide OID login details.
Uncheck “Configure Administrative Server in secure mode” since we are not using SSL anywhere in this installation. Click Next
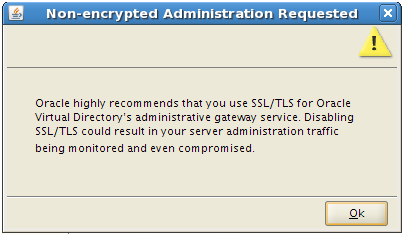
Click Ok
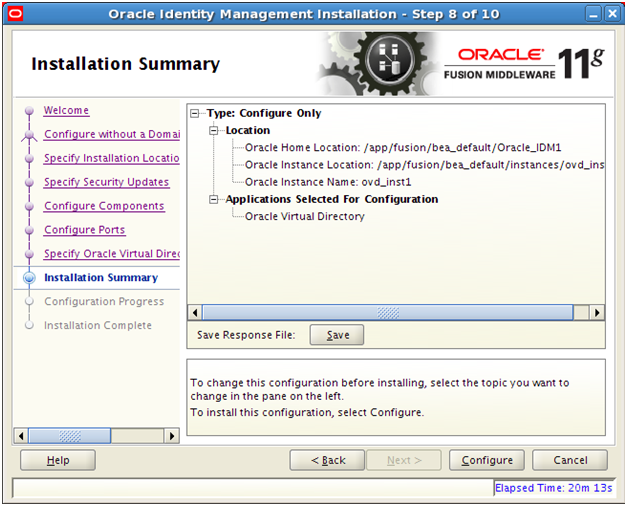
Save summary if needed and click Configure to start configuration.
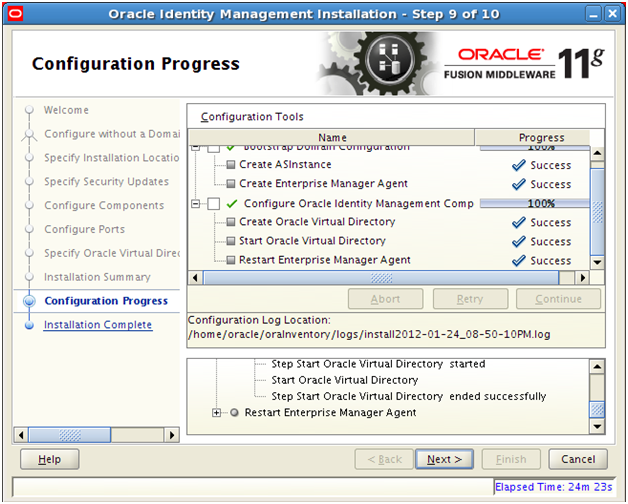
Once installation finishes, click Next
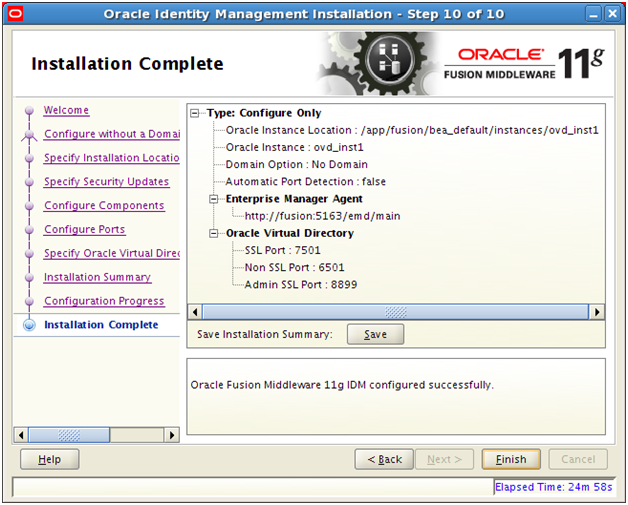
Save installation summary if needed and click Finish to complete the installation.
Registering OVD with the Oracle WebLogic Server Domain
[oracle@fusion bin]$ cd /app/fusion/bea_default/instances/ovd_inst1/bin
[oracle@fusion ~]$ export ORACLE_HOME=/app/fusion/bea_default/Oracle_IDM1
[oracle@fusion ~]$ export ORACLE_INSTANCE=/app/fusion/bea_default/instances/ovd_inst1
[oracle@fusion bin]$ ./opmnctl registerinstance -adminHost fusion -adminPort 7001 -adminUsername weblogic
Command requires login to weblogic admin server (fusion):
Username: weblogic
Password:
Registering instance
Command succeeded.
Update the Enterprise Manager Repository URL using the emctl utility with the switchOMS flag.
The emctl utility is located under the ORACLE_INSTANCE/EMAGENT/EMAGENT/bin directory.
[oracle@fusion bin]$ cd /app/fusion/bea_default/instances/ovd_inst1/EMAGENT/EMAGENT/bin
[oracle@fusion bin]$ ./emctl switchOMS http://fusion:7001/em/upload
Oracle Enterprise Manager 10g Release 5 Grid Control 10.2.0.5.0.
Copyright (c) 1996, 2009 Oracle Corporation. All rights reserved.
SwitchOMS succeeded.
We can now verify whether this instance is registered for monitoring agent.
Login to http://fusion:7001/em
Click on Farm->Agent monitored targets.
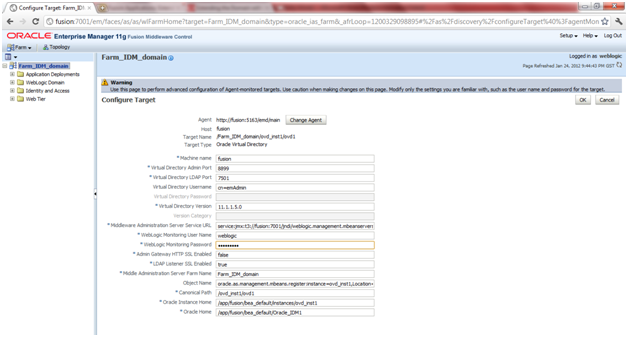
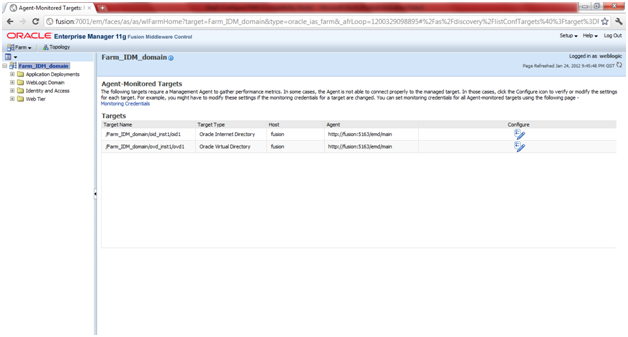
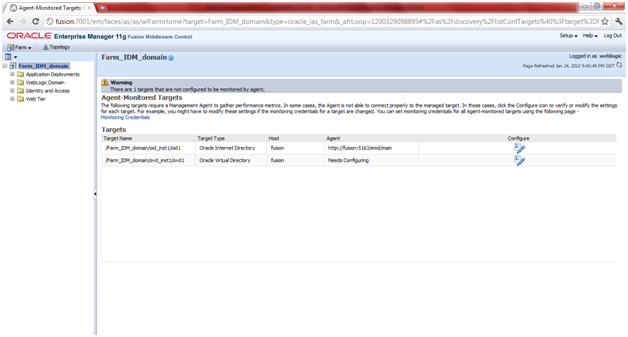
You should be able to see the OID and OVD instances under this. Make sure that the Agent URL is showing up fine. If the status shows as “Need Configuration” then click on Configure and then in next screen enter weblogic user credentials. It should now show the correct Agent URL.
Validate the Oracle Virtual Directory Instances
[oracle@fusion ~]$ export ORACLE_HOME=/app/fusion/bea_default/Oracle_IDM1
[oracle@fusion ~]$ export ORACLE_INSTANCE=/app/fusion/bea_default/instances/ovd_inst1
[oracle@fusion ~]$ export PATH=$ORACLE_HOME/opmn/bin:$ORACLE_HOME/bin:$ORACLE_HOME/ldap/bin:$ORACLE_HOME/ldap/admin:$PATH
[oracle@fusion bin]$ ldapbind -h fusion -p 6501 -D “cn=orcladmin” –q
Please enter bind password:
bind successful
[oracle@fusion bin]$ ldapbind -h fusion -p 7501 -D “cn=orcladmin” -q -U 1
Please enter bind password:
SSL handshake failed
This is fine since we did not configure SSL mode.
Creating ODSM connections to Oracle Virtual Directory
Open http://fusion:7777/odsm/faces/odsm.jspx
Click Connect to a directory -> Create a new connection
Enter details of OVD here.
Name: fusion-ovd
Host: fusion
Port: 8899
SSL Enabled: Unchecked
User Name: cn=orcladmin
Password: oracle123
Start Page: Home
Click Connect
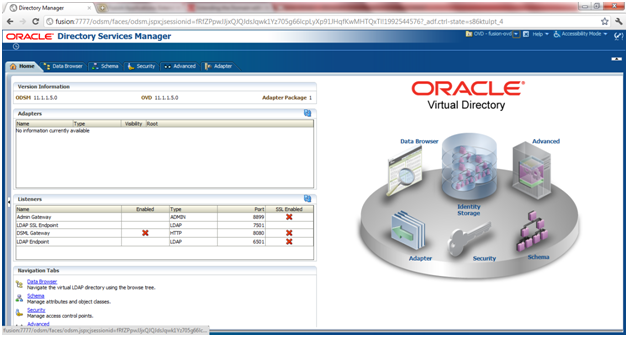
It will display OVD home page.
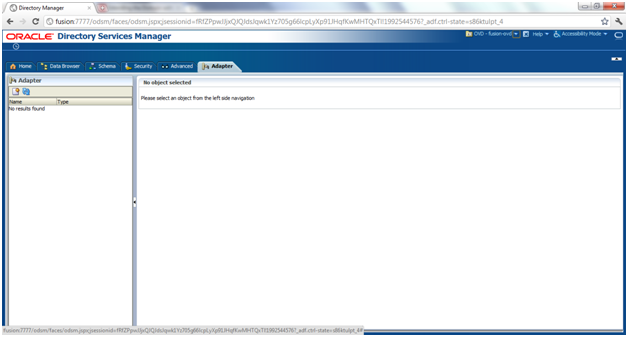
Note: We are skipping the adapter creation for now. We will create them later once needed.
Extending the Domain with Oracle Access Manager
Start the configuration from <Middleware Home/oracle_common/commin/bin
[oracle@fusion bin]$ cd /app/fusion/bea_default/oracle_common/common/bin
[oracle@fusion bin]$ ./config.sh
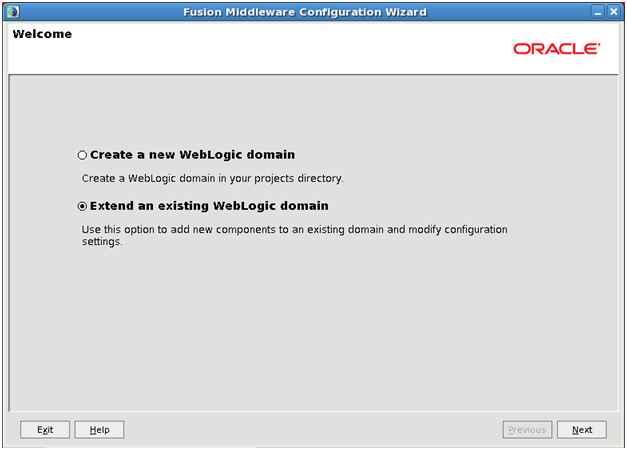
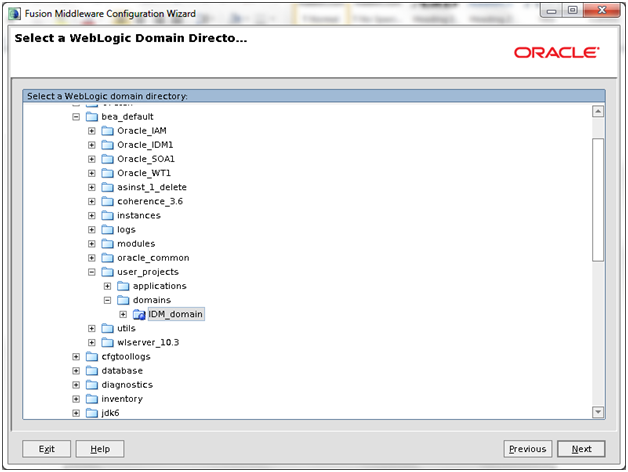
Click “Extend an existing WebLogic domain” and click Next
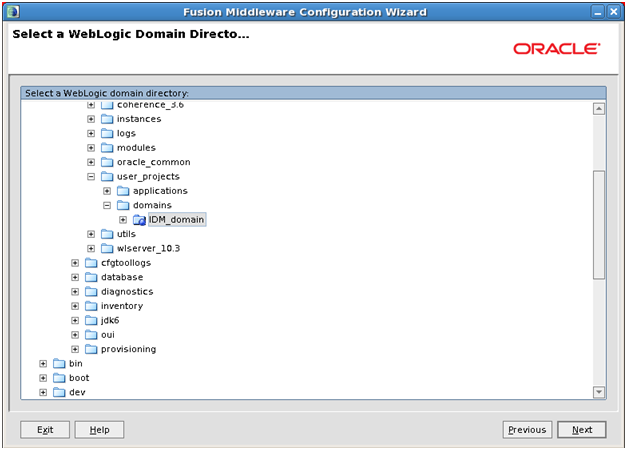
Scroll down and select user_projects->domains->IDM_domain. Click Next
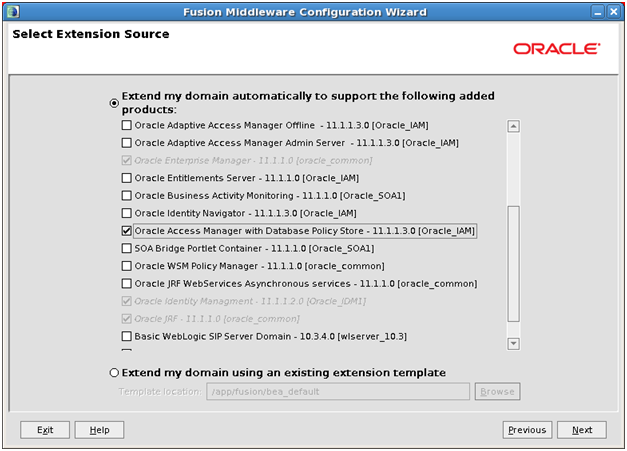
Select only “Oracle Access Manager with Database Policy Store” and click on Next.
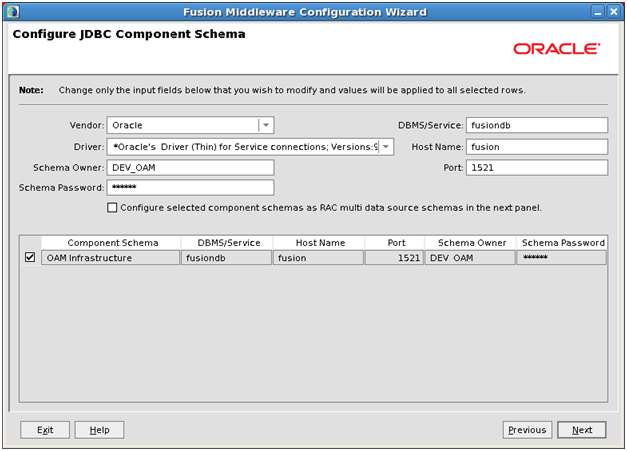
Here you need to provide the database connection details and choose schema owner username. You can keep the name default but make sure to keep a note of it since you will need this later. Choose a password for example oracle123. Click Next
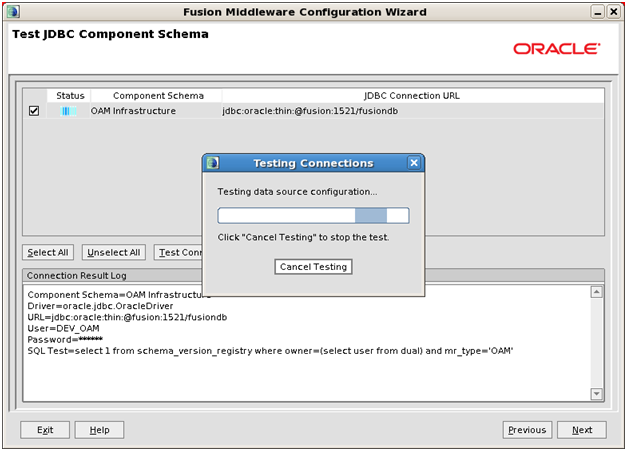
Now it will test the database connectivity through JDBC.
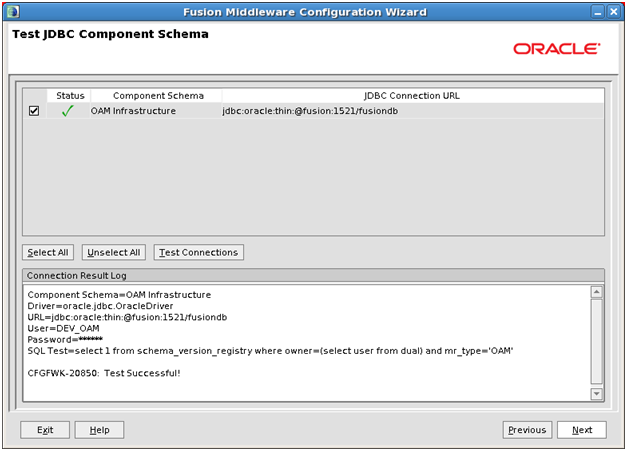
Once successful, click Next
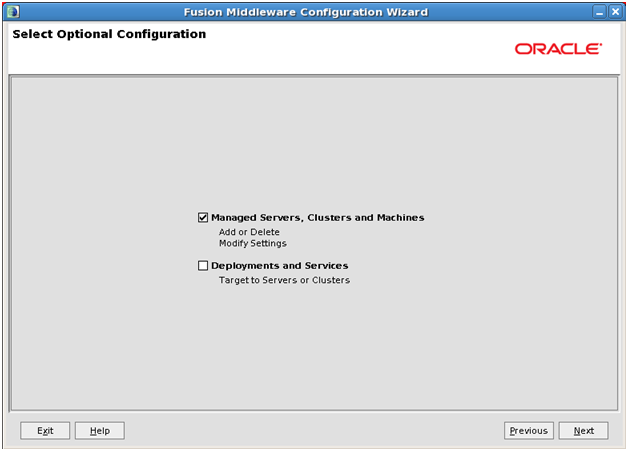
Select “Managed Servers, Clusters and Machines” only and click Next
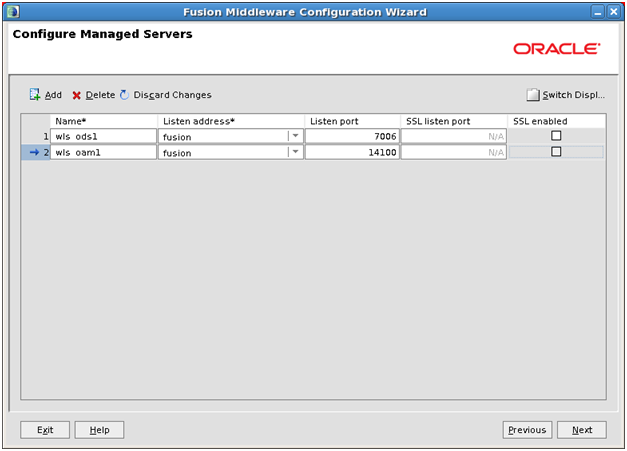
The first row was from previous configuration of ODS and now there will be another row for OAM. Keep the default port and make a note of it. Enter wls_oam1 for the instance name (or whichever you chose while creating instance) and click Next
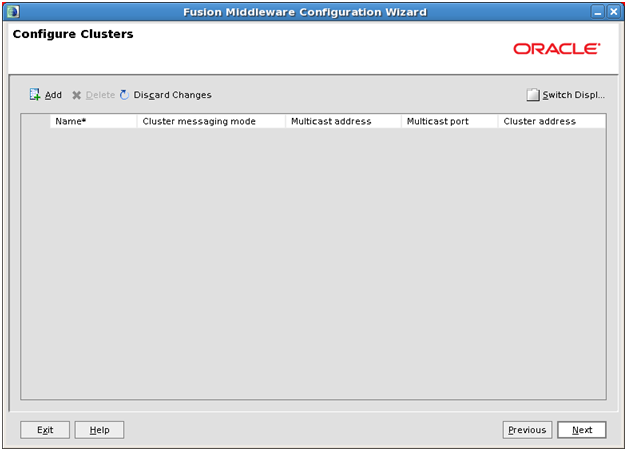
Just click Next
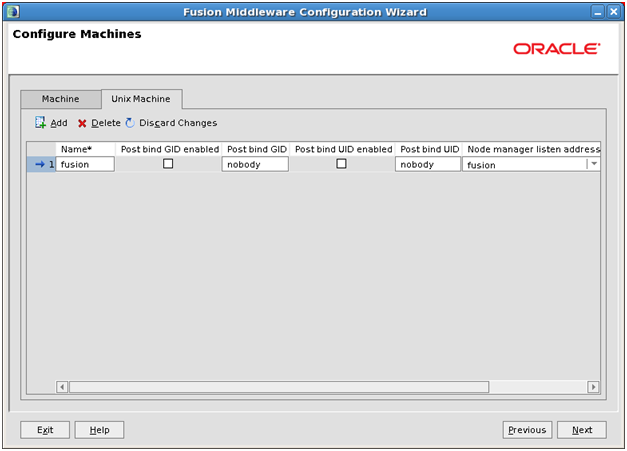
On the “Machines” tab make sure that correct hostname is entered. Click Next

Select wls_oam1 and click the right arrow.
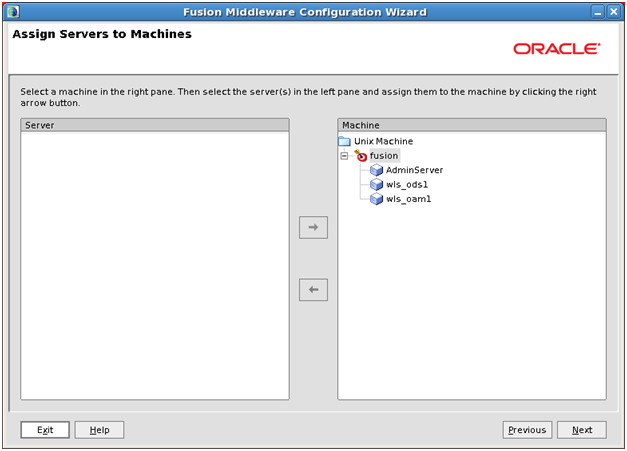
Now it should look as above. Click Next
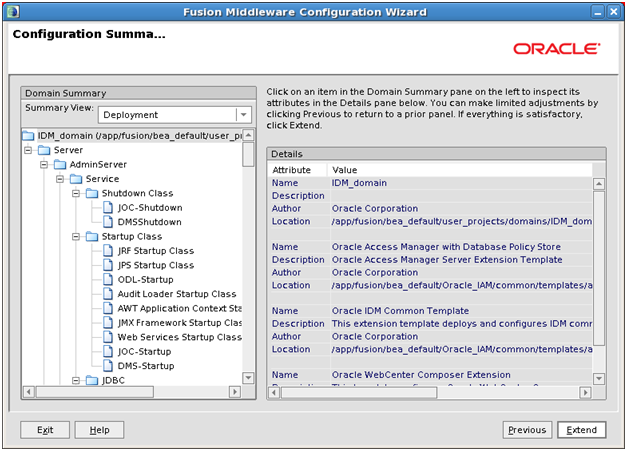
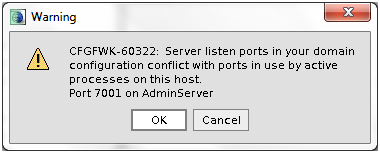
On the summary page Click Extend.
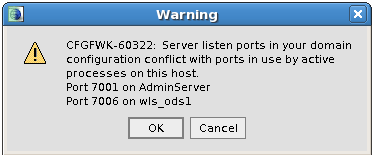
Click OK Since we are aware that these are correct ports being used by AdminServer and wls_ods1 instance.
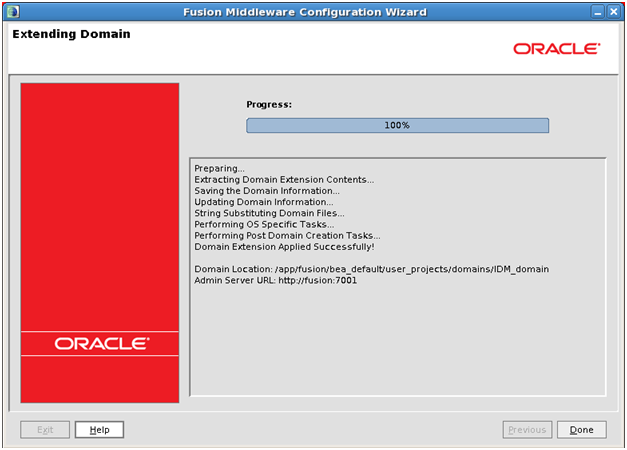
Once configuration finishes, click Done.
You can start the managed server by using following command.
[oracle@fusion bin]$ cd /app/fusion/bea_default/user_projects/domains/IDM_domain/bin
[oracle@fusion bin]$ ./startManagedWebLogic.sh wls_oam1
This will create the directory /app/fusion/bea_default/user_projects/domains/IDM_domain/servers/wls_oam1
Press CTRL+C to stop the process since we will need to configure startup without password prompt.
[oracle@fusion wls_oam1]$ cd /app/fusion/bea_default/user_projects/domains/IDM_domain/servers/wls_oam1
[oracle@fusion wls_oam1]$ cp ../wls_ods1/security/ boot.properties .
Now we can start the managed server without prompting for password.
[oracle@fusion bin]$ cd /app/fusion/bea_default/user_projects/domains/IDM_domain/bin
[oracle@fusion bin]$ nohup ./startManagedWebLogic.sh wls_oam1 &
Configuring Oracle HTTP Servers to Display Login Page and Oracle Access Manager Console
Append following entries in /app/fusion/bea_default/Oracle_WT1/instances/instance1/config/OHS/ohs1/moduleconf/admin.conf
<Location /oam>
SetHandler weblogic-handler
#WebLogicCluster fusion:14100
WebLogicHost fusion
WeblogicPort 14100
</Location>
<Location /oamconsole>
#SetHandler weblogic-handler
WebLogicHost fusion
WebLogicPort 7001
</Location>
Note: The reason we have kept commented cluster entries is that in case if you have setup cluster then you can use cluster entry instead of standalone entry.
Restart HTTP Server to bring this to effect.
Note: There are few other steps as well as per Oracle documentation but we will skip them for now.
Extending the Domain to Configure Oracle Identity Manager and Oracle SOA Suite
Start the configuration from <Middleware Home/oracle_common/common/bin
[oracle@fusion bin]$ cd /app/fusion/bea_default/oracle_common/common/bin
[oracle@fusion bin]$ ./config.sh &

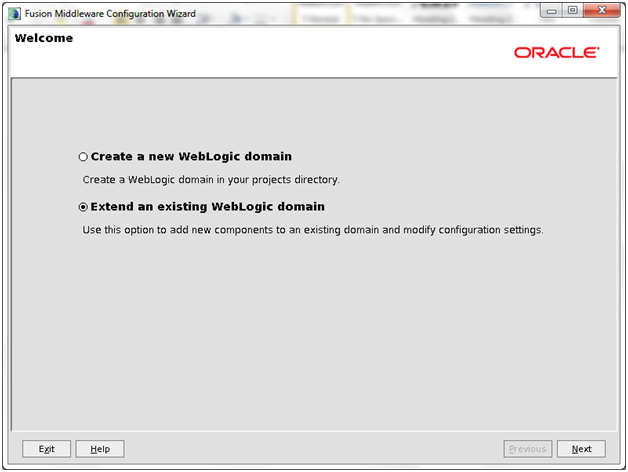
Select “Extend an existing WebLogic domain” and click Next
Scroll down and select user_projects->domains->IDM_domain and click Next
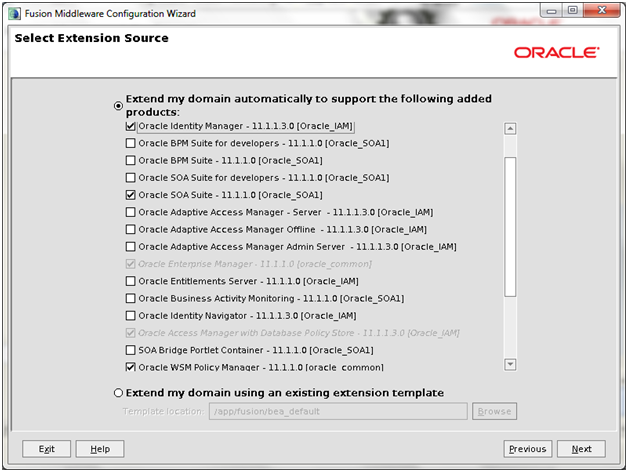
Select Oracle Identity Manager. It will automatically select Oracle SOA Suite and Oracle WSM. Click Next
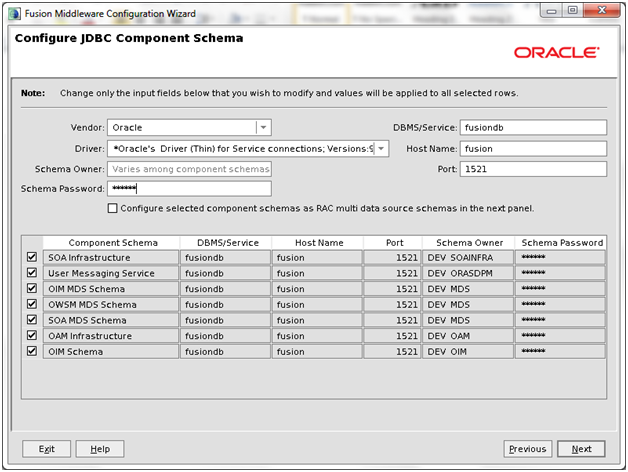
Check all to modify all entries together. Provide database connect details and select a password for all. Accept default value for Schema owner names. Click Next
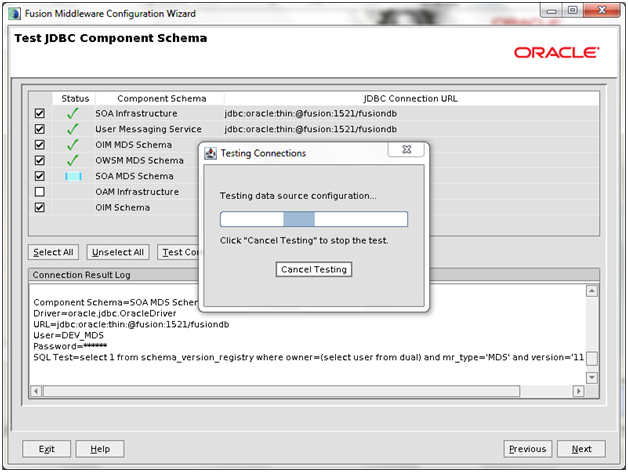
Now it will test the database connectivity through JDBC.
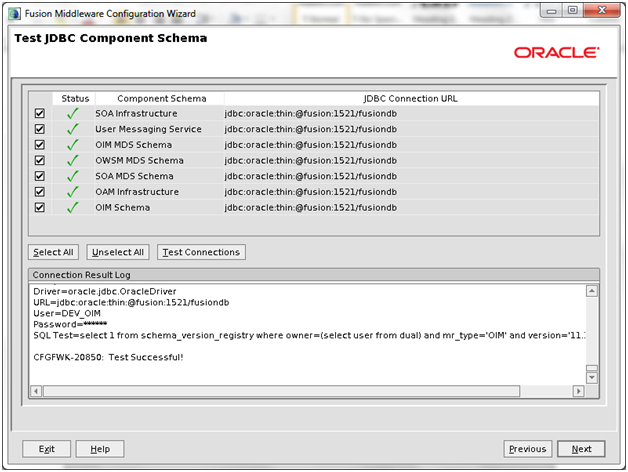
Once JDBC test is successful, click Next
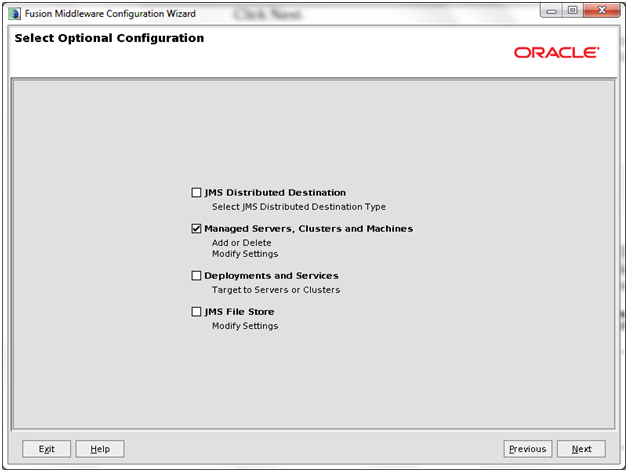
Select only “Managed Servers, Clusters and Machines” and click Next
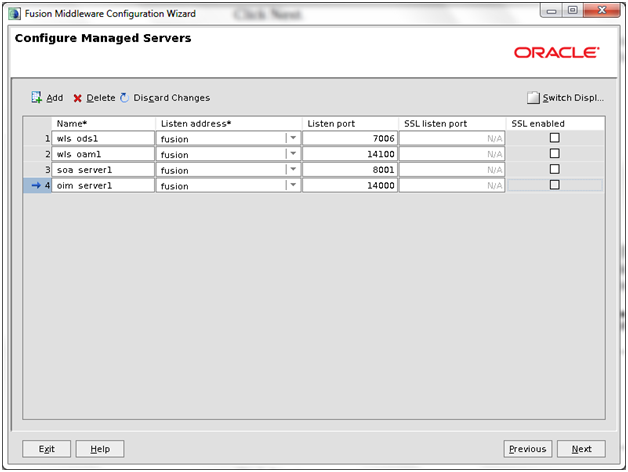
Add entries for soa_server1 and oim_server1. As per Oracle documentation you can change them to wls_soa1 and wls_oim1 as well. But here we have kept them as default.
Note the ports and click Next.
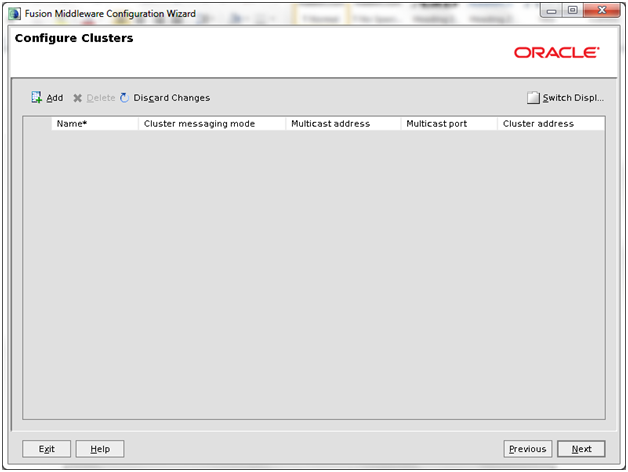
Just click Next
Since we are using Linux/Unix machine, delete entry from above screen. And proceed to Unix Machine tab.
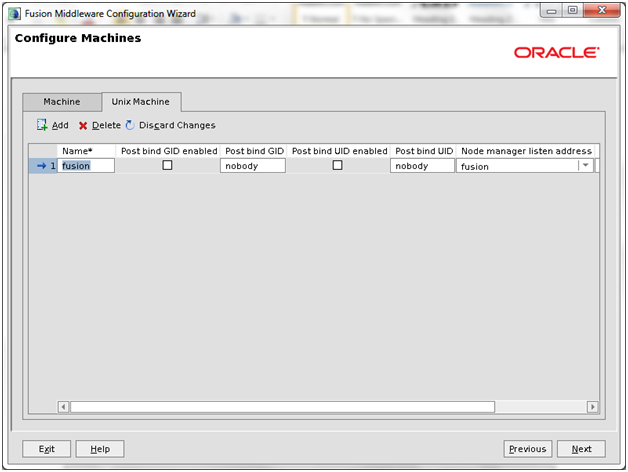
Make sure correct hostname is entered here. Click Next

Select oim_server1 and soa_server1 and click right arrow. (if you had renamed them to wls_oim1 and wls_soa1 then you will see those entries instead of this)
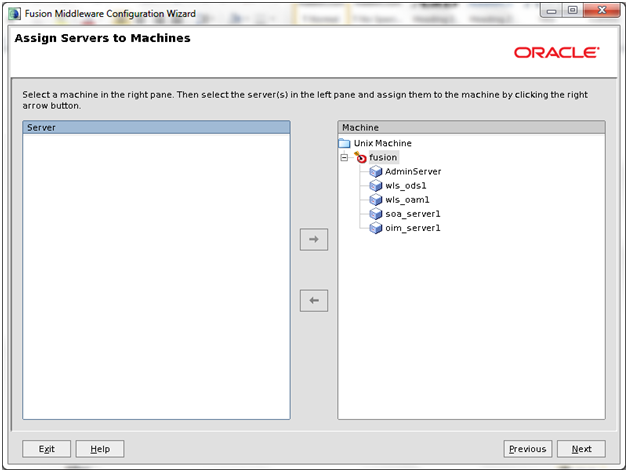
The screen will now look like above. Click Next
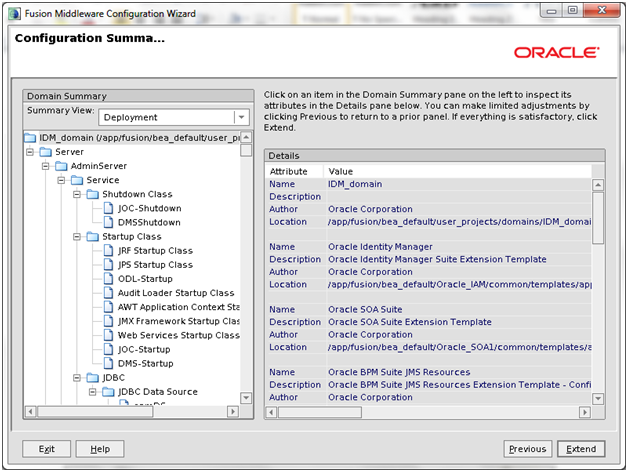
On Summary screen click Next
Click OK
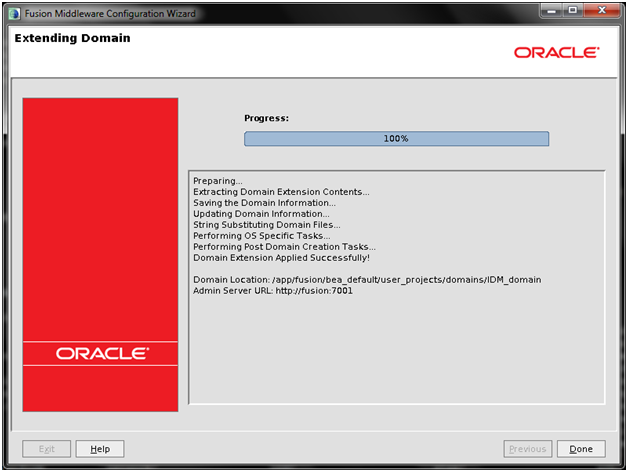
Once configuration finishes, click Done
Configuring Oracle Identity Manager
Now we will configure the Identity Manager from <IAM Oracle Home>/bin
[oracle@fusion bin]$ cd /app/fusion/bea_default/Oracle_IAM/bin
[oracle@fusion bin]$ ./config.sh &
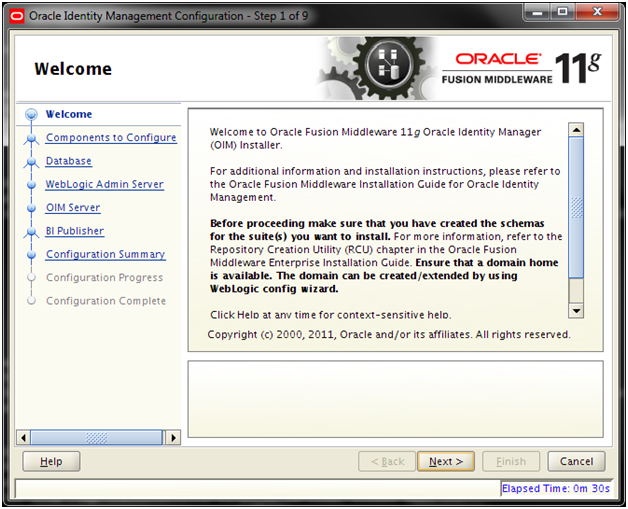
Click Next
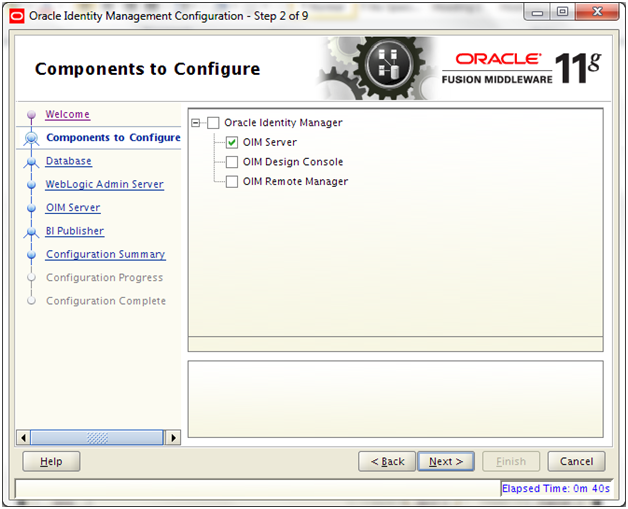
Select only OIM Server and click Next
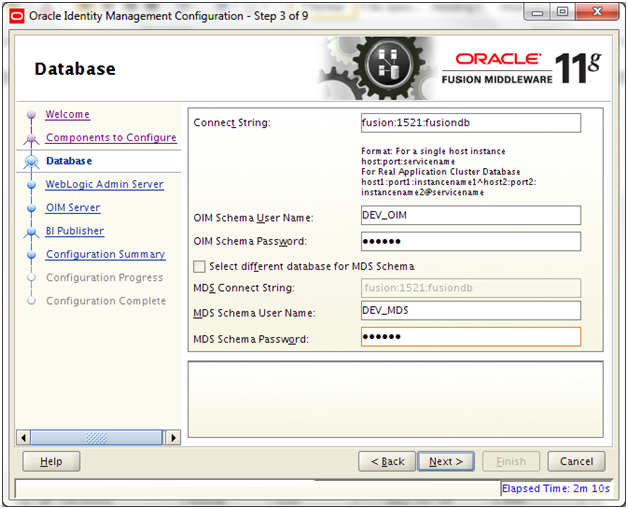
Enter database details in shown format “fusion:1521:fusiondb“. Select Schema names (keep default) and enter password (oracle123). Make sure to keep a note of these schema names DEV_OIM and DEV_MDS. We will need these later during provisioning plan. Click Next
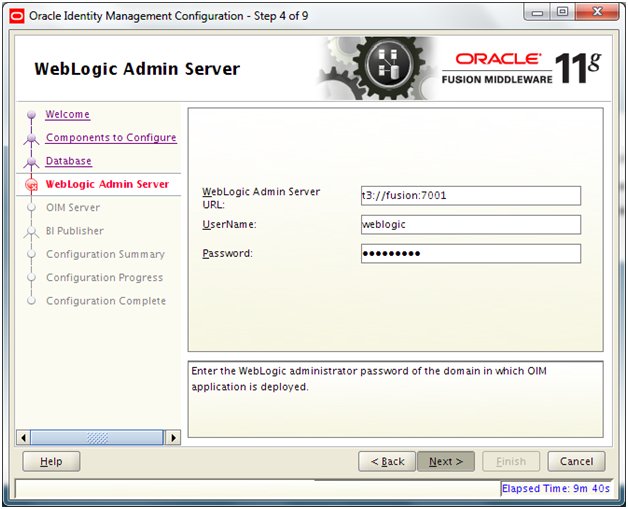
Enter AdminServer details in t3://<hostname>:<port> format. Here t3://fusion:7001
Important Note: Before clicking next make sure that AdminServer is running otherwise it may throw following error on next page. Start or restart AdminServer if you see this error.
INST-6180: Error while retrieving OIM Managed Server URL from the domain.
Click Next
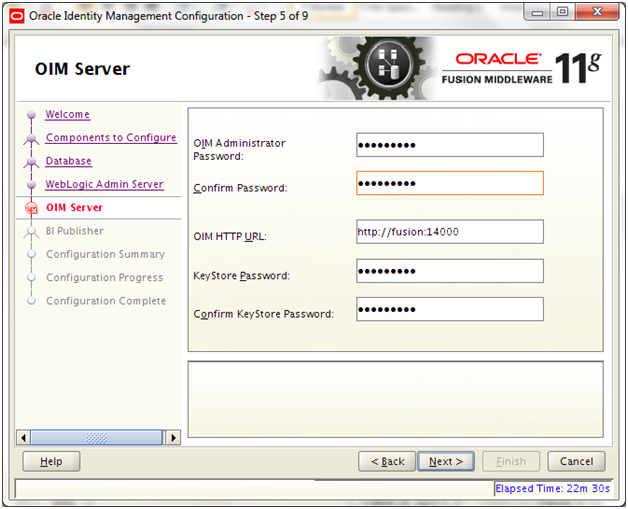
Enter passwords as follows and keep a note of them since we will require them in provisioning wizard.
OIM Admin password: Oracle123
Keystore Password: oracle123
Enter OIM HTTP URL as http://fusion:14000 (based on port value in previous configuration step). Click Next
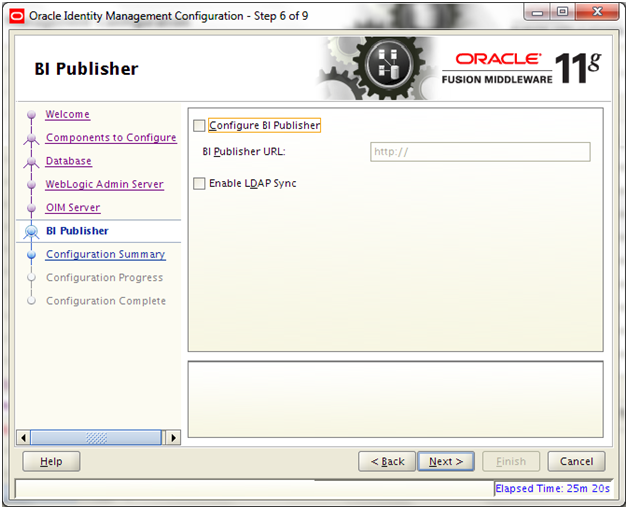
Deselect both and click Next
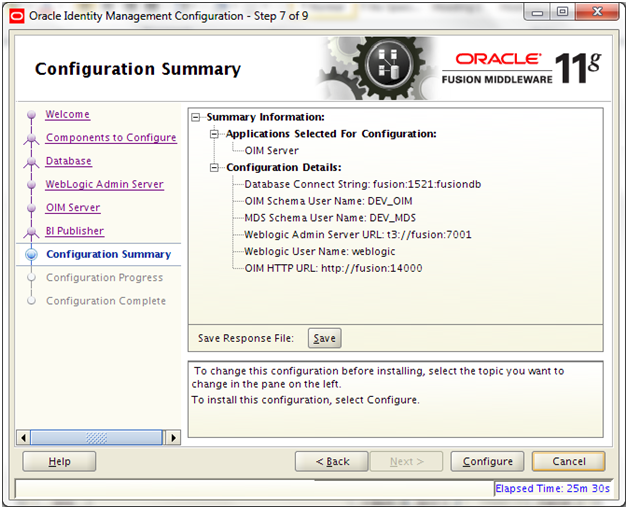
Save the summary if required and click Configure.
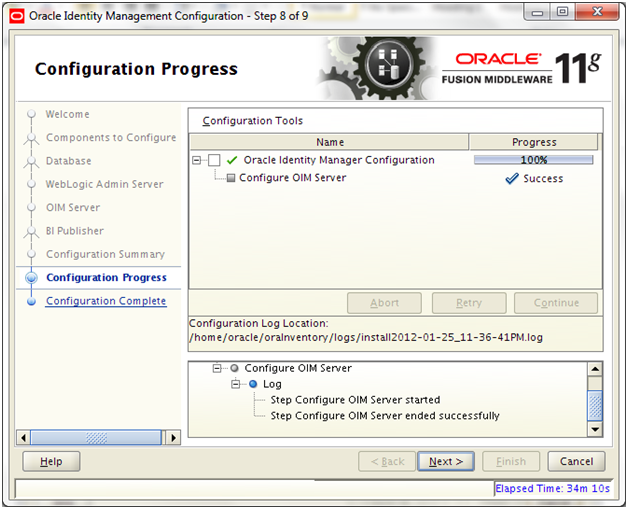
Once configuration finishes click Next
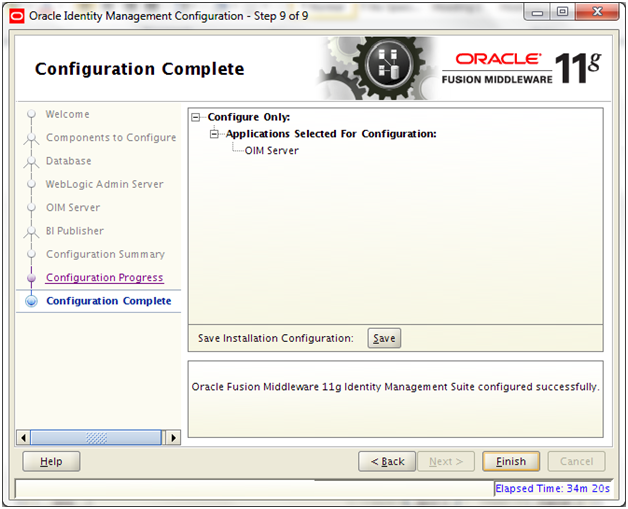
Save the configuration summary if needed and click Finish to complete the configuration.
Configuring Oracle HTTP Servers for Oracle Identity Manager and SOA
Append following entries in /app/fusion/bea_default/Oracle_WT1/instances/instance1/config/OHS/ohs1/moduleconf/admin.conf
# oim admin console(idmshell based)
<Location /admin>
SetHandler weblogic-handler
WLProxySSL OFF
WLProxySSLPassThrough OFF
WLCookieName oimjsessionid
#WebLogicCluster fusion:14000
WebLogicHost fusion
WebLogicPort 14000
WLLogFile “${ORACLE_INSTANCE}/diagnostics/logs/mod_wl/oim_component.log”
</Location>
# oim self and advanced admin webapp consoles(canonic webapp)
<Location /oim>
SetHandler weblogic-handler
WLProxySSL OFF
WLProxySSLPassThrough OFF
WLCookieName oimjsessionid
#WebLogicCluster oimvhn1:14000,oimvhn2:14000
WebLogicHost fusion
WebLogicPort 14000
WLLogFile “${ORACLE_INSTANCE}/diagnostics/logs/mod_wl/oim_component.log”
</Location>
# SOA Callback webservice for SOD – Provide the SOA Managed Server Ports
<Location /sodcheck>
SetHandler weblogic-handler
WLProxySSL OFF
WLProxySSLPassThrough OFF
WLCookieName oimjsessionid
#WebLogicCluster soavhn1:8001,soavhn2:8001
WebLogicHost fusion
WebLogicPort 8001
WLLogFile “${ORACLE_INSTANCE}/diagnostics/logs/mod_wl/oim_component.log”
</Location>
# Callback webservice for SOA. SOA calls this when a request is approved/rejected
# Provide the SOA Managed Server Port
<Location /workflowservice>
SetHandler weblogic-handler
WLProxySSL OFF
WLProxySSLPassThrough OFF
WLCookieName oimjsessionid
#WebLogicCluster oimvhn1:14000,oimvhn2:14000
WebLogicHost fusion
WebLogicPort 14000
WLLogFile “${ORACLE_INSTANCE}/diagnostics/logs/mod_wl/oim_component.log”
</Location>
# xlWebApp – Legacy 9.x webapp (struts based)
<Location /xlWebApp>
SetHandler weblogic-handler
WLProxySSL OFF
WLProxySSLPassThrough OFF
WLCookieName oimjsessionid
#WebLogicCluster oimvhn1:14000,oimvhn2:14000
WebLogicHost fusion
WebLogicPort 14000
WLLogFile “${ORACLE_INSTANCE}/diagnostics/logs/mod_wl/oim_component.log”
</Location>
# Nexaweb WebApp – used for workflow designer and DM
<Location /Nexaweb>
SetHandler weblogic-handler
WLProxySSL OFF
WLProxySSLPassThrough OFF
WLCookieName oimjsessionid
#WebLogicCluster oimvhn1:14000,oimvhn2:14000
WebLogicHost fusion
WebLogicPort 14000
WLLogFile “${ORACLE_INSTANCE}/diagnostics/logs/mod_wl/oim_component.log”
</Location>
# used for FA Callback service.
<Location /callbackResponseService>
SetHandler weblogic-handler
WLProxySSL OFF
WLProxySSLPassThrough OFF
WLCookieName oimjsessionid
#WebLogicCluster oimvhn1:14000,oimvhn2:14000
WebLogicHost fusion
WebLogicPort 14000
WLLogFile “${ORACLE_INSTANCE}/diagnostics/logs/mod_wl/oim_component.log”
</Location>
# spml xsd profile
<Location /spml-xsd>
SetHandler weblogic-handler
WLProxySSL OFF
WLProxySSLPassThrough OFF
WLCookieName oimjsessionid
#WebLogicCluster oimvhn1:14000,oimvhn2:14000
WebLogicHost fusion
WebLogicPort 14000
WLLogFile “${ORACLE_INSTANCE}/diagnostics/logs/mod_wl/oim_component.log”
</Location>
<Location /HTTPClnt>
SetHandler weblogic-handler
WLProxySSL OFF
WLProxySSLPassThrough OFF
WLCookieName oimjsessionid
#WebLogicCluster oimvhn1:14000,oimvhn2:14000
WebLogicHost fusion
WebLogicPort 14000
WLLogFile “${ORACLE_INSTANCE}/diagnostics/logs/mod_wl/oim_component.log”
</Location>
Note: The reason we have kept commented cluster entries is that in case if you have setup cluster then you can use cluster entry instead of standalone entry.
Restart HTTP Server to bring this to effect.
Installing and Configuring WebGate
Start Webgate 10g installation from <repository_location>/installers/webgate
[oracle@fusion webgate]$ cd /mnt/fusion/installers/webgate
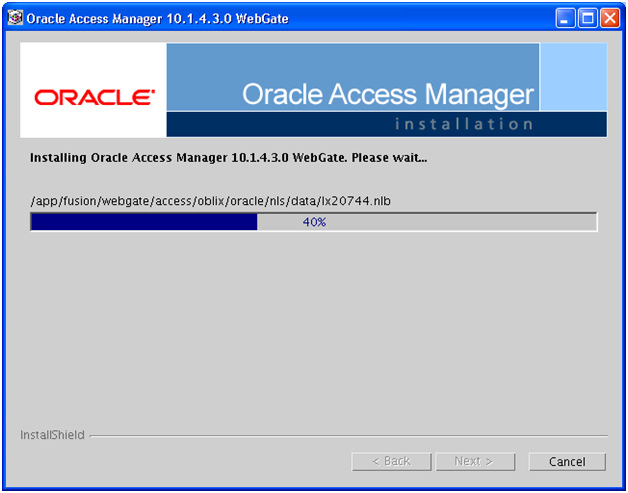
[oracle@fusion webgate]$ ./Oracle_Access_Manager10_1_4_3_0_linux64_OHS11g_WebGate –gui
Click Next

Enter the OS oracle user details. Click Next
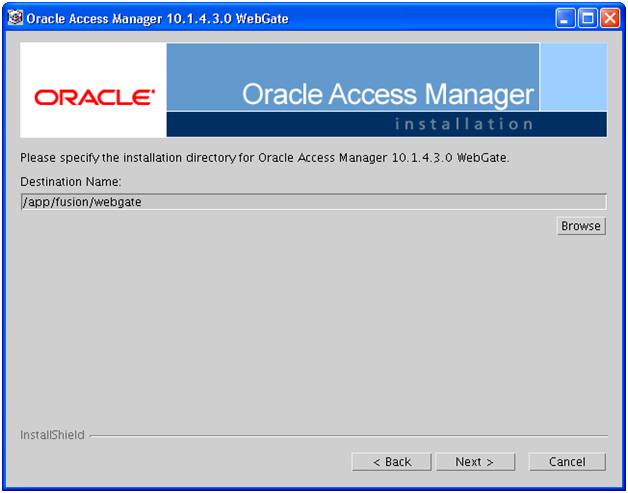
Select a path where you want to install webgate. We have selected /app/fusion/webgate. Click Next
Click Next
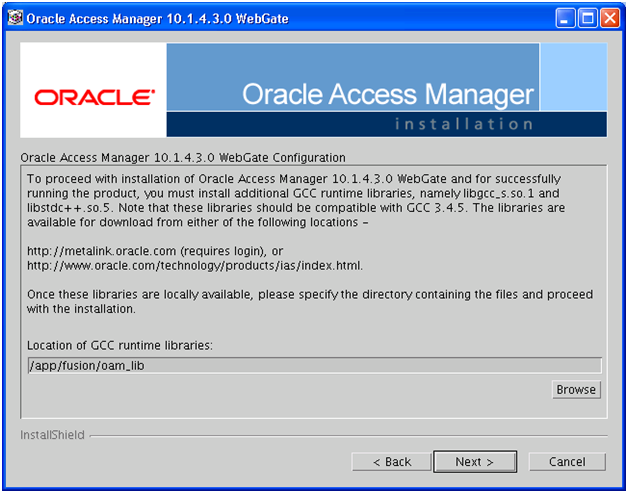
Open a new terminal/putty window and execute following commands. Once done enter the location /app/fusion/oam_lib in this screen and click Next to start the installation.
[oracle@fusion oam_lib]$ mkdir /app/fusion/oam_lib
[oracle@fusion oam_lib]$ ln -s /usr/lib64/libstdc++.so.5 /app/fusion/oam_lib/libstdc++.so.5
[oracle@fusion oam_lib]$ ln -s /lib64/libgcc_s.so.1 /app/fusion/oam_lib/libgcc_s.so.1
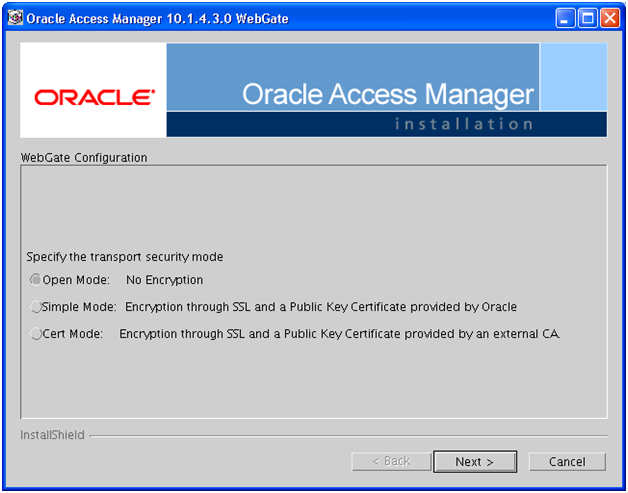
Now WebGate Configuration will start. Select “Open Mode” and click Next
Since this screen requires WebGate ID from Access Manager. We need to first create a Webgate Agent in Access Manager. So keep this Java window open and open Oracle Access Manager Console in browser by entering http://fusion/oamconsole or http://fusion:7777/oamconsole
Note: We could have done this before starting Webgate installation as well but keeping it here in the guide gives you an idea where we are going to this configuration. Next time when you install, you can do this step before itself.
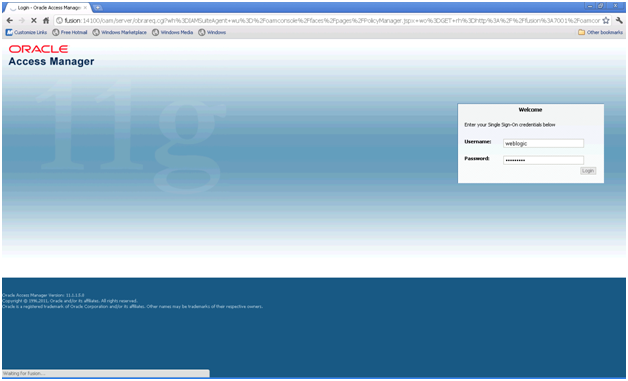
Login with weblogic admin user.
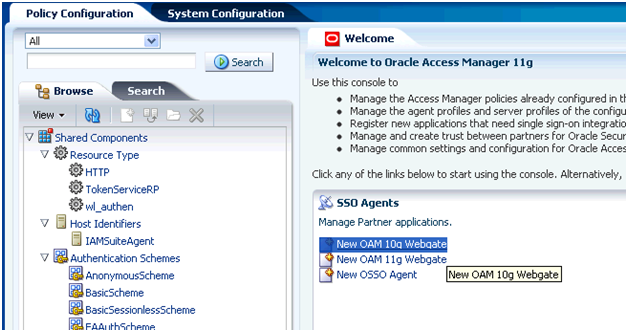
Once logged under SSO Agents, click on New “OAM 10g Webgate” (since we are installing 10g webgate).
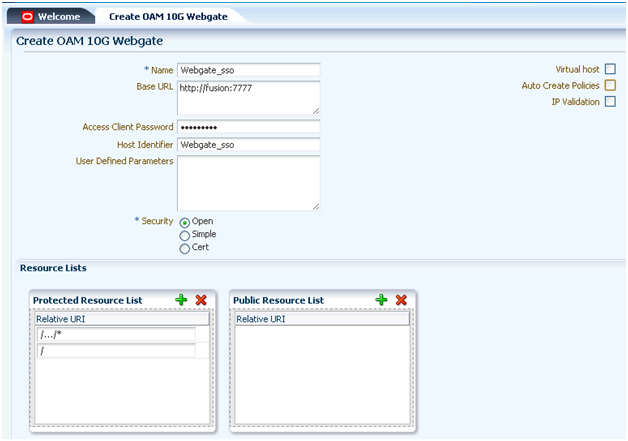
Enter name: Webgate_sso or any name
Base URL: http://fusion:7777
Host Identifier: Webgate_sso
Security: Open
Uncheck all 3 options on right.
Click Apply
Now Edit the same Webgate Agent again. It will show following screen.
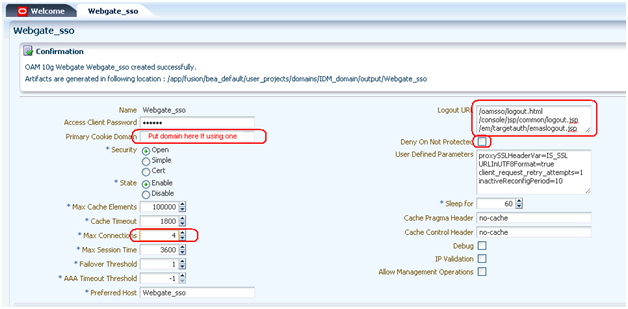
We did not put domain since we are using only http://fusion
Change Max Connections to 4
Logout URL: Enter following values.
/oamconsole/logout.html
/console/jsp/common/logout.jsp
/em/targetauth/eamlogout.jsp
Click Apply
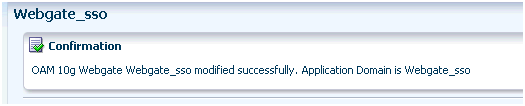
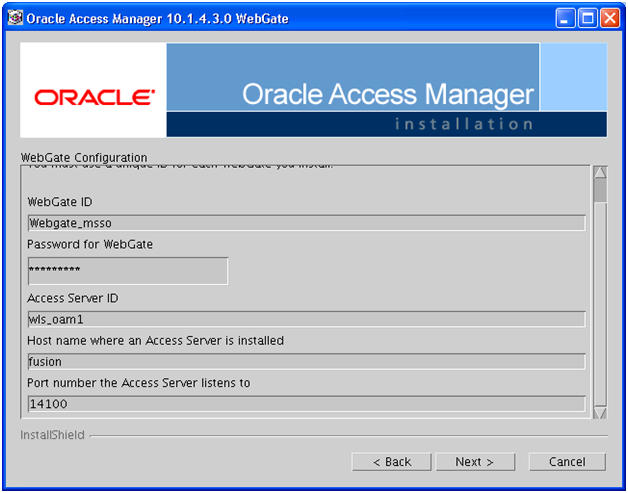
Once webgate Agent is created in OAM, go back to the already open configuration window and enter following details and click Next to finish the configuration. In case if the configuration window was closed, you can also launch the configuration from command prompt.
[oracle@fusion webgate]$ /app/fusion/webgate/access/oblix/tools/configureWebGate/start_configureWebGate -i /app/fusion/webgate/access -t WebGate
Please enter the Mode in which you want the Web Gate to run : 1(Open) 2(Simple) 3(Cert) : 1
Please enter the Web Gate ID : Webgate_sso
Please enter the Password for this Web Gate : <enter oracle123 or any password here. Make note of it>
Please enter the Access Server ID : wls_oam1
Please enter the Access Server Host Machine Name : fusion
Please enter the Access Server Port : 5575
Preparing to connect to Access Server. Please wait.
Web Gate installed Successfully.
Press enter key to continue …
As per Oracle documentation there are a few steps to use the Webgate and validate but we will skip them for now.
Next step is to prepare Identity and Policy Stores by creating necessary users and groups for provisioning Fusion Applications.
Next: Integrate Oracle Identity Manager (OIM) and Oracle Access Manager (OAM)
Installing Oracle Fusion Applications – steps
- Installing Fusion Applications Provisioning Framework
- Installing Oracle 11g Database (Applications Transactional Database)
- Running Oracle Fusion Applications Repository Creation Utility (Applications RCU)
- Creating another database for Oracle Identity Management Infrastructure (optional)
- Running Repository Creation Utility (RCU) for Oracle Identity Management components
- Installing Oracle Identity and Access Management Components
- Configuring Oracle Identity and Access Management components
- Integrate Oracle Identity Manager (OIM) and Oracle Access Manager (OAM)
- Creating a New Provisioning Plan
- Provisioning an Applications Environment
hi,
i have installed oam 11.1.1.5.0 on weblogic 10.3.5.
i am unable to access oamconsole when my oam_server is up. but when it is down i can can access. i am not getting what the problem is.
my oam server is started in running mode but in between there is a exeption. i.e
java.lang.NoClassDefFoundError: Could not initialize class oracle.dfw.impl.common.TempFileManager
at oracle.dfw.spi.portable.PortableDiagnosticsFrameworkProvider.init(PortableDiagnosticsFrameworkProvider.java:120)
at oracle.dfw.framework.DiagnosticsFramework.initializeProvider(DiagnosticsFramework.java:98)
at oracle.dfw.framework.DiagnosticsFramework.(DiagnosticsFramework.java:53)
at oracle.dms.wls.DMSStartup.start(DMSStartup.java:212)
at oracle.dms.wls.DMSStartup.startUp(DMSStartup.java:118)
at oracle.dms.wls.DMSStartup.main(DMSStartup.java:67)
at sun.reflect.NativeMethodAccessorImpl.invoke0(Native Method)
at sun.reflect.NativeMethodAccessorImpl.invoke(NativeMethodAccessorImpl.java:39)
at sun.reflect.DelegatingMethodAccessorImpl.invoke(DelegatingMethodAccessorImpl.java:25)
at java.lang.reflect.Method.invoke(Method.java:597)
at weblogic.management.deploy.classdeployment.ClassDeploymentManager.invokeMain(ClassDeploymentManager.java:362)
at weblogic.management.deploy.classdeployment.ClassDeploymentManager.invokeClass(ClassDeploymentManager.java:272)
at weblogic.management.deploy.classdeployment.ClassDeploymentManager.access$000(ClassDeploymentManager.java:54)
at weblogic.management.deploy.classdeployment.ClassDeploymentManager$1.run(ClassDeploymentManager.java:214)
at weblogic.security.acl.internal.AuthenticatedSubject.doAs(AuthenticatedSubject.java:321)
at weblogic.security.service.SecurityManager.runAs(SecurityManager.java:120)
at weblogic.management.deploy.classdeployment.ClassDeploymentManager.invokeClassDeployment(ClassDeploymentManager.java:207)
at weblogic.management.deploy.classdeployment.ClassDeploymentManager.runStartupsBeforeAppDeployments(ClassDeploymentManager.java:149)
at weblogic.management.deploy.classdeployment.ClassDeploymentService.start(ClassDeploymentService.java:20)
at weblogic.t3.srvr.SubsystemRequest.run(SubsystemRequest.java:64)
at weblogic.work.ExecuteThread.execute(ExecuteThread.java:209)
at weblogic.work.ExecuteThread.run(ExecuteThread.java:178)
Very good website you have here but I was wanting
to know if you knew of any forums that cover the same topics talked
about here? I’d really love to be a part of online community where I can get feed-back from other experienced individuals that share the same interest. If you have any recommendations, please let me know. Kudos!
@prasad
From oracle doc:
“Oracle Virtual Directory is not required when you use Oracle Internet Directory as the back-end directory. However, if you want to access your Oracle Internet Directory through Oracle Virtual Directory, create the following Oracle Virtual Directory adapters.”
Take a look at the instructions…
http://docs.oracle.com/cd/E15586_01/fusionapps.1111/e21032/extend_ovd.htm#CFHCDFAB
at which stage adapters are created for ovd