Installing Oracle Identity and Access Management components
Oracle Fusion Applications Installation: Installing Oracle Identity and Access Management components
Previous: Running Repository Creation Utility (RCU) for Oracle Identity Management components
Important Note: This is OLD guide for old version 11.1.1.5. Please follow instructions at http://www.oratraining.com/blog/2012/12/oracle-fusion-applications-installation-step-by-step-guide-11-1-5/ for latest guide for current version i.e. 11.1.5
Installing Orace JRockit JDK
Installation of JRockit is very simple. Just unzip the file located at <repository_location>/installers/jdk to any location where we want to extract the JDK files.
We will extract the files at /app/fusion and it will create /app/fusion/jdk6 directory. So we can set JAVA_HOME to /app/fusion/jdk6
cd /app/fusion
unzip /mnt/fusion/installers/jdk/jdk6.zip
Installing Oracle HTTP Server 11.1.1.2.0
We will install Oracle HTTP Server 11.1.1.2.0. Next we will patch it to 11.1.1.5.0 to bring it to the required level for Fusion Applications 11.1.1.5.0
Start the installation by executing runInstaller from <repository_location>/installers/webtier/Disk1
[oracle@fusion Disk1]$ /mnt/fusion/installers/webtier/Disk1/runInstaller &
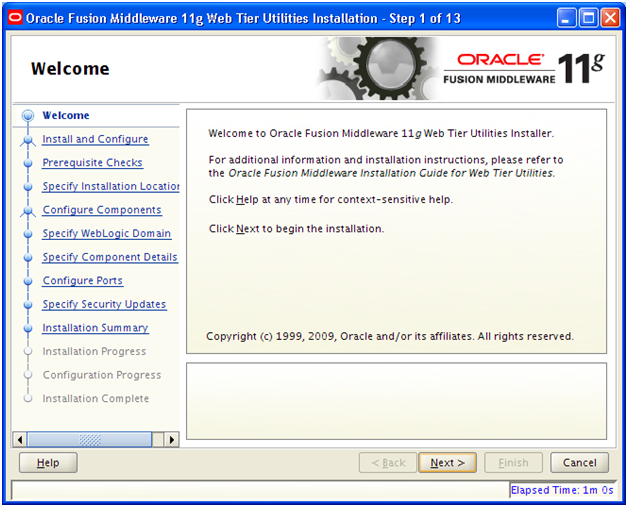
Click Next
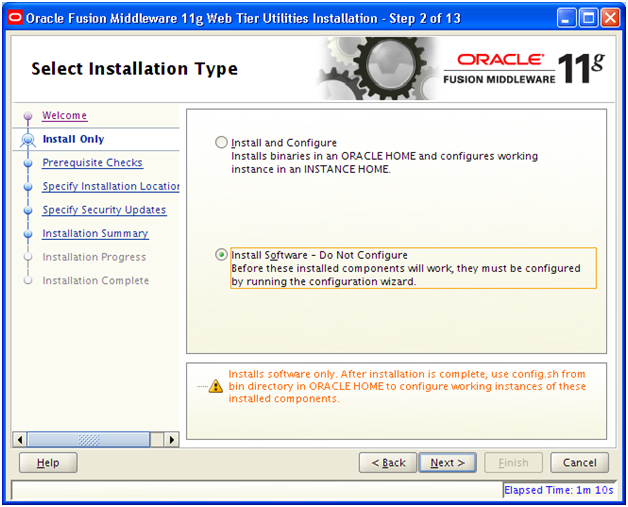
Select “Install Software – Do Not Configure“. This is because we will configure all components later in next section. Click Next
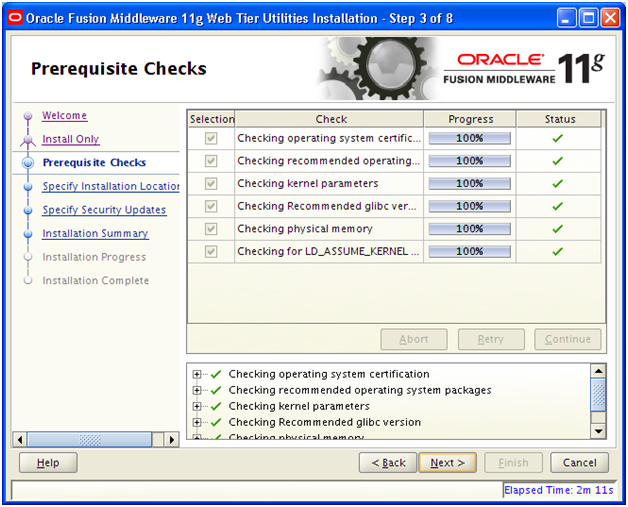
This screen will check for prerequisites. Click Next once completed.

Provide the path for Oracle Middleware Home. Please note that this will be the parent directory for all other Oracle Homes and instances. This is generally called MW_HOME.
Provide details as above and Click Next
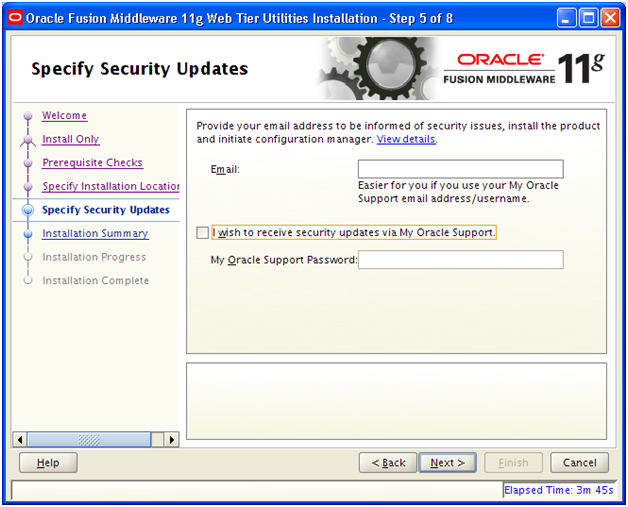
Deselect Email Notifications and click Next

Save the Summary if required. Click Install to begin the installation.
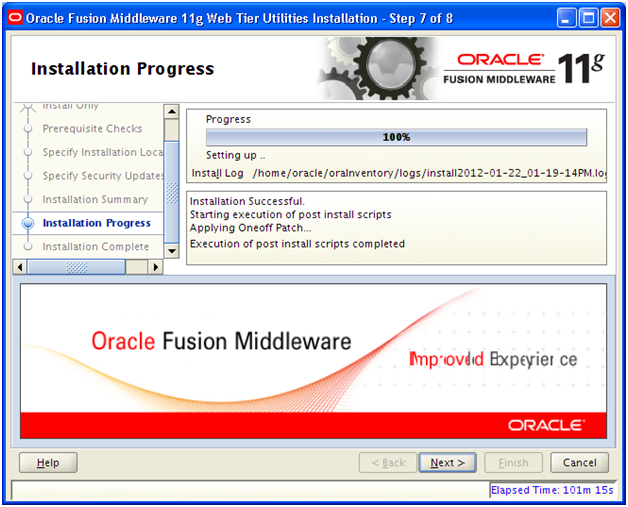
Once installation is finished click Next

Save installation summary if required. Click Finish to complete the installation of Oracle HTTP Server.
Install HTTP Server Patch 11.1.1.5.0
Start the installation by executing runInstaller from <repository_location>/installers/webtier_patchset/Disk1
[oracle@fusion webtier_patchset]$ /mnt/fusion/installers/webtier_patchset/Disk1/runInstaller &
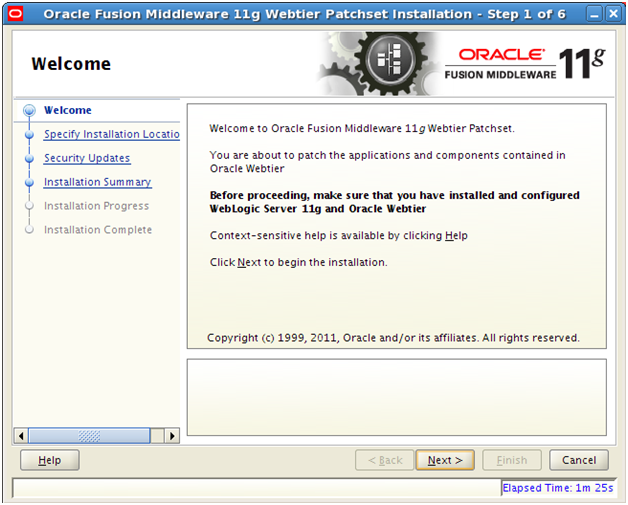
Click Next

Since we are installing the patch, the above details must be same as previous steps in order to apply patch on already installed Web Home. Click Next

Deselect email notification and click Next

Save the summary if required and click Install to begin the patch installation.
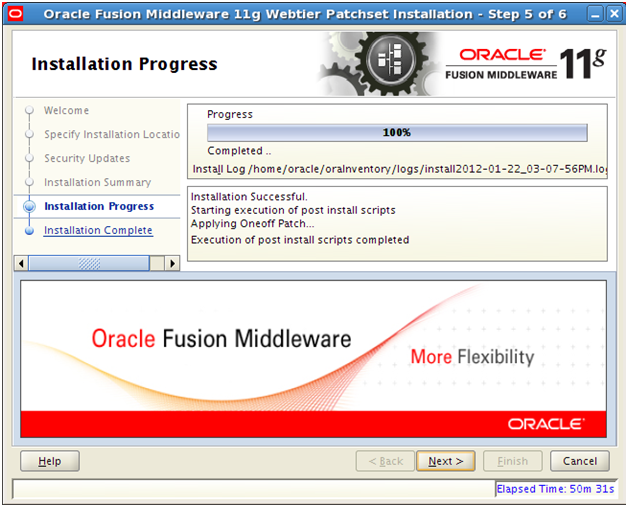
Click Next once installation is finished.

Save the installation summary if needed. Click Finish to complete the patch installation.
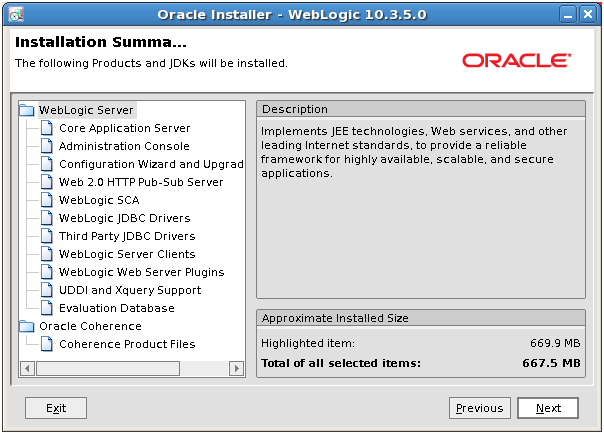
Install Weblogic Server 10.3.5
Start the installation by executing following java command
from <repository_location>/installers/weblogic
[oracle@fusion weblogic]$ cd /mnt/fusion/installers/weblogic
[oracle@fusion weblogic]$ java -d64 -jar wls_generic.jar
Click Next

Select “Create a new Middleware Home” and make sure that the correct MW_HOME directory (as selected in HTTP server installation) is selected. Click Next

Click Yes
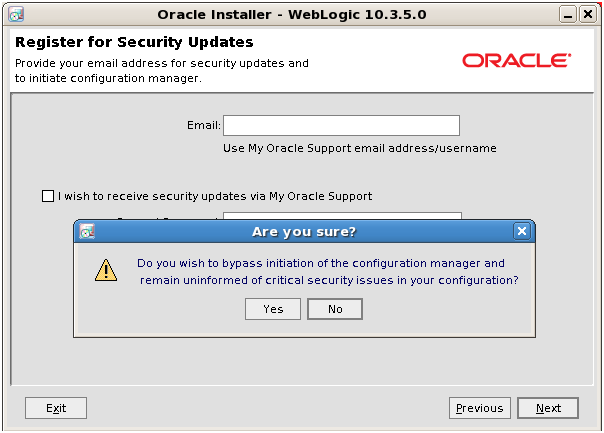
Deselect email notifications and Click Next
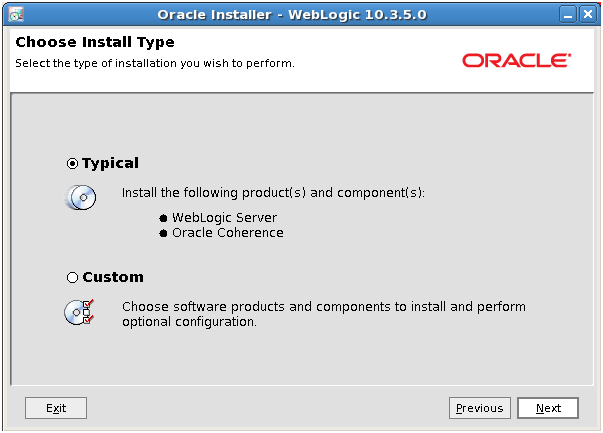
Select Typical and click Next

It will display the list of local JDK already available. Since I had not yet unzipped Oracle JRockit yet, this screen does not show that. For you it will display the new JDK. Select it and click Next

Enter directories values as above and click Next
Click Next on the summary page.

Deselect Quickstart and click Done once installation finishes.
Install Oracle Identity Management 11.1.1.2
We will first install Oracle Identity Management 11.1.1.2 and later patch it to required version 11.1.1.5
We need to first unzip the installation files from <repository_location>/installers/idm directory.
[oracle@fusion provisioning]$ mkdir /app/fusion/provisioning/idm
[oracle@fusion provisioning]$ cd /app/fusion/provisioning/idm
[oracle@fusion idm]$ unzip /mnt/fusion/installers/idm/idm.zip
Start the installation by executing runInstaller from <provisioning_repository>/idm/idm/Disk1
[oracle@fusion Disk1]$ cd /app/fusion/provisioning/idm/idm/Disk1
[oracle@fusion Disk1]$ ./runInstaller
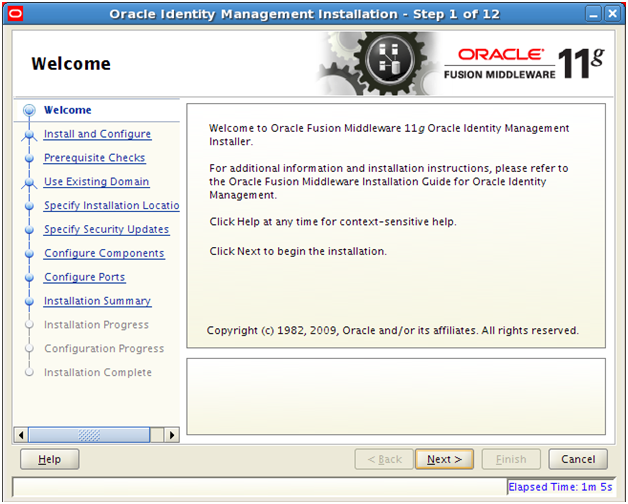
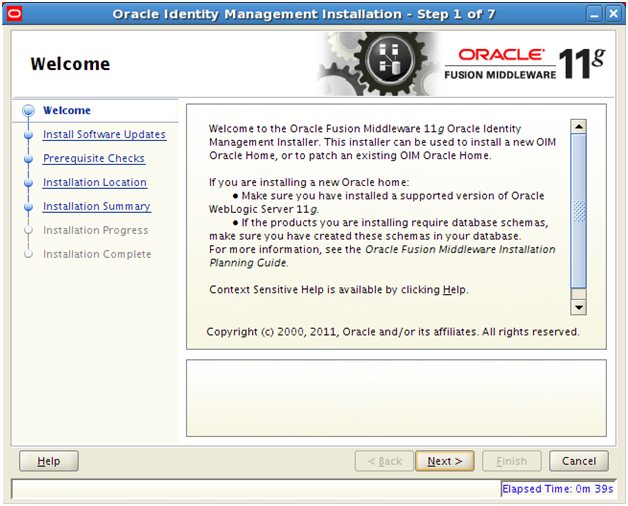
Click Next
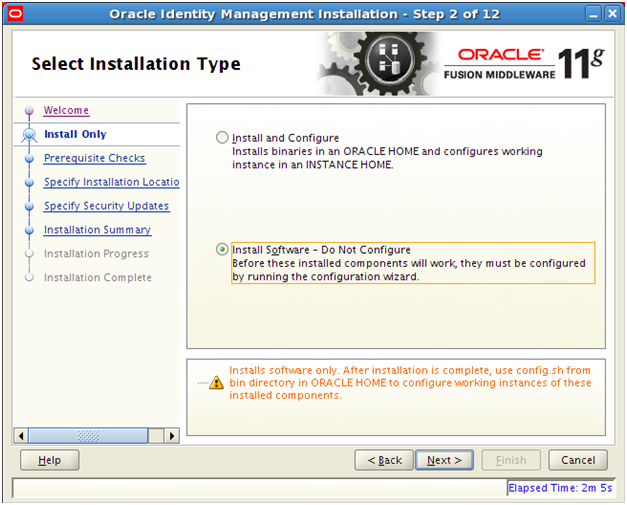
Select “Install Software – Do Not Configure” since we will be configuring all components later. Click Next
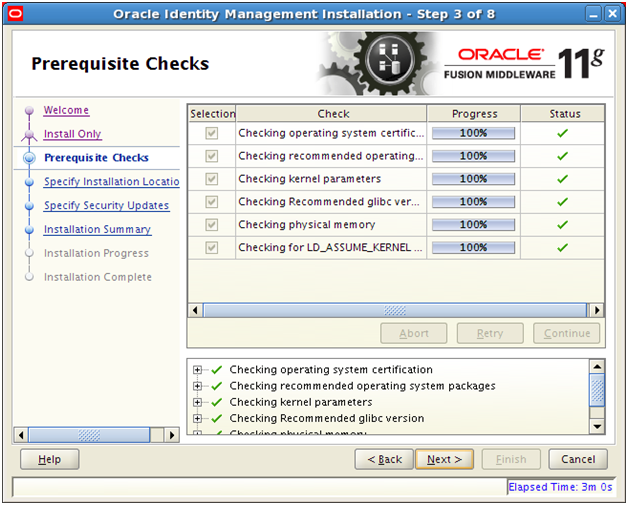
Click Next once prerequisite checks finish successfully.

Make sure to keep same Middleware Home as earlier installations. Select Appropriate name for IDM Home directory. You can keep it unchanged and click Next
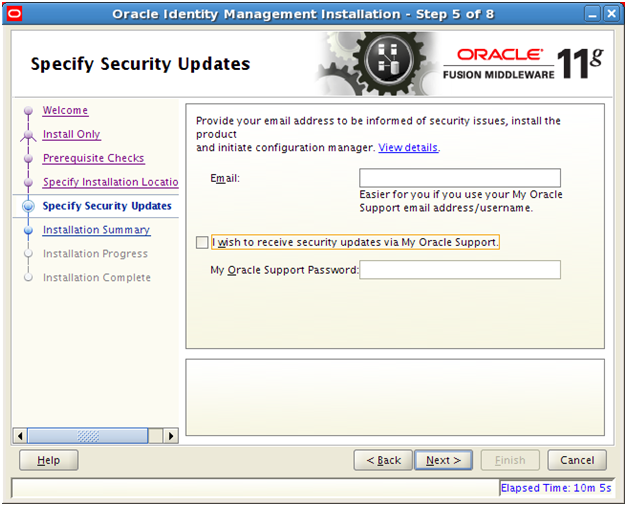
Deselect email notifications and click Next

Save summary if needed. Click Install to begin installation.
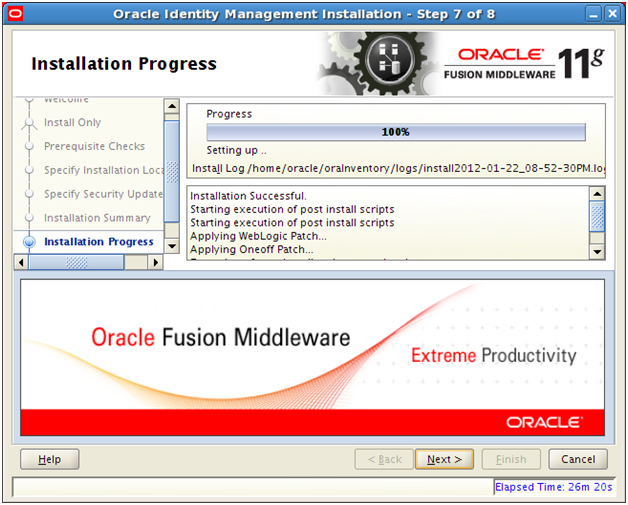
Once installation is finished click Next

It will prompt us to run /app/fusion/fmw/idm/oracleRoot.sh script as root user. Login in another terminal window as root user and run the script. Press OK once script is exected.
[root@fusion ~]# /app/fusion/fmw/idm/oracleRoot.sh

Save Installation summary if needed. Click Finish to complete the installation.
Install Identity management 11.1.1.5 patchset
We need to first unzip the installation files from <repository_location>/installers/idm directory.
[oracle@fusion idmpatchset]$ cd /app/fusion/provisioning/idm/idmpatchset
[oracle@fusion idmpatchset]$ unzip /mnt/fusion/installers/idm/idm_patchset.zip
Start the installation by executing runInstaller from <provisioning_repository>/idm/idmpatchset/idm_patchset/Disk1 directory
[oracle@fusion Disk1]$ cd /app/fusion/provisioning/idm/idmpatchset/idm_patchset/Disk1
[oracle@fusion Disk1]$ ./runInstaller
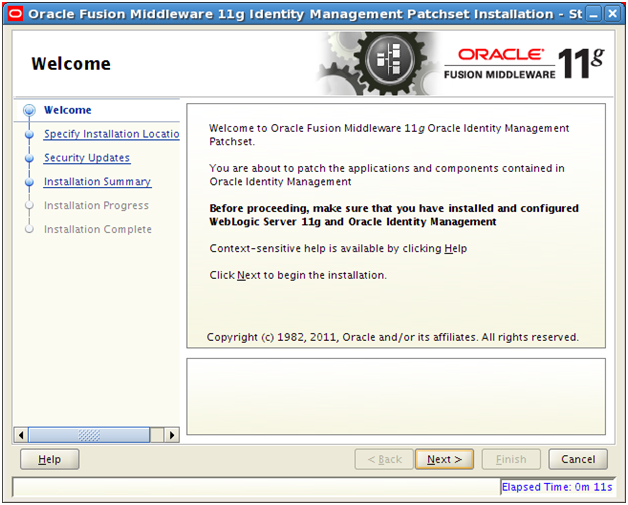
Click Next

Since we are installing patchset on existing Home keep the values same as previous step. Click Next
Deselect Email Notifications and click Next

Save summary if needed. Click Install to begin installation.
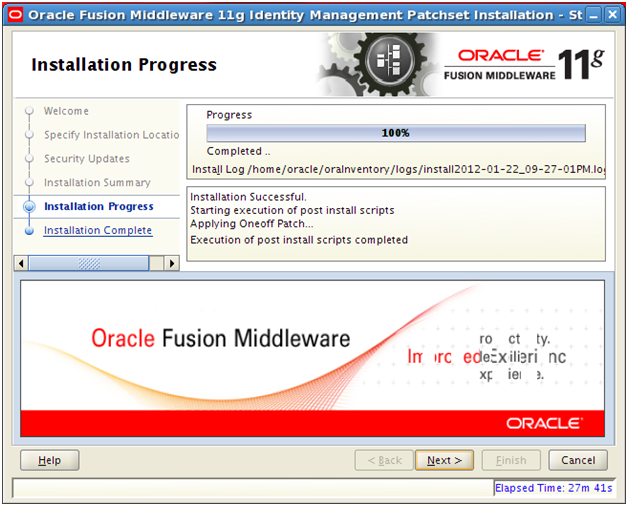
Once installation is finished click Next
It will prompt us to run /app/fusion/fmw/idm/oracleRoot.sh script as root user. Login in another terminal window as root user and run the script. Press OK once script is exected.

[root@fusion ~]# /app/fusion/fmw/idm/oracleRoot.sh
Do you want to run oidRoot.sh to configure OID for privileged ports? (yes/no)
yes
User selected for running OIDRoot.sh
/app/fusion/fmw/idm
Finished root actions for OID

Save installation summary if required. Click Finish to complete the installation.
Installation of SOA suite 11.1.1.5
Start the installation by executing runInstaller from <repository_location>/installers/soa/Disk1
[oracle@fusion Disk1]$ cd /mnt/fusion/installers/soa/Disk1
[oracle@fusion Disk1]$ ./runInstaller
…
Please specify JRE/JDK location ( Ex. /home/jre ), <location>/bin/java should exist :/app/fusion/jdk6

Click Next
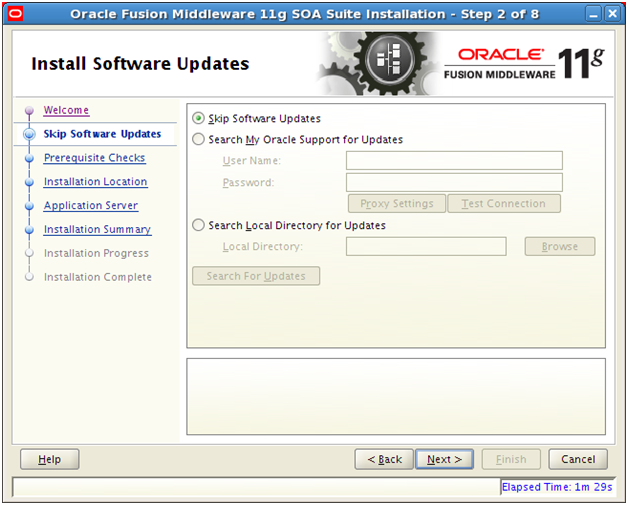
Select “Skip Software Updates” and click Next
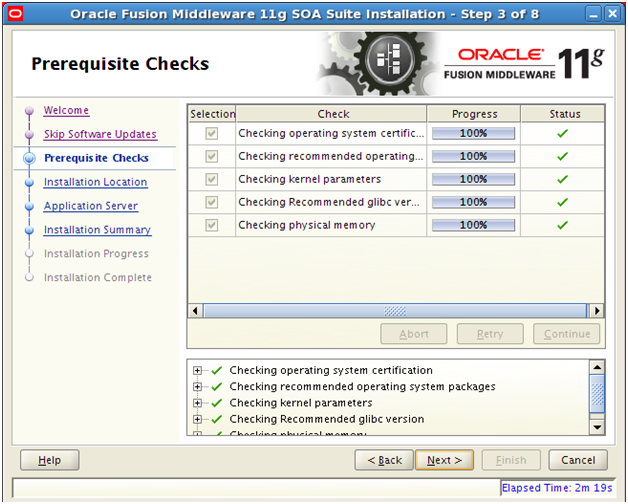
This screen will check for prerequisites. Click Next once completed.

Enter values as above and click Next
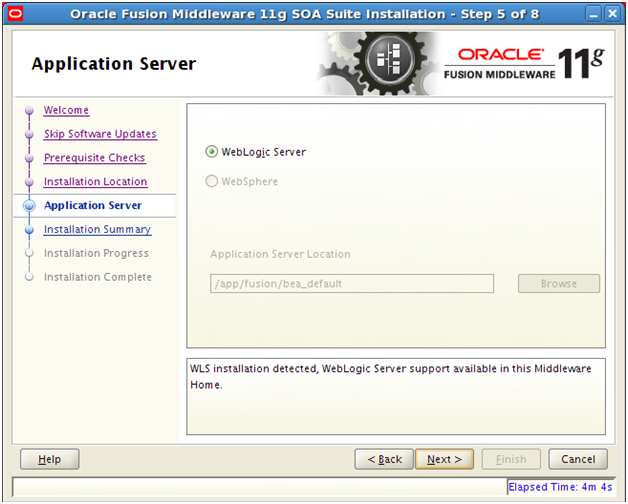
Select “Weblogic Server” and click Next

Save summary if needed. Click Install to begin installation.
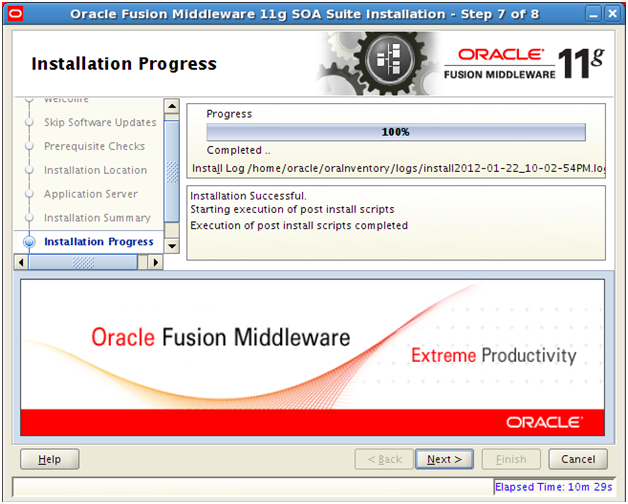
Once installation is finished click Next

Save installation summary if required. Click Finish to complete the installation.
Install Oracle Identity and Access Management 11.1.1.5
We need to first unzip the installation files from <repository_location>/installers/oam directory.
[oracle@fusion oam]$ cd /app/fusion/provisioning/oam
[oracle@fusion oam]$ unzip /mnt/fusion/installers/oam/iamsuite1.zip
[oracle@fusion oam]$ unzip /mnt/fusion/installers/oam/iamsuite2.zip
[oracle@fusion oam]$ unzip /mnt/fusion/installers/oam/iamsuite3.zip
[oracle@fusion oam]$ unzip /mnt/fusion/installers/oam/iamsuite4.zip
Start the installation by executing runInstaller from <provisioning_repository>/oam/iamsuite/Disk1
[oracle@fusion Disk1]$ cd /app/fusion/provisioning/oam/iamsuite/Disk1
[oracle@fusion Disk1]$ ./runInstaller
Click Next
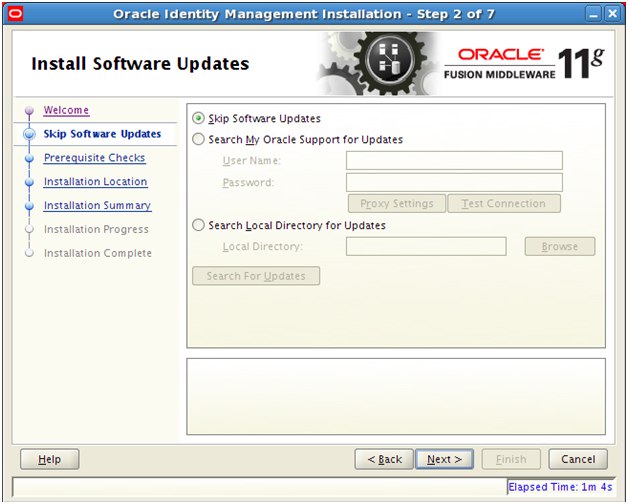
Select “Skip Software Updates” and click Next
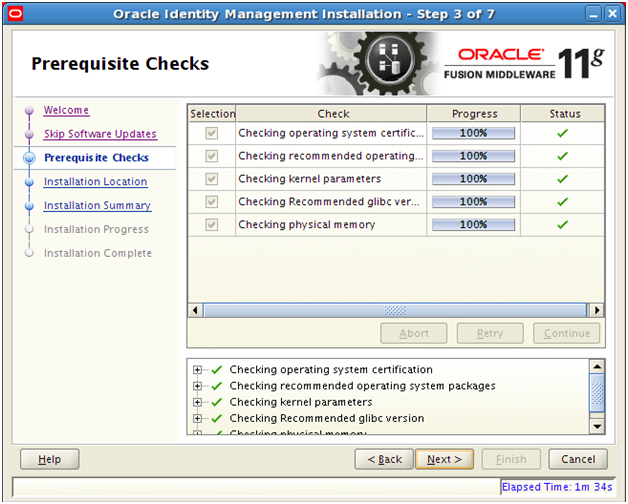
This screen will check for prerequisites. Click Next once completed.

Enter the values as above and click Next

Save summary if needed. Click Install to begin installation.
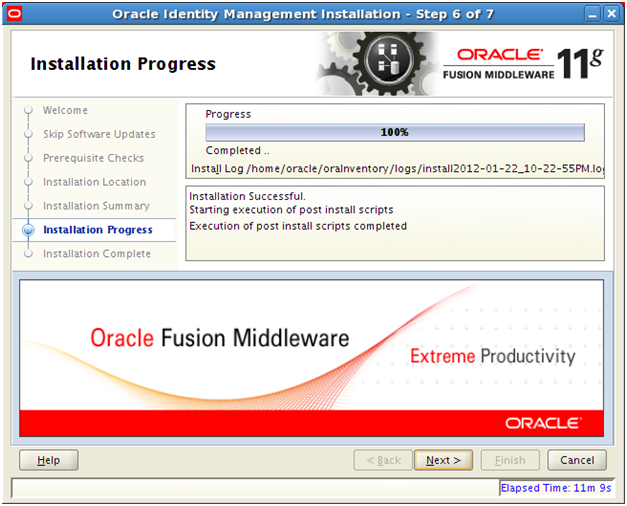
Once installation is finished click Next

Save installation summary if required. Click Finish to complete the installation.
Provisioning the OIM Login Modules Under the WebLogic Server Library Directory
Due to issues with versions of the configuration wizard, some environmental variables are not added to the DOMAIN_HOME/bin/setDomainenv.sh script. This causes certain install sequences to fail. This is a temporary workaround for that problem.
1. Copy the OIMAuthenticator.jar, oimmbean.jar, oimsigmbean.jar and
oimsignaturembean.jar files located under the IAM_ORACLE_HOME/server/loginmodule/wls directory to the MW_HOME/wlserver_10.3/server/lib/mbeantypes directory.
[oracle@fusion Disk1]$ cp -p /app/fusion/fmw/iam/server/loginmodule/wls/* /app/fusion/fmw/wlserver_10.3/server/lib/mbeantypes/
2. Change directory to MW_HOME/wlserver_10.3/server/lib/mbeantypes/
[oracle@fusion Disk1]$ cd /app/fusion/fmw/wlserver_10.3/server/lib/mbeantypes/
3. Change the permissions on these files to 750 by using the chmod command.
[oracle@fusion mbeantypes]$ chmod 750 *
Creating the wlfullclient.jar File
Oracle Identity Manager uses the wlfullclient.jar library for certain operations. Oracle does not ship this library, so you must create this library manually. We will see mention of this during provisioning.
[oracle@fusion lib]$ cd /app/fusion/fmw/wlserver_10.3/server/lib
[oracle@fusion lib]$ java -jar wljarbuilder.jar
..
[oracle@fusion lib]$ ls -l wlfullclient.jar
-rw-r–r– 1 oracle oinstall 59480532 Jan 23 09:21 wlfullclient.jar
This concludes Installation of Oracle Identity and Access Management components required for Fusion Applications. Next we will configure these components.
Next: Configuring Oracle Identity and Access Management components
Installing Oracle Fusion Applications – steps
- Installing Fusion Applications Provisioning Framework
- Installing Oracle 11g Database (Applications Transactional Database)
- Running Oracle Fusion Applications Repository Creation Utility (Applications RCU)
- Creating another database for Oracle Identity Management Infrastructure (optional)
- Running Repository Creation Utility (RCU) for Oracle Identity Management components
- Installing Oracle Identity and Access Management Components
- Configuring Oracle Identity and Access Management components
- Integrate Oracle Identity Manager (OIM) and Oracle Access Manager (OAM)
- Creating a New Provisioning Plan
- Provisioning an Applications Environment
Recent Comments