Installing Transactional Database
Oracle Fusion Applications Installation: Installing Transactional Database
Previous: Installing Fusion Applications Provisioning Framework
Important Note: This is OLD guide for old version 11.1.1.5. Please follow instructions at http://www.oratraining.com/blog/2012/12/oracle-fusion-applications-installation-step-by-step-guide-11-1-5/ for latest guide for current version i.e. 11.1.5
To install Applications Transactional Database we need to run Oracle Fusion Applications Provisioning Wizard from <framework_location>/provisioning/bin
<framework_location> is same what we mentioned in previous post. i.e. /app/fusion
[oracle@fusion $ cd /app/fusion/provisioning/bin
We need to temporarily set JAVA_HOME to jdk6 directory shipped with the installation media
[oracle@fusion bin]$ export JAVA_HOME=/mnt/fusion/jdk6
[oracle@fusion bin]$ ./provisioningWizard.sh
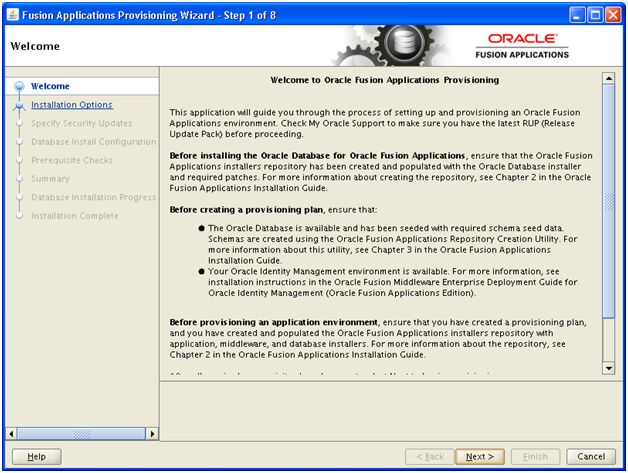
Click Next

Click Next
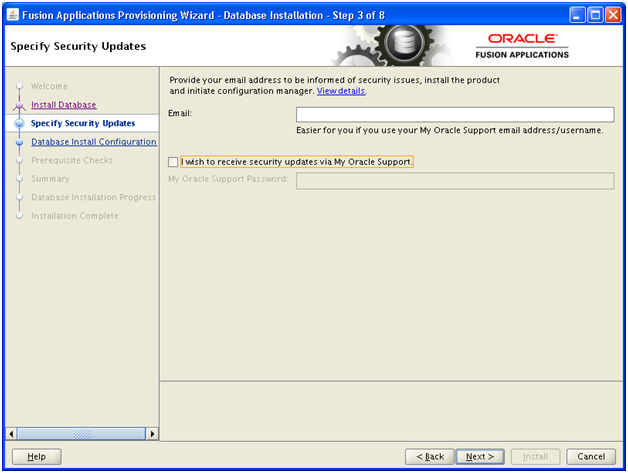
Deselect security updates notification. Click Next
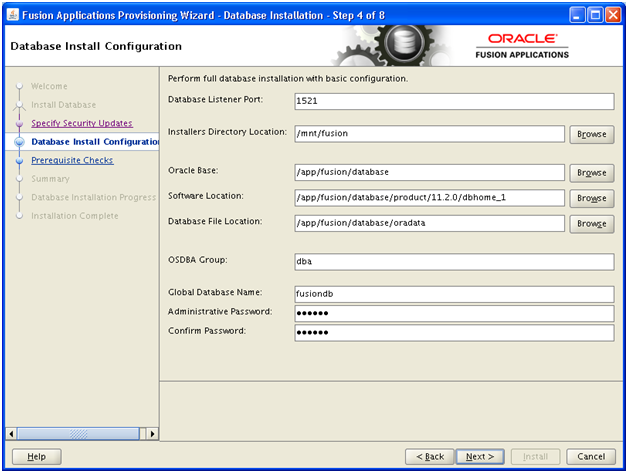
Provide database listener port (default is 1521, if you change this port please note to enter the new port in future screens where we have mentioned 1521)
Installer directory location will be the same as you created the stage setup or provisioning repository.
Provide a location for Oracle Base. Press TAB, next values should automatically be populated, if not, go back and click next again.
Enter dba as OSDBA group.
We have specified “fusiondb” as our database name. please note that if you are using any other name then don’t forget to change it in further screens whenever we have mentioned fusiondb.
Try to keep something like “Oracle123” for all passwords so that it will follow requirements for all further passwords and it will be easier for you to remember all passwords in further installations.
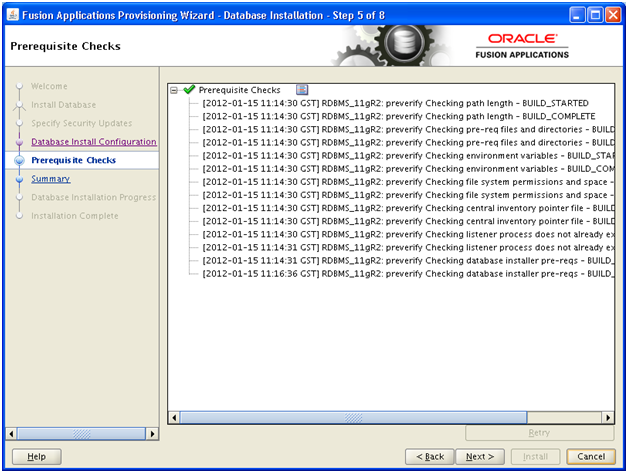
Next it will finish the pre-requisite checks. Click Next
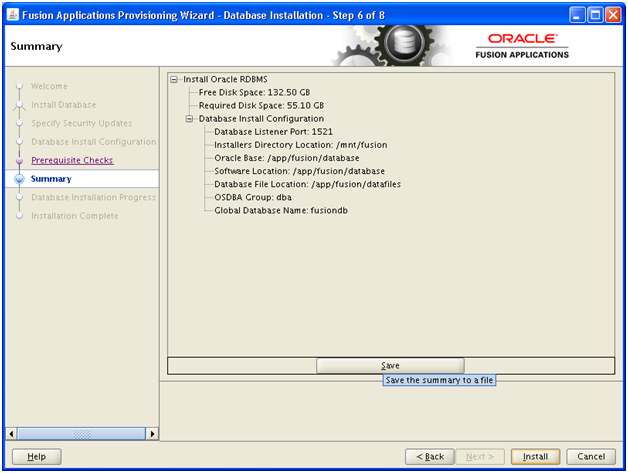
On next page, you can Save the summary. Click Install to start the installation.
Note: This will install the software as well as create a database named “fusiondb” which we provided earlier.
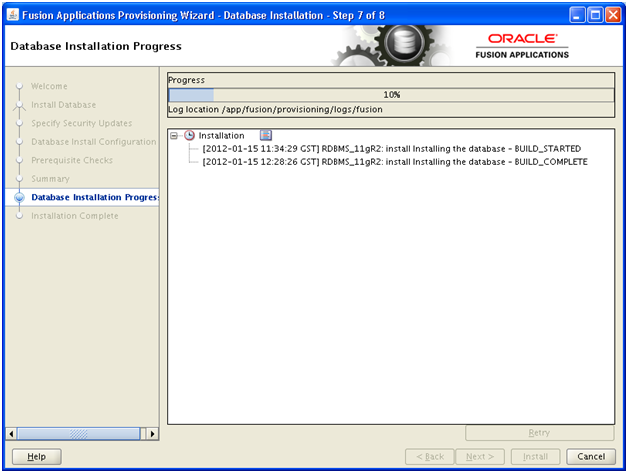
At this point it will prompt for running root.sh as root user.
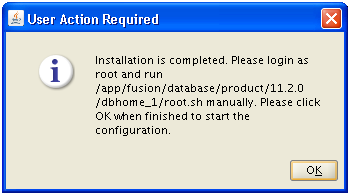
Do not press Ok until run the following as root user in separate terminal window. Once following is executed, press Ok to continue.
[root@fusion ~]# /app/fusion/database/product/11.2.0/dbhome_1/root.sh
Check /app/fusion/database/product/11.2.0/dbhome_1/install/root_fusion_2012-01-1 5_12-29-28.log for the output of root script
[root@fusion ~]# tail -f /app/fusion/database/product/11.2.0/dbhome_1/install/root_fusion_2012-01-15_12-29-28.log
The following environment variables are set as:
ORACLE_OWNER= oracle
ORACLE_HOME= /app/fusion/database/product/11.2.0/dbhome_1
Creating /etc/oratab file…
Entries will be added to the /etc/oratab file as needed by
Database Configuration Assistant when a database is created
Finished running generic part of root script.
Now product-specific root actions will be performed.
Finished product-specific root actions.
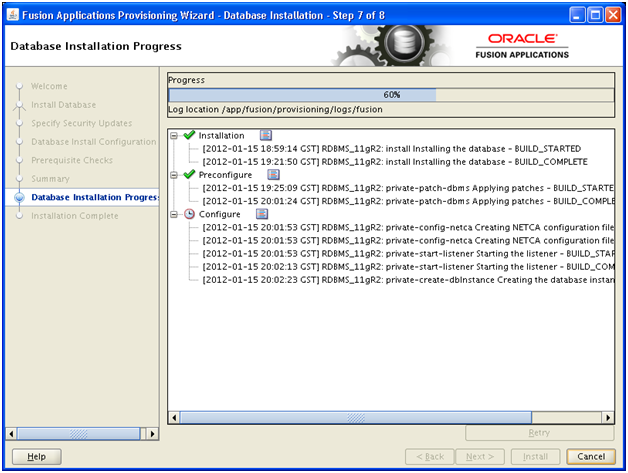
It may take a few hours (at least on a non-high end host machine) and then installation will finish.
Important Note: After installation is finished we reduced the SGA and PGA (from 10GB to 2GB). We are doing this since we are running on a VM and have allocated total 2.5 or 3 GB RAM only. This is not recommended for production installation but since this is only a demo/development installation, you can safely do this. If you wish to keep it 10GB you can do it but this will increase the swap usage exponentially.
Since we are reducing the size of SGA and PGA, next step (RCU) may fail in pre-requisite check. So we will need to change the pre-req check xml file to look for lower value. We will explain this in next post.
Next: Running Oracle Fusion Applications Repository Creation Utility (Applications RCU)
Installing Oracle Fusion Applications – steps
- Installing Fusion Applications Provisioning Framework
- Installing Oracle 11g Database (Applications Transactional Database)
- Running Oracle Fusion Applications Repository Creation Utility (Applications RCU)
- Creating another database for Oracle Identity Management Infrastructure (optional)
- Running Repository Creation Utility (RCU) for Oracle Identity Management components
- Installing Oracle Identity and Access Management Components
- Configuring Oracle Identity and Access Management components
- Integrate Oracle Identity Manager (OIM) and Oracle Access Manager (OAM)
- Creating a New Provisioning Plan
- Provisioning an Applications Environment
I have tried following these steps on a MacBook Pro (Snow Leopard 10.6.8), using VB 4.1.18, at least a half-dozen times (trying OL 5.8, 6.2, & 6.3) and every time, I get the following error during the configure stage of the transaction DB install:
configure Build – BUILD_ERROR: Error launching ANT build of /home/oracle/app/fusion/provisioning/bin/runFusionDB.sh
I saw that one other user ran into the same error, but didn’t see a reply.
Stuck…hoping you might have an idea…
In the above comment from @Ashok it is mentioned to keep
PGA_AGGREGATE_TARGET=0 and SGA_TARGET=0
but later in next article we are required to keep fusionapp.xml parameter
PGA_AGGREGATE_TARGET and SGA_TARGET = 2 G.
What should be the actual value of these parameters in system 0 or 2G ?
i have kept MEMORY_MAX_TARGET=3G and MEMORY_TARGET=3G.
kindly reply.
Regards,
Poonam
@Ashok
I figured it out. I cannot run as root.
> cd /app/fusion/database/product/11.2.0/dbhome_1/bin
> export ORACLE_OWNER=oracle
> export ORACLE_HOME=/app/fusion/database/product/11.2.0/dbhome_1
> export PATH=$ORACLE_HOME/bin:$PATH
> export ORACLE_SID=fusiondb
> ./sqlplus “/ as sysdba”
> show parameter target
— Set the static parameter. Leave some room for possible future growth without restart.
> ALTER SYSTEM SET MEMORY_MAX_TARGET=3G SCOPE=SPFILE;
— Set the dynamic parameters. Assuming Oracle has full control.
> ALTER SYSTEM SET MEMORY_TARGET=3G SCOPE=SPFILE;
> ALTER SYSTEM SET PGA_AGGREGATE_TARGET=0 SCOPE=SPFILE;
> ALTER SYSTEM SET SGA_TARGET=0 SCOPE=SPFILE;
— Restart instance.
> SHUTDOWN IMMEDIATE;
> STARTUP;
http://www.oracle-base.com/articles/11g/AutomaticMemoryManagement_11gR1.php
http://docs.oracle.com/cd/B28359_01/server.111/b28310/memory003.htm
http://docs.oracle.com/cd/E11882_01/server.112/e25494/memory004.htm
Excellent article regarding single-node installation.
Could you post instructions on how you reduced the RAM usage (SGA and PGA).
I have tried to find instructions online and run them through SQLplus. But I am unable to login. Is there a default account?
Thanks
Ashok